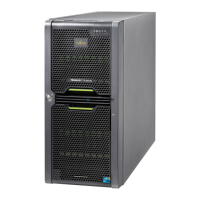
7.4.8 Upgrading to 8x 3.5-inch HDD configurations
Upgrade and Repair Unit
(URU)
Hardware: 20 minutes
Software: 10 minutes
Tools: Phillips PH2 / (+) No. 2 screw driver
After installing or removing an additional backplane, never forget to
change the system information using the Chassis ID Prom Tool.
Preliminary steps
▶
"Suspending BitLocker functionality" on page 107
.
▶
"Shutting down the server" on page 49.
▶
"Disconnecting the power cord" on page 50.
▶
"Getting access to the component" on page 51.
▶
Remove all HDD modules, see "Removing 3.5-inch HDD modules" on
page 179.
▶
Remove all dummy modules, see "Removing a 3.5-inch HDD dummy
module" on page 178.
▶
"Removing the system air duct" on page 67.
▶
Remove the fan bridge, see "Handling the fan bridge" on page 92.
Removing the 3.5-inch HDD bay top cover
▶
Remove the 3.5-inch HDD bay top cover, see "Removing the 3.5-inch HDD
bay top cover" on page 184.
Hard disk drive (HDD) / solid state disk (SSD)
TX2550 M5 Upgrade and Maintenance Manual 195
 Loading...
