214323 461 Revision B
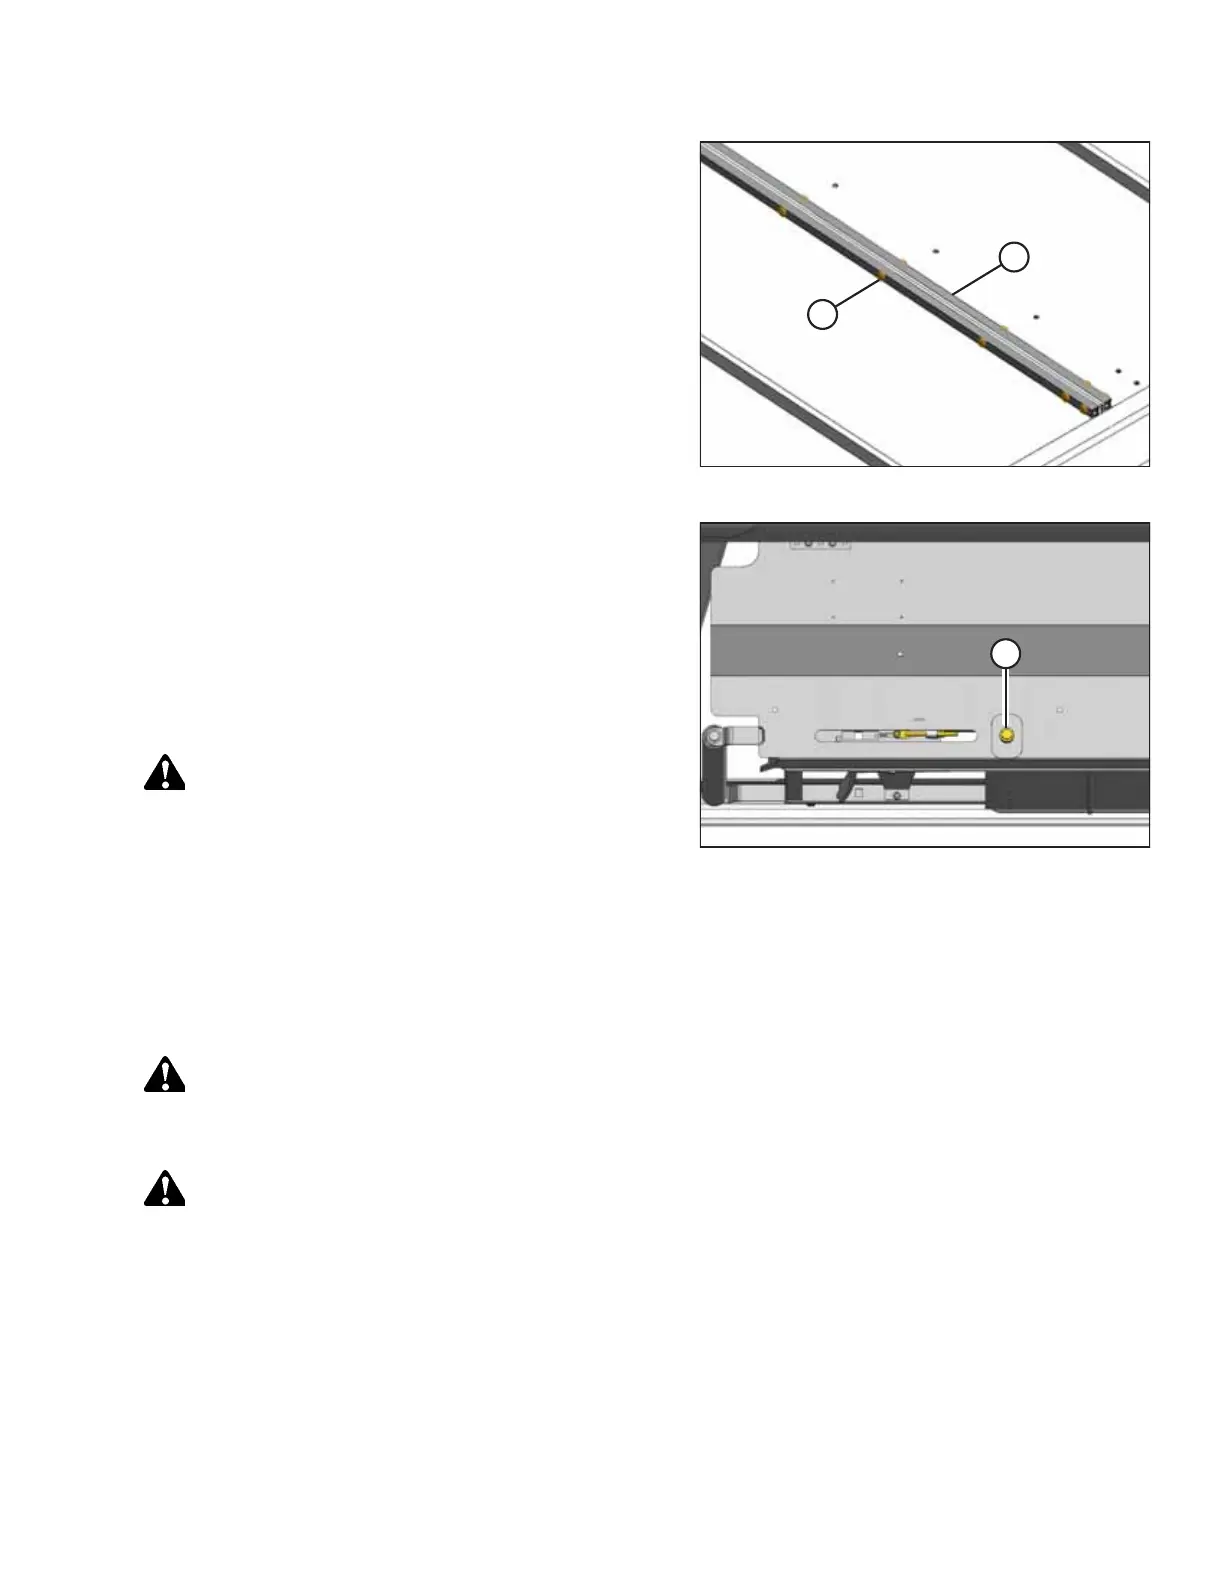
Figure 6.223: Draper Joint
8. Wrap the draper over the drive roller and attach the ends
of the draper together using tube connectors (B),
screws (A), and nuts.
NOTE:
The heads of the screws must face the center opening.
Figure 6.224: Draper Tensioner
9. Tension the draper. Locate adjuster bolt (A) and follow the
directions on the decal for the proper draper tensioning or
refer to 6.12.3 Adjusting Side Draper Tension, page 447.
10. Disengage the reel safety props. For instructions, refer to
Engaging Reel Safety Props, page 31.
11. Disengage the header safety props. For instructions, refer
to the combine operator’s manual.
DANGER
Ensure that all bystanders have cleared the area.
12. Start the engine, and lower the header and reel.
13. Run the machine to verify the draper tracks correctly. If
adjustment is necessary, refer to 6.12.4 Adjusting Side
Draper Tracking, page 449.
6.12.7 Replacing Draper Deflectors
Removing Narrow Draper Deflectors
DANGER
To prevent bodily injury or death from the unexpected start-up of the machine, always stop the engine and remove the
key from the ignition before making adjustments to the machine.
WARNING
To prevent bodily injury from the fall of a raised reel, always engage the reel safety props before going under the
raised reel for any reason.
1. Raise the reel fully.
2. Lower the header fully.
3. Shut down the engine, and remove the key from the ignition.
4. Engage the reel safety props. For instructions, refer to Engaging Reel Safety Props, page 31.
5. Move the decks manually to create work space at one end of the header.
MAINTENANCE AND SERVICING