2.Installation
198
@Remote Settings
• Prepare and check the following checkpoints before you visit the customer site. For details,
ask the @Remote key person.
Checkpoints before making @Remote settings
1. The setting of SP5-816-201 in the mainframe must be "0".
2. Print the SMC with SP5-990-002 and then check if a device ID2 (SP5-811-003) must be correctly
programmed.
• 6 spaces must be put between the 3-digit prefix and the following 8-digit number (e.g.
xxx______xxxxxxxx).
• ID2 (SP5-811-003) and the serial number (SP5-811-001) must be the same (e.g. ID2:
A01______23456789 = serial No. A0123456789)
• Make sure to shut down and reboot the machine once before printing the SMC. Otherwise, the
latest settings may not be collected when the SMC is printed.
3. The following settings must be correctly programmed.
• Proxy server IP address (SP5-816-063)
• Proxy server Port number (SP5-816-064)
• Proxy User ID (SP5-816-065)Settings
• Proxy Password (SP5-816-066)
4. Get a Request Number
Execute the @Remote Settings
1. Enter the SP mode.
2. Input the Request number which you have obtained from @Remote Center GUI, and then enter
[OK] with SP5-816-202.
3. Confirm the Request number, and then click [EXECUTE] with SP5-816-203.
4. Check the confirmation result with SP5-816-204.

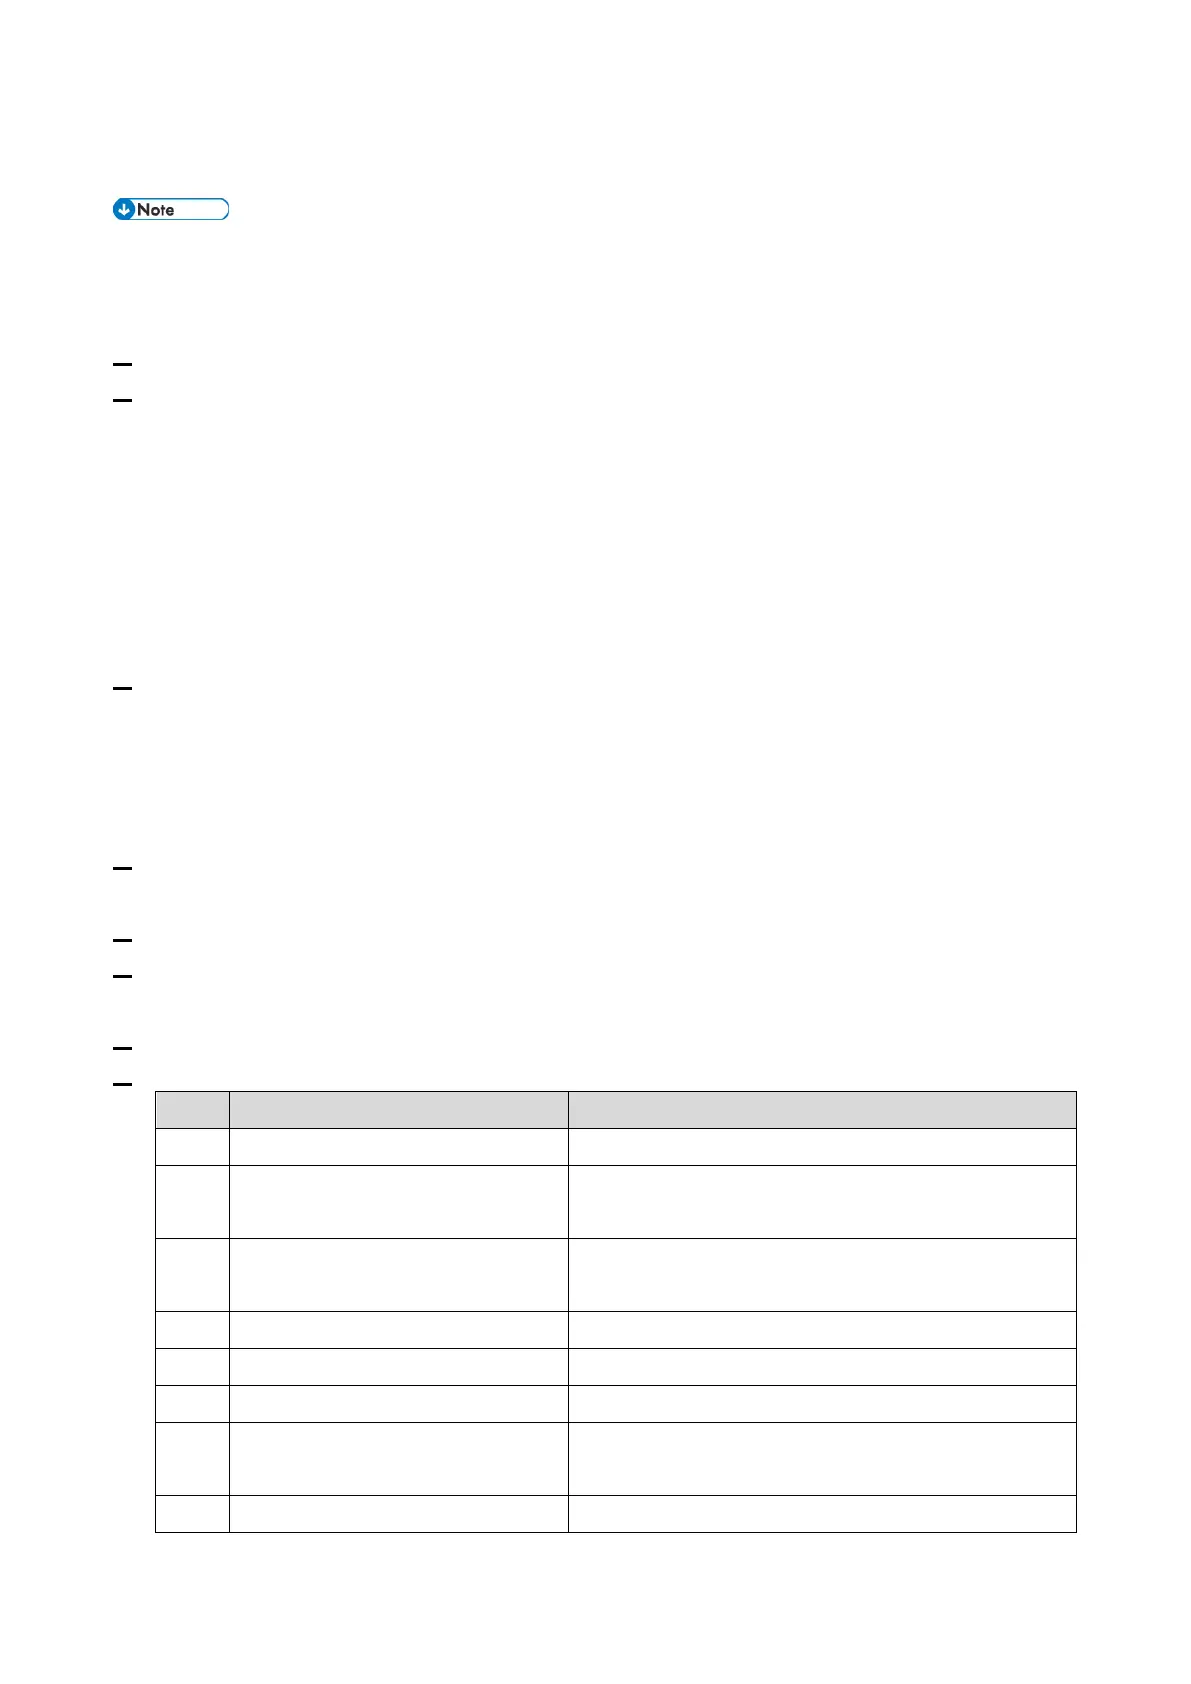 Loading...


