Phaser 6000/6010 and WC 6015 MFP Xerox Internal Use Only 8-87
Service Parts Disassembly
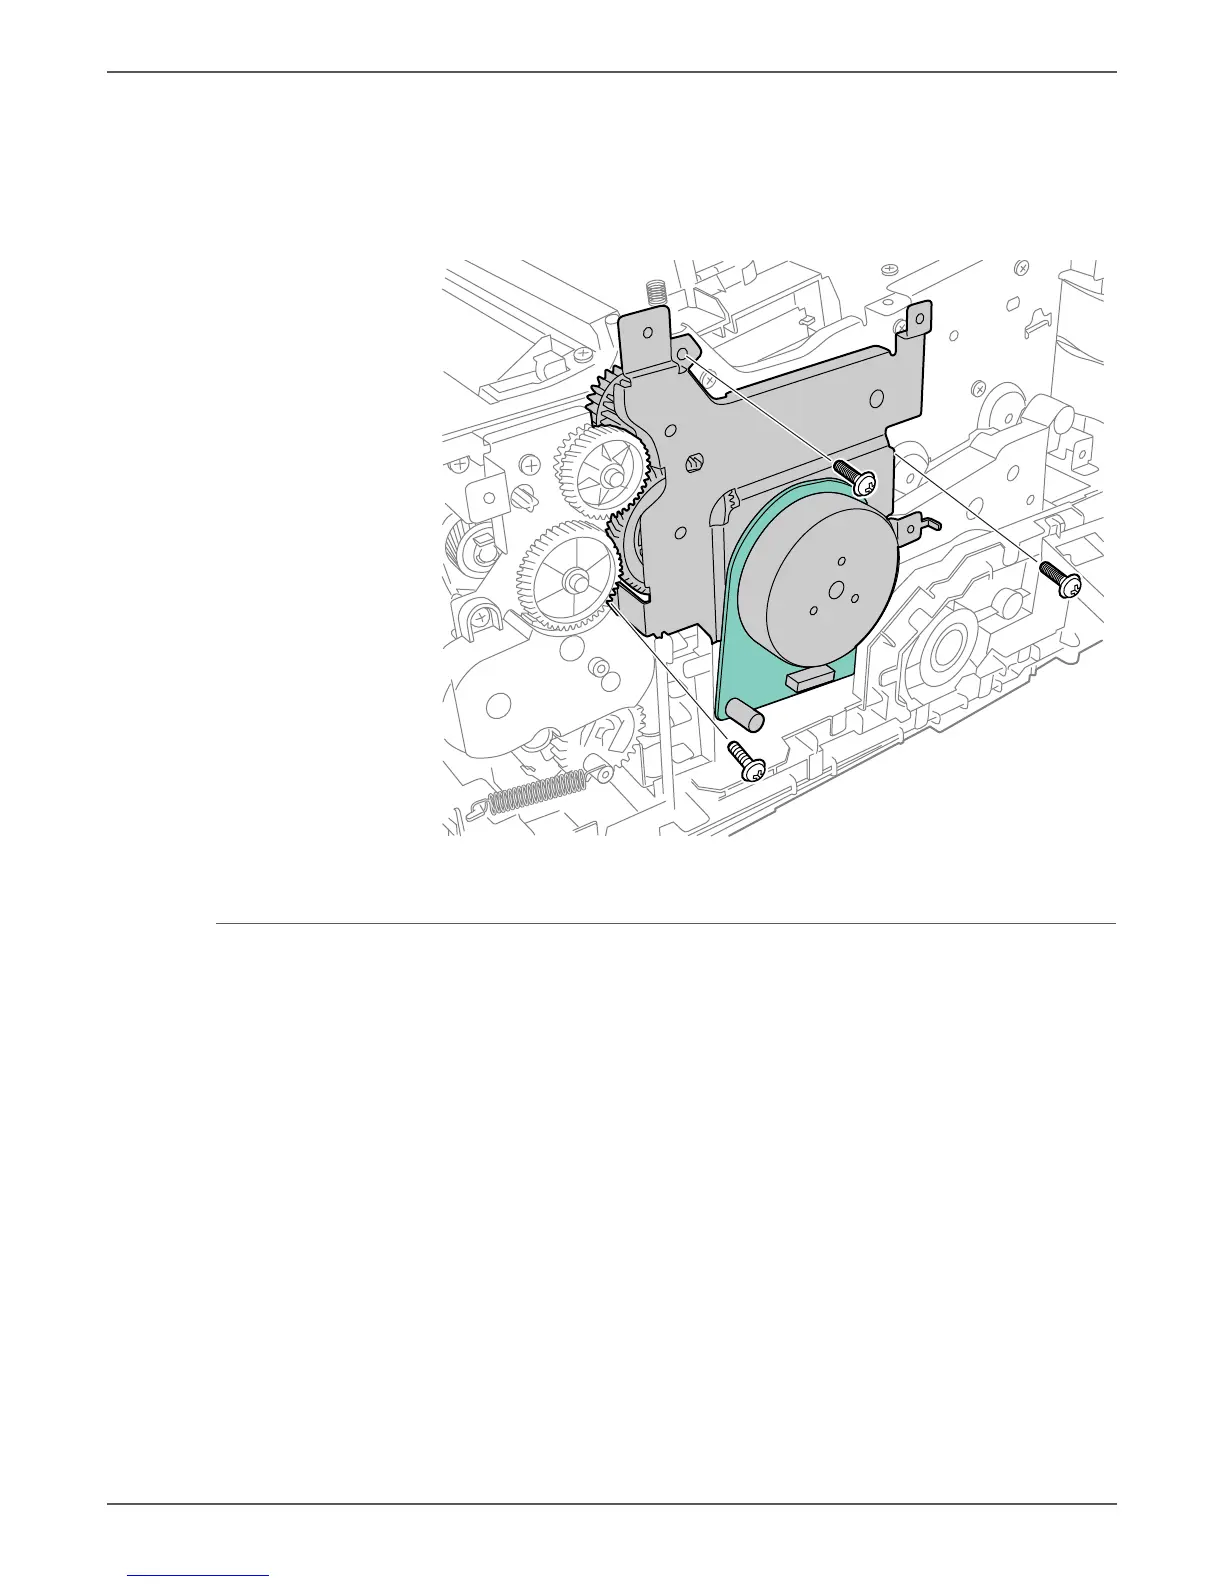
18. Remove 2 screws (silver, M4, 6 mm) and 1 screw (silver, tap, 8mm) to remove
the Main Drive Assembly.
When performing this step, take care to not drop the gears on the Main
Drive Assembly.
Drive Gears F3 and PH3
PL6.1.3~4
1. Remove the Main Paper Tray Cover (Phaser 6000/6010 page 8-7; WorkCentre
6015 MFP page 8-29).
2. Remove the Front Cover (Phaser 6000/6010 page 8-8; WorkCentre 6015 MFP
page 8-34).
3. Open the Rear Door.
4. Remove the Left Side Cover (Phaser 6000/6010 page 8-10; WorkCentre 6015
MFP page 8-29).
5. If present, remove the Wi-Fi Assembly (page 8-103)
6. Remove the Top Cover (Phaser 6000/6010 page 8-11; WorkCentre 6015 MFP
page 8-22).
7. Remove the Image Processor Board (page 8-114).
 Loading...


