6. Select Start.
The press prints the test targets, measures them, and automatically adjusts the dry ink/toner
density for consistent application across the page.
Note: The printed sheets do not yet reflect the new settings but are the sheets that were
used to make the adjustments.
7. Decide if you want to visually check the new settings:
• If you do not want to print sheets with the revised settings, select Save and Close.
• If you do want to print sheets with the revised settings, select the Sample Printout button to
view the adjustment prints.
Sample sheets print using the updated settings.
8. Check the printed samples for density uniformity and consistency.
• Verify that each line of color shows even density across the page, as shown in the following
illustration:
* Check for uniform, consistent density across all color bars as indicated by the arrows in the
above illustration.
If acceptable, select Save and Close.
• If the results are not acceptable, repeat the previous steps of this procedure.
9. Select Close to complete the Density Uniformity Adjustment.
RReeppllaacciinngg CCoonnssuummaabbllee SSuupppplliieess
Note: Refer to www.xerox.com for the latest consumable part numbers.
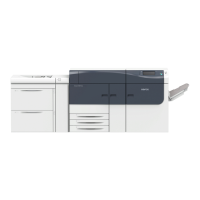
The following items are the Customer Replaceable Units (CRU) for the press. It is recommended that
you have a supply of these items available to eliminate down time when they need to be replaced.
• Dry Ink/Toner cartridges (C, M, Y, K)
• Drum cartridges (C, M, Y, K)
• An empty Waste Dry Ink/Toner bottle
• Trays 5–9 feed rolls
• Suction Filter
Note: Store supply items and Xerox parts in their original packages in a convenient location.
Always recycle / dispose the used CRU according to the disposal instructions supplied with the
new CRU.
238
Xerox
®
Versant
®
4100 Press
User Documentation
Working With
 Loading...

