5 Scan/E-mail
126 Xerox WorkCentre 7132 User Guide
For more information on mailbox features on the machine, refer to Check Mailbox
chapter on page 143.
Network Scanning
This section describes how to scan and send documents to a specified server on a
network using a job template. A job template can be created on the machine or
remotely using the CentreWare Scan Services. According to the settings in the
template, documents are automatically scanned, saved in the TIFF/JPEG or PDF
format, and then sent to a specified server. For information on how to program a job
template, refer to Services in the CentreWare Internet Services chapter on page 167.
The name of a template created on the machine begins with “@”. A template created
with the CentreWare Scan Services carries the name you specified.
NOTE: For information on the CentreWare Scan Services, refer to the CentreWare
Scan Services Manual.
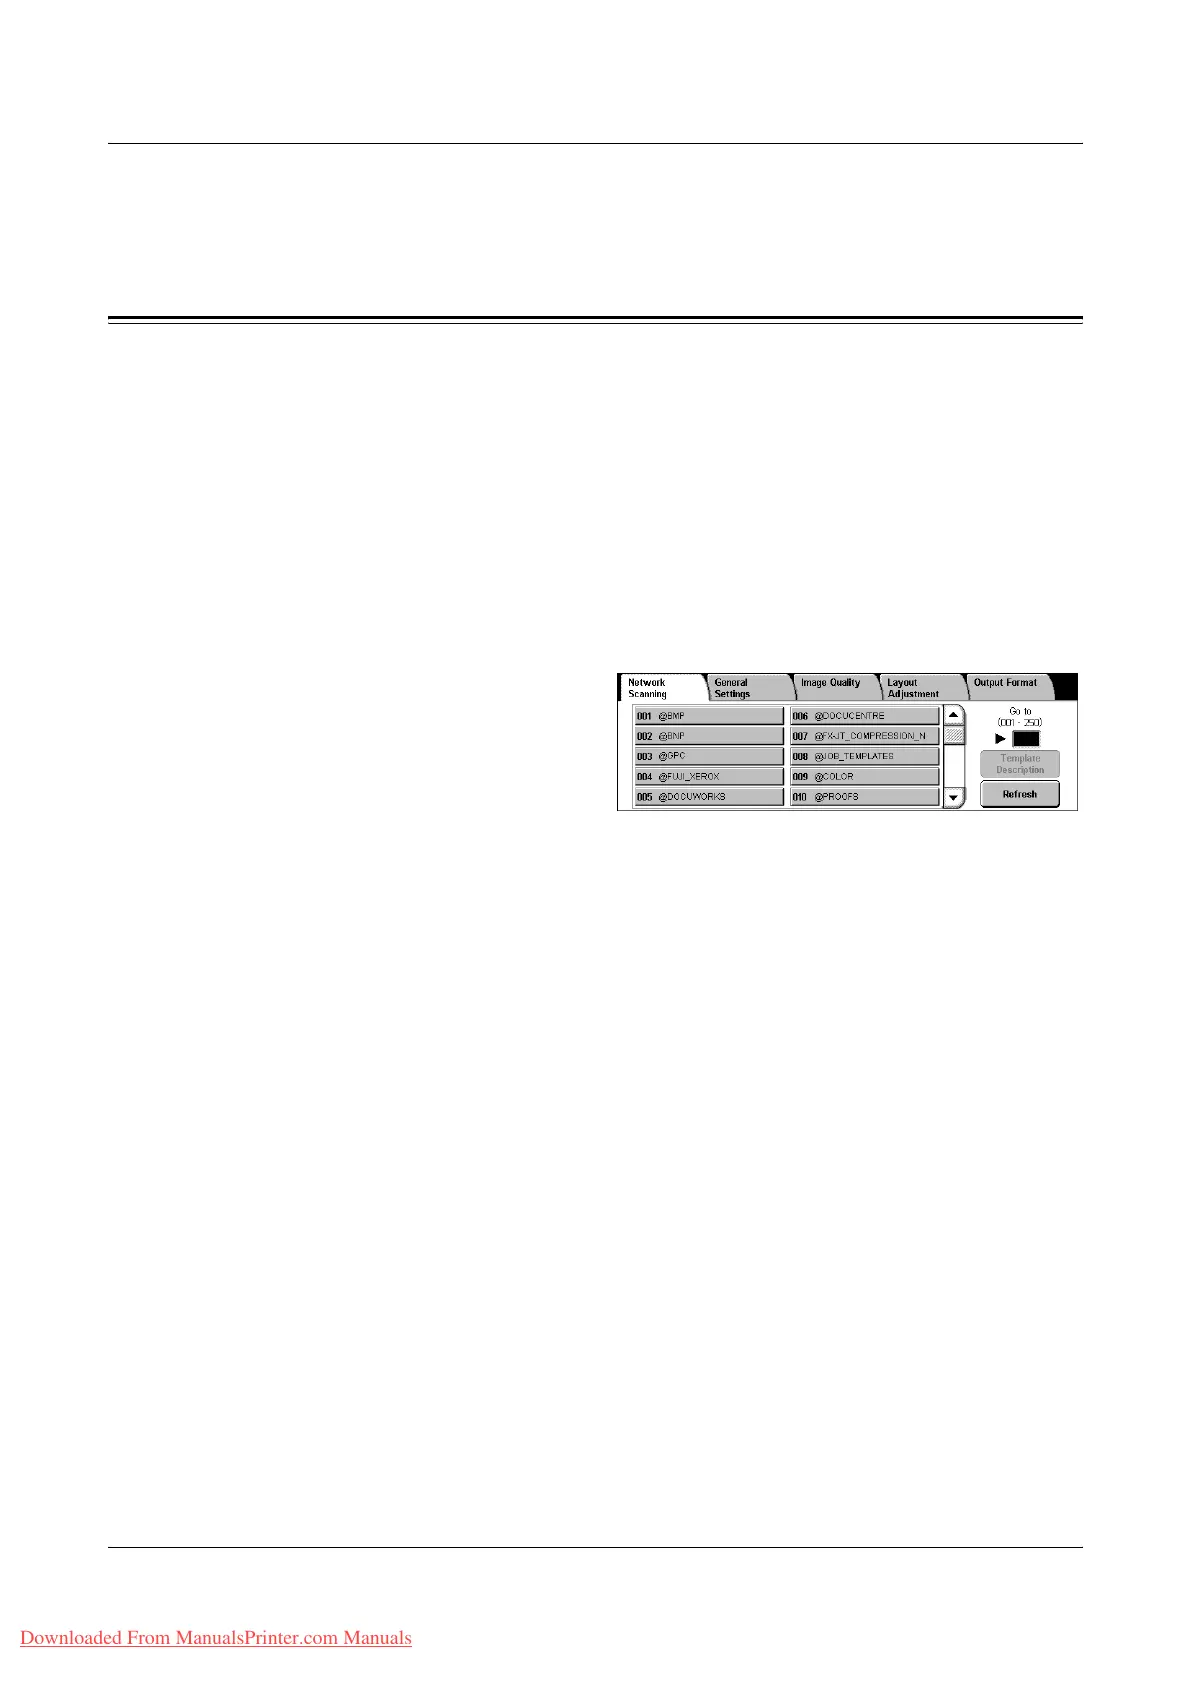
1. Press the <All Services> button
on the control panel.
2. Select [Network Scanning] on
the touch screen.
3. Select the job template to be
used.
4. Press the <Start> button on the control panel.
Job template list
Allows you to select a job template for scanning.
Go to
Allows you to specify the number of a job template to be displayed, using the numeric
keypad on the control panel.The specified job template is displayed at the top of the
mailbox list.
Template Description
Displays the [Template Description] screen where you can view the template
description, settings and stored location.
Refresh
Updates the list of available job templates.
Downloaded From ManualsPrinter.com Manuals

 Loading...


