4 Fax/Internet Fax
96 Xerox WorkCentre 7132 User Guide
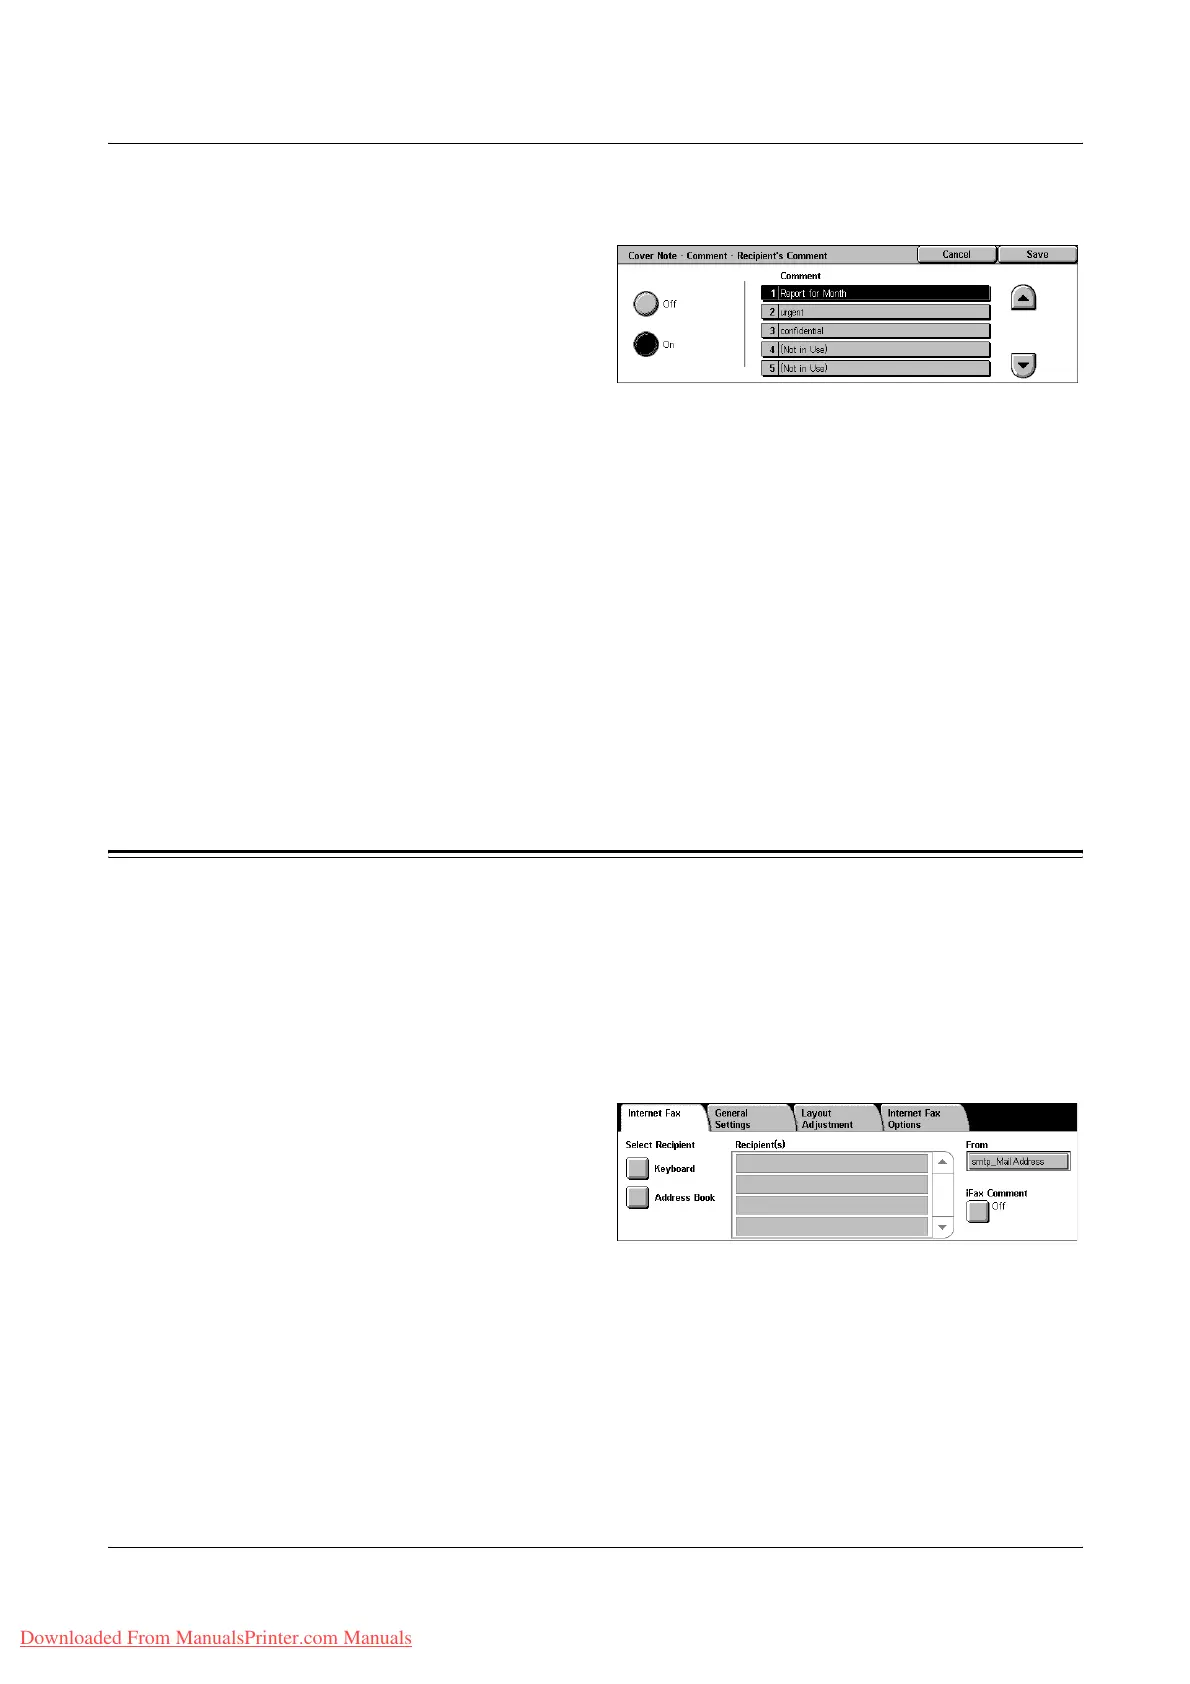
[Cover Note - Comment - Recipient’s Comment] Screen
1. Select [On] on the [Cover Note]
screen.
2. Select [Comment].
3. Select [Recipient’s Comment].
4. Select [On] on the [Cover Note -
Comment - Recipient’s Comment] screen.
5. Select a comment from the comment list using the scroll buttons.
6. Select [Save].
Comment
Allows you to select a comment from the list of comments already registered.
For information on how to register comments, refer to Comments in the Setups
chapter on page 295.
[Cover Note - Comment - Sender’s Comment] Screen
The procedures are the same as the [Cover Note - Comment - Recipient’s Comment]
screen.
Specifying Internet Fax Destinations
This section describes how to specify destinations using the [Internet Fax] features to
send scanned images as e-mail attachments. For more information, refer to the
following.
Address Book – page 97
Keyboard – page 97
iFax Comment – page 98
1. Press the <All Services> button
on the control panel.
2. Select [Internet Fax] on the
touch screen. Select the
[Internet Fax] tab, if not
displayed already.
From
Displays the [Sender’s E-mail] screen with your E-mail return address to be sent with
your Internet Fax.
Downloaded From ManualsPrinter.com Manuals

 Loading...


