7-11
Power unit assembly
0
1
2
3
4
5
6
7
8
9
10
A
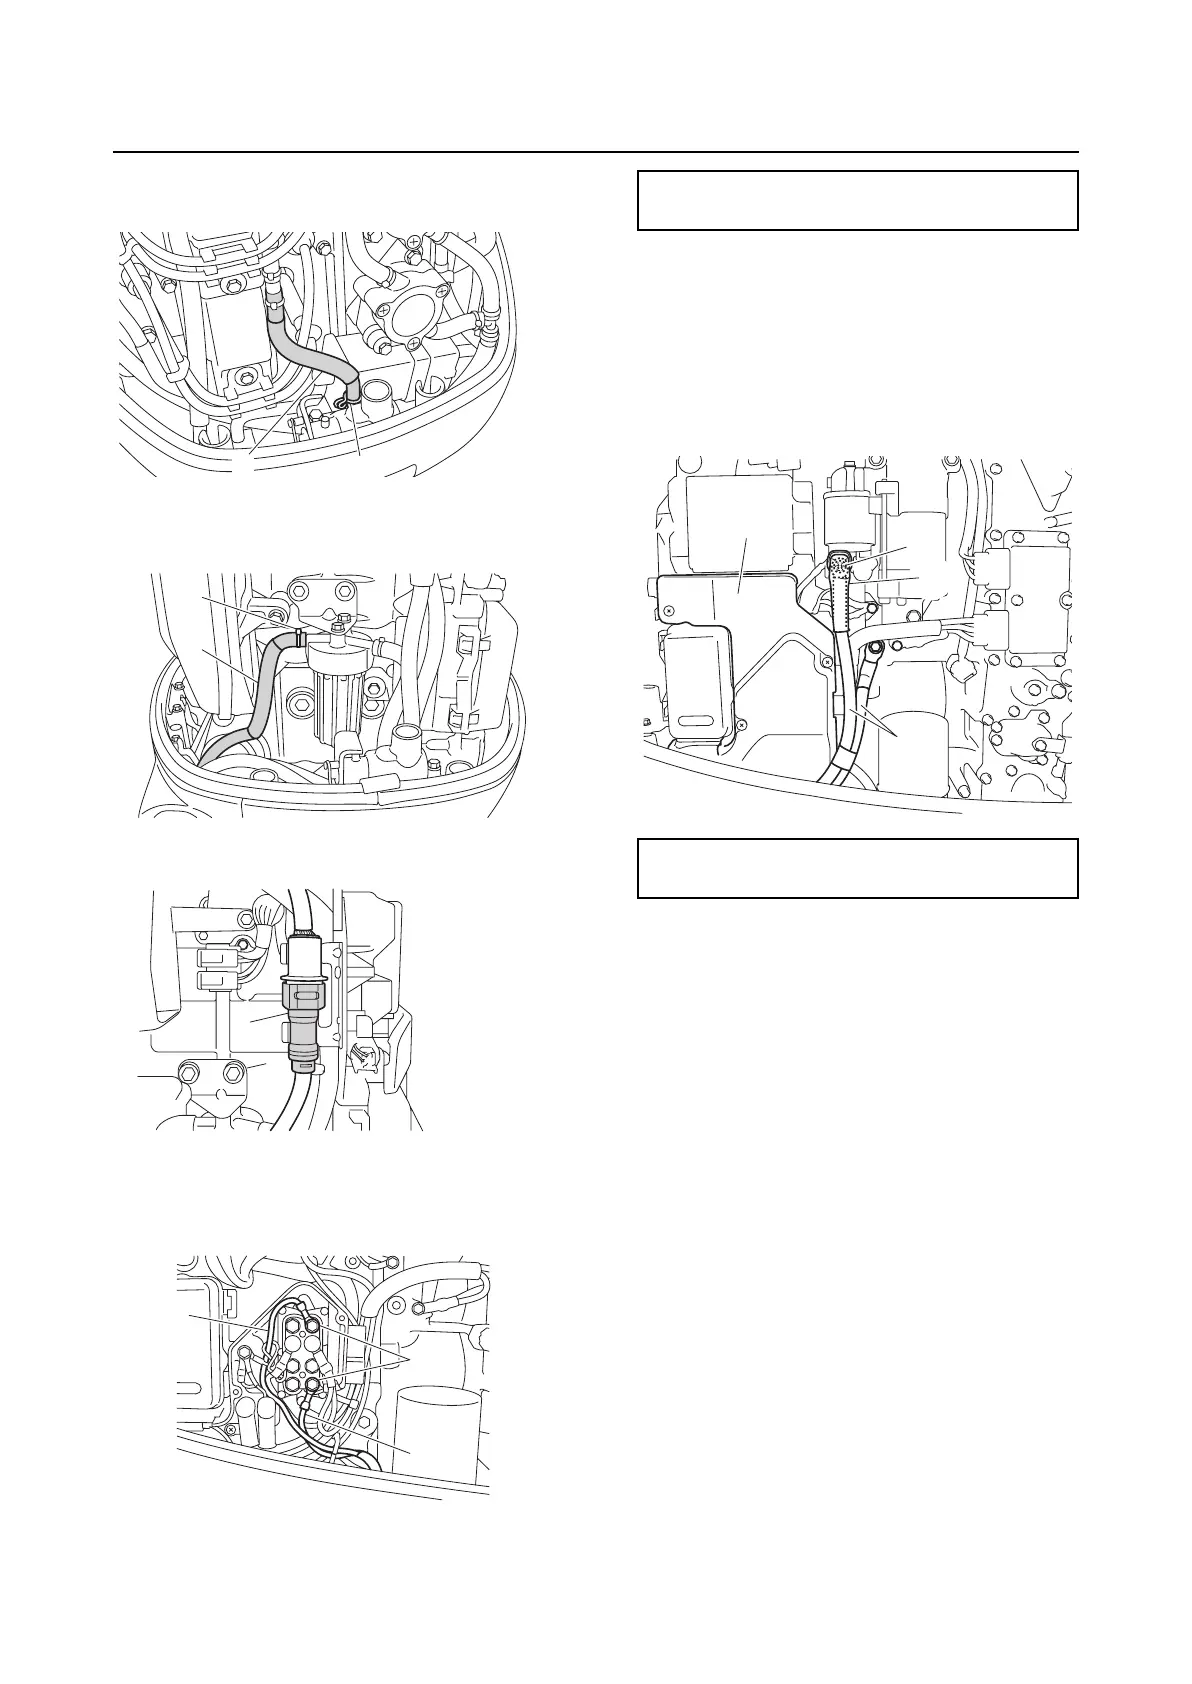
11. Connect the vapor gas hose “1”, and
then fasten it using the clamp “2”.
12. Connect the fuel hose “1”, and then fas-
ten it using the plastic tie “2”.
13. Connect the 10-pin coupler “a”.
14. Connect the PTT motor leads “1”, and
then tighten the PTT motor lead bolts “2”
to the specified torque.
15. Install the junction box cover “1”.
16. Connect the battery cables “2”, and then
tighten the battery cable nut “3” to the
specified torque.
17. Install the rubber cap “4”.
18. Install the throttle cable. See “Installing
the throttle cable” (3-11).
1
2
1
2
a
1
1
2
PTT motor lead bolt “2”:
4 N·m (0.4 kgf·m, 3.0 ft·lb)
Battery cable nut “3”:
9 N·m (0.9 kgf·m, 6.6 ft·lb)
1
2
3
4