6-19
Canister and vapor shut-off valve
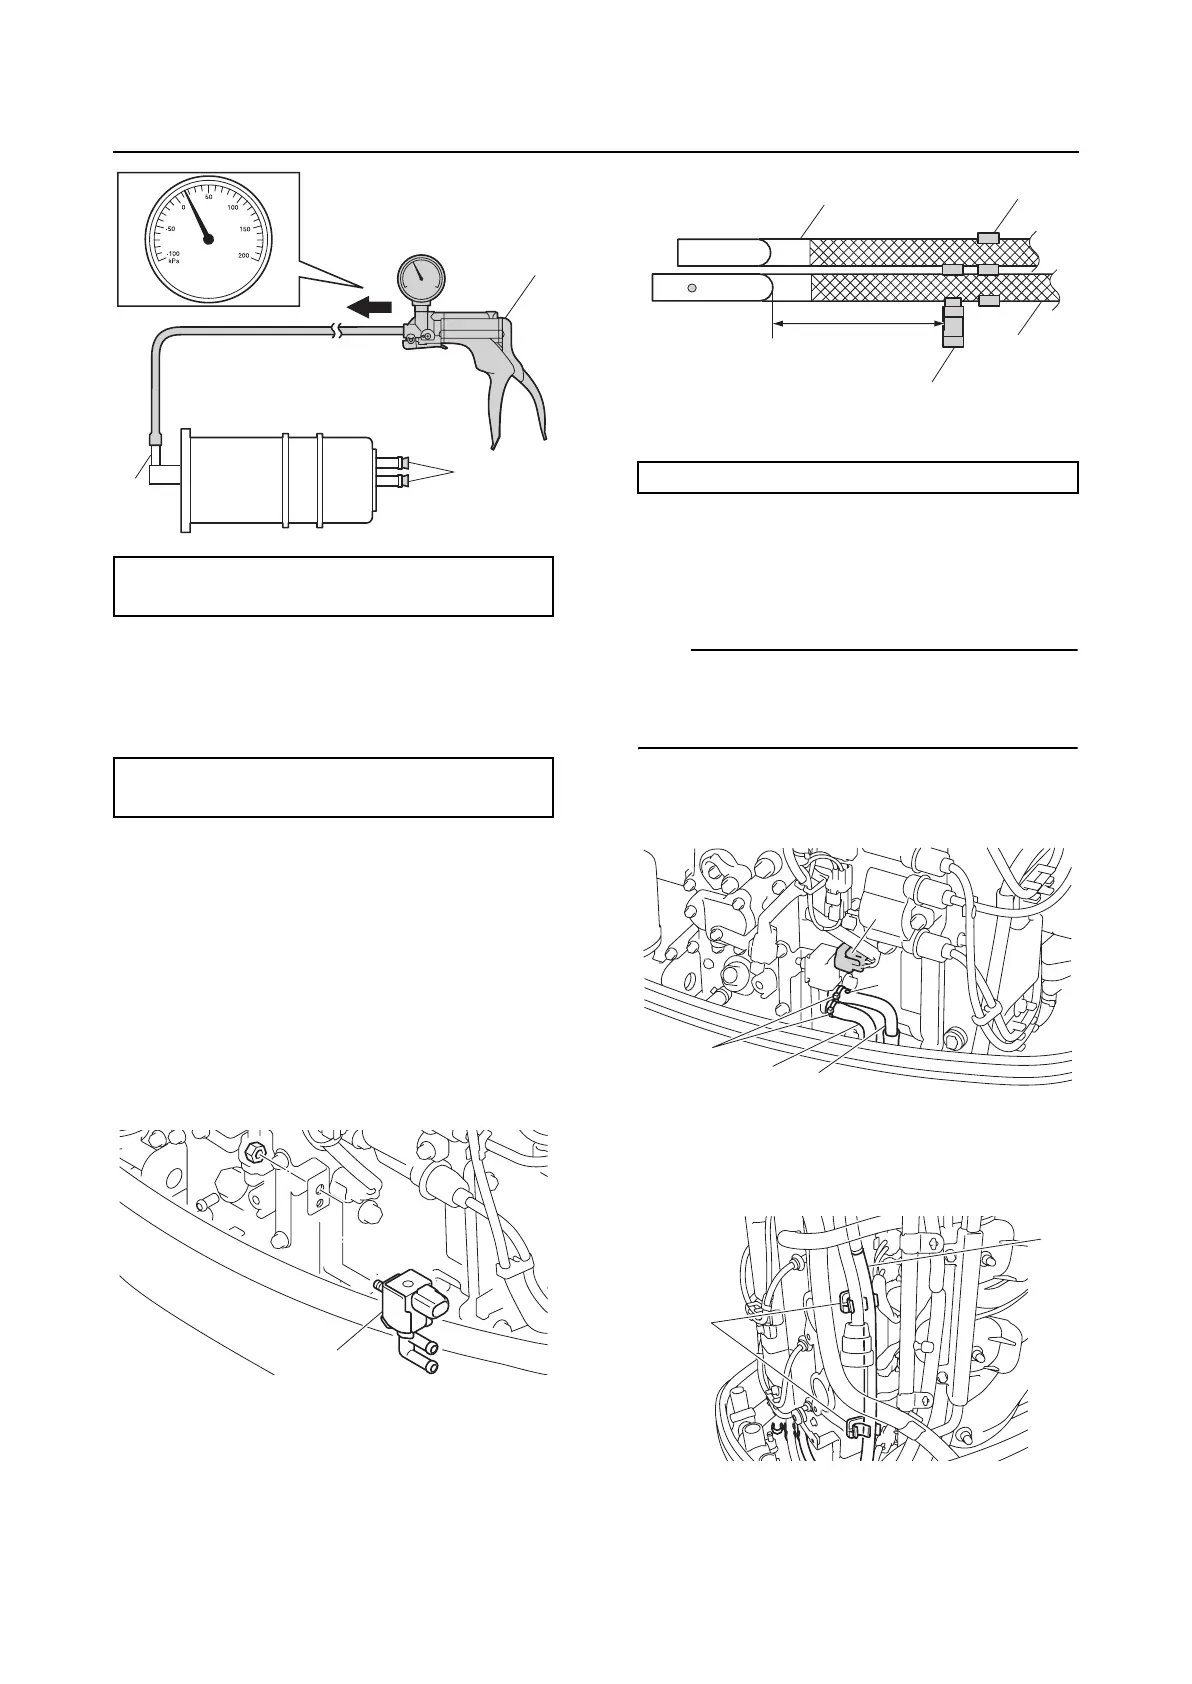
4. Apply the specified positive pressure and
check that there is no air leakage.
Replace the canister if there is air leak-
age.
Checking the vapor shut-off valve
1. Check the vapor shut-off valve exterior.
Replace if cracked.
2. Check the electrical performance of the
vapor shut-off valve. See “Checking the
vapor shut-off valve” (5-18).
Installing the vapor shut-off valve
1. Install the vapor shut-off valve “1”.
2. Install the holders “1” and “2” to the vapor
gas hoses “3” and “4”.
3. Connect the vapor gas hoses “1” and “2”,
and then fasten them using the plastic
ties “3”.
TIP:
Connect the vapor gas hose “1” that has a
white paint mark “a” to the upper port of the
vapor shut-off valve.
4. Connect the vapor shut-of valve coupler
“b”.
5. Connect the vapor gas hose “1”, and
then install the vaper gas hose “1” to the
holders “2”.
Installing the canister
1. Install the bracket “1” and canister “2”.
Vacuum/pressure pump gauge set “1”:
90890-06945
Specified pressure:
19.6 kPa (0.20 kgf/cm
2
, 2.8 psi)
b
a
1
1
Dimension “a”: 100.0 mm (3.93 in)
2
1
a
3
4
2
1
b
a
3
1
2