9-30
Clamp bracket and swivel bracket
0
1
2
3
4
5
6
7
8
9
10
A
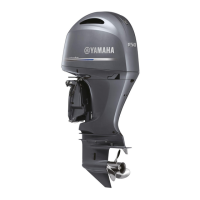
Removing the clamp bracket
1. Remove the PTT unit. See “Removing
the PTT unit” (9-34).
2. Remove the plastic tie “1”.
3. Remove the anode “1” and ground lead
“2”.
4. Remove the trim sensor cam “3”.
5. Remove the ground leads “4” and “5”.
6. Remove the bolt “6” and self-locking nut
“7”.
7. Remove the through tube “8”, and then
disassemble the clamp brackets “9” and
“10”.
8. Remove the trim sensor “1”.
9. Remove the spring “1”, hook “2”, and
pins “3”.
10. Remove the tilt stop levers “1” and “2”,
distance collar assembly “3”, collar “4”,
and bushings “5” and “6”.
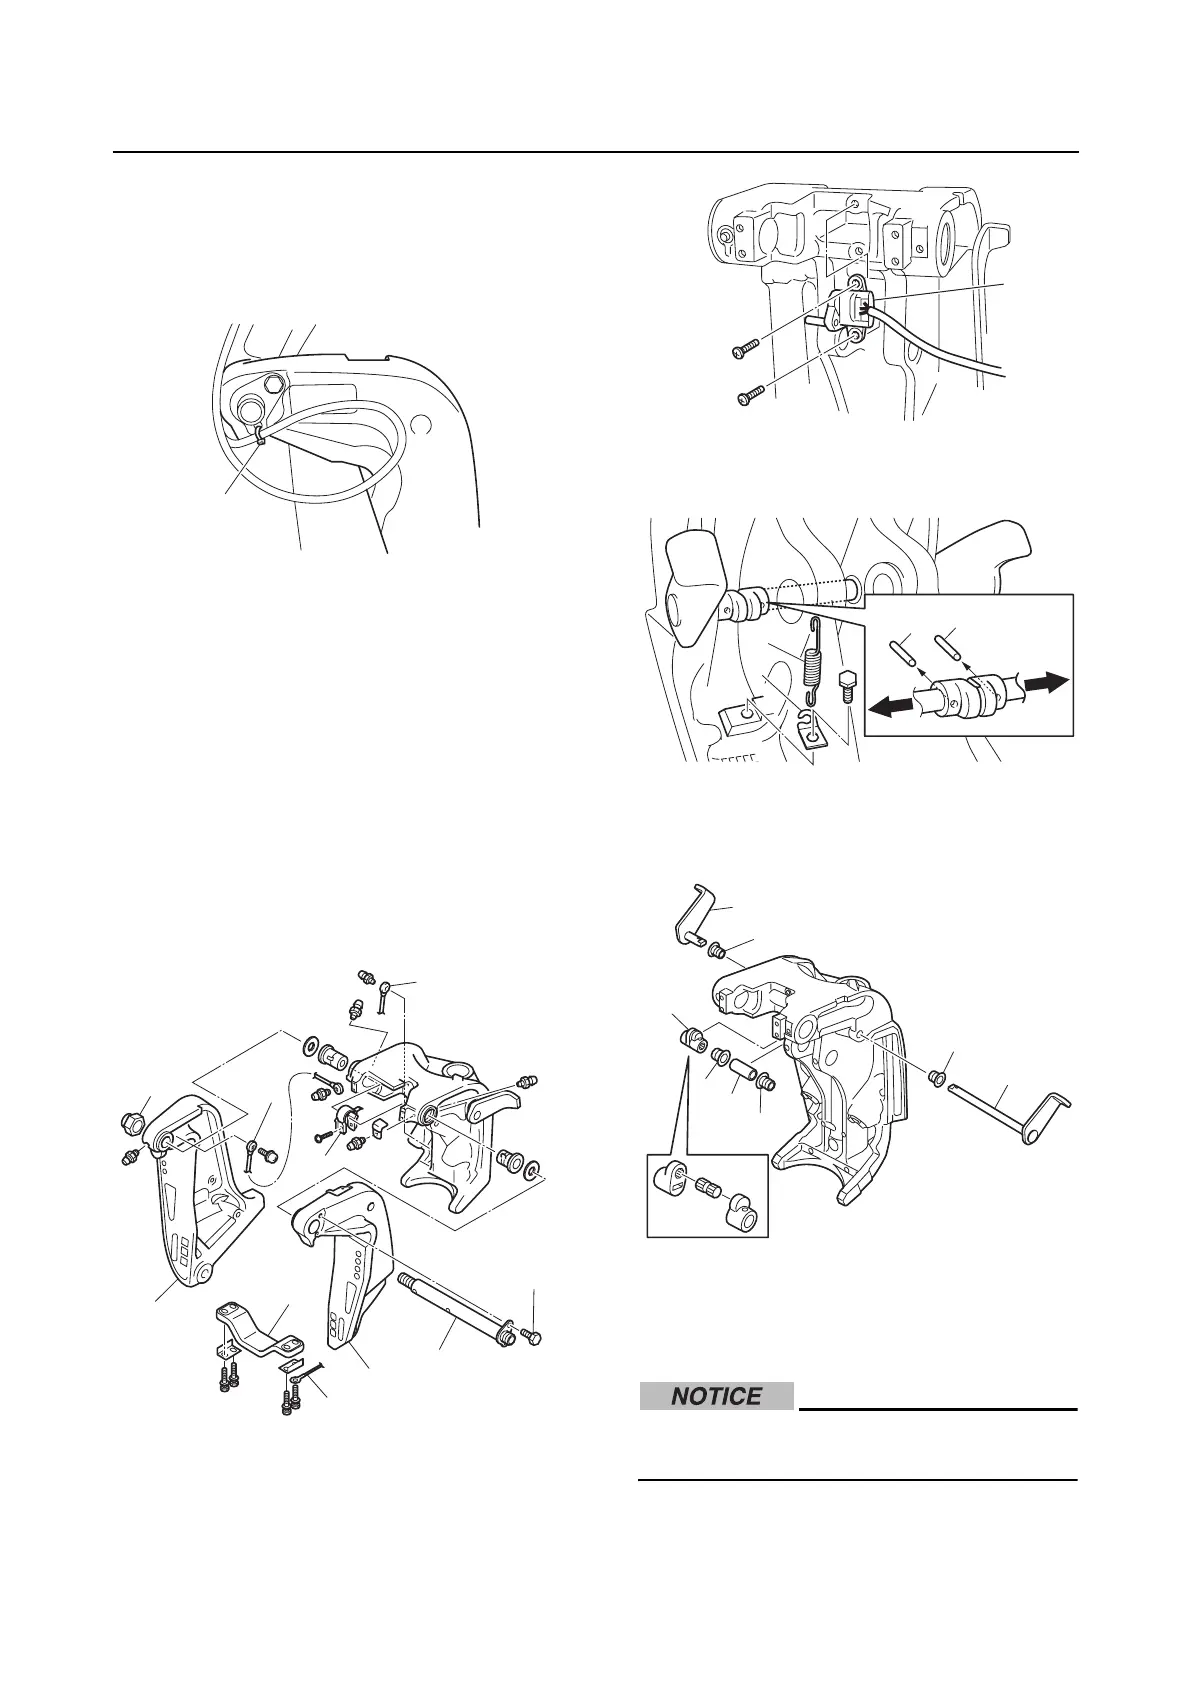
Checking the clamp bracket anode
1. Check the anode. Replace if eroded.
Clean if there is grease, oil, or scales.
Do not apply grease, oil, or paint to the
anode.
Installing the clamp bracket
1. Assemble the distance collar assembly.
1
1
3
5
4
6
7
8
9
10
2
1
1
2
3
3
1
2
3
4
6
5
5
6