9-46
PTT cylinder
0
1
2
3
4
5
6
7
8
9
10
A
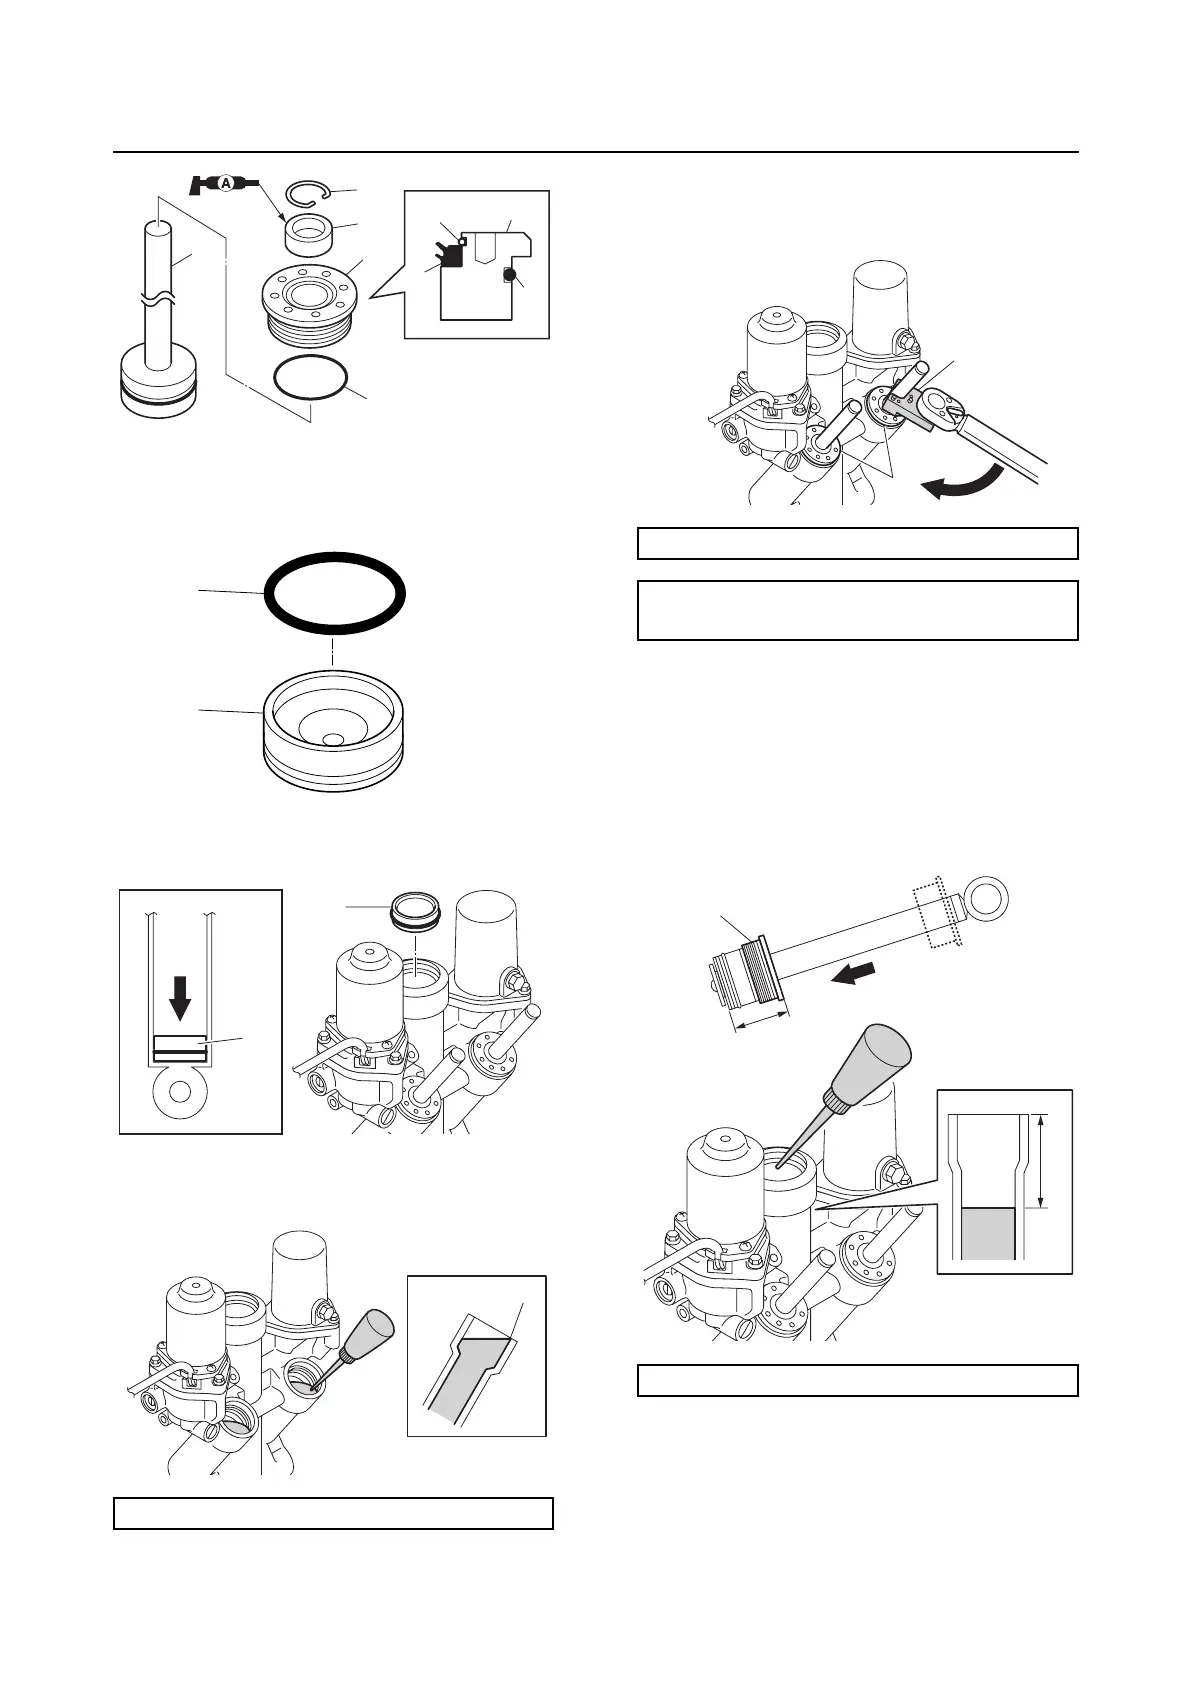
Installing the trim ram
1. Install a new O-ring “1” to the free piston
“2”.
2. Install the free piston “1” and push it
down until it bottoms out.
3. Fill the trim cylinders with the recom-
mended fluid up to the proper level “a”.
4. Install the trim ram assemblies, and then
tighten the trim cylinder end screws “1” to
the specified torque.
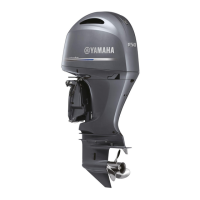
Installing the tilt ram
1. Place the tilt cylinder end screw “1” at the
bottom of the tilt ram.
2. Fill the tilt cylinder and PTT body with the
recommended fluid up to the proper level
“a”.
3. Install the tilt ram assembly, and then
tighten the tilt cylinder end screw “1” to
the specified torque.
Recommended PTT fluid: ATF Dexron II
1
4
2
3
2
1
4
3
5
1
2
1
1
a
Trim & tilt wrench “2”: 90890-06587
Trim cylinder end screw “1”:
160 N·m (16.0 kgf·m, 118.0 ft·lb)
Recommended PTT fluid: ATF Dexron II
1
2
1
a
a