6-8
Fuel filter
0
1
2
3
4
5
6
7
8
9
10
A
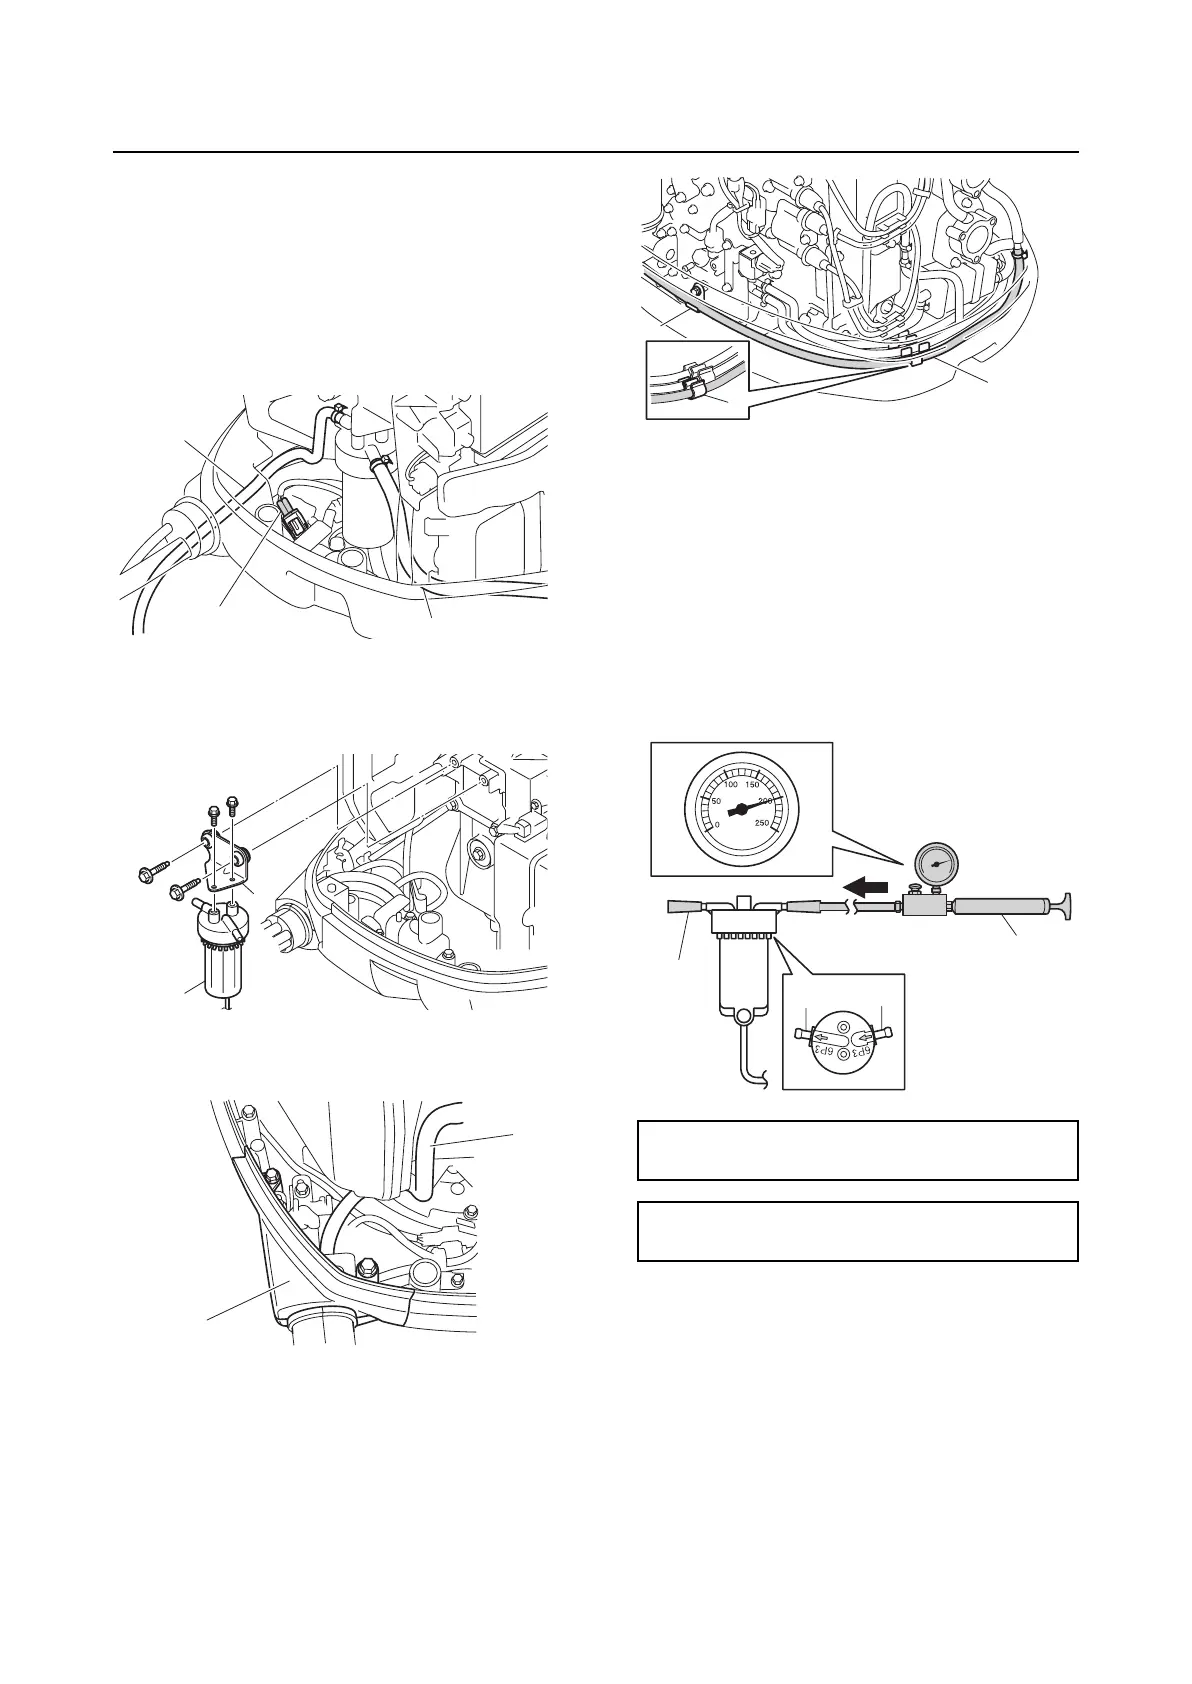
Removing the fuel filter assembly
Cover the fuel components using a rag to
prevent fuel from spilling out.
1. Disconnect the fuel hoses “1” and “2”.
2. Disconnect the water detection switch
coupler “a”.
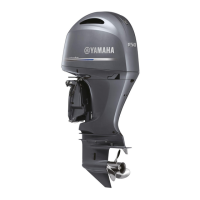
3. Remove the fuel filter assembly “1”.
4. Remove the bracket “2”.
5. Remove the retaining plate “1”, and then
remove the fuel hose “2”.
6. Remove the fuel hose “1” from the hold-
ers “2” and “3”.
7. Disconnect the fuel hose “1”.
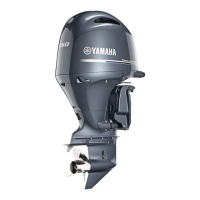
Checking the fuel filter assembly
1. Connect the special service tool “1” to
the fuel inlet “a”.
2. Block the fuel outlet “b” using a rubber
plug “2”, and then apply the specified
positive pressure. Replace the O-ring,
fuel cup assembly, or fuel filter assembly
if the specified pressure cannot be main-
tained for 15 seconds or more.
3. Connect the special service tool “1” to
the fuel outlet “a”.
4. Block the fuel inlet “b” using a rubber
plug “2”, and then apply the specified
negative pressure. Replace the O-ring,
fuel cup assembly, or fuel filter assembly
if the specified pressure cannot be main-
tained for 15 seconds or more.
2
a
1
2
1
1
2
Leakage tester “1”:
90890-06840
Specified positive pressure:
200.0 kPa (2.00 kgf/cm
2
, 29.0 psi)
1
3
2
1
a
2
b