6-15
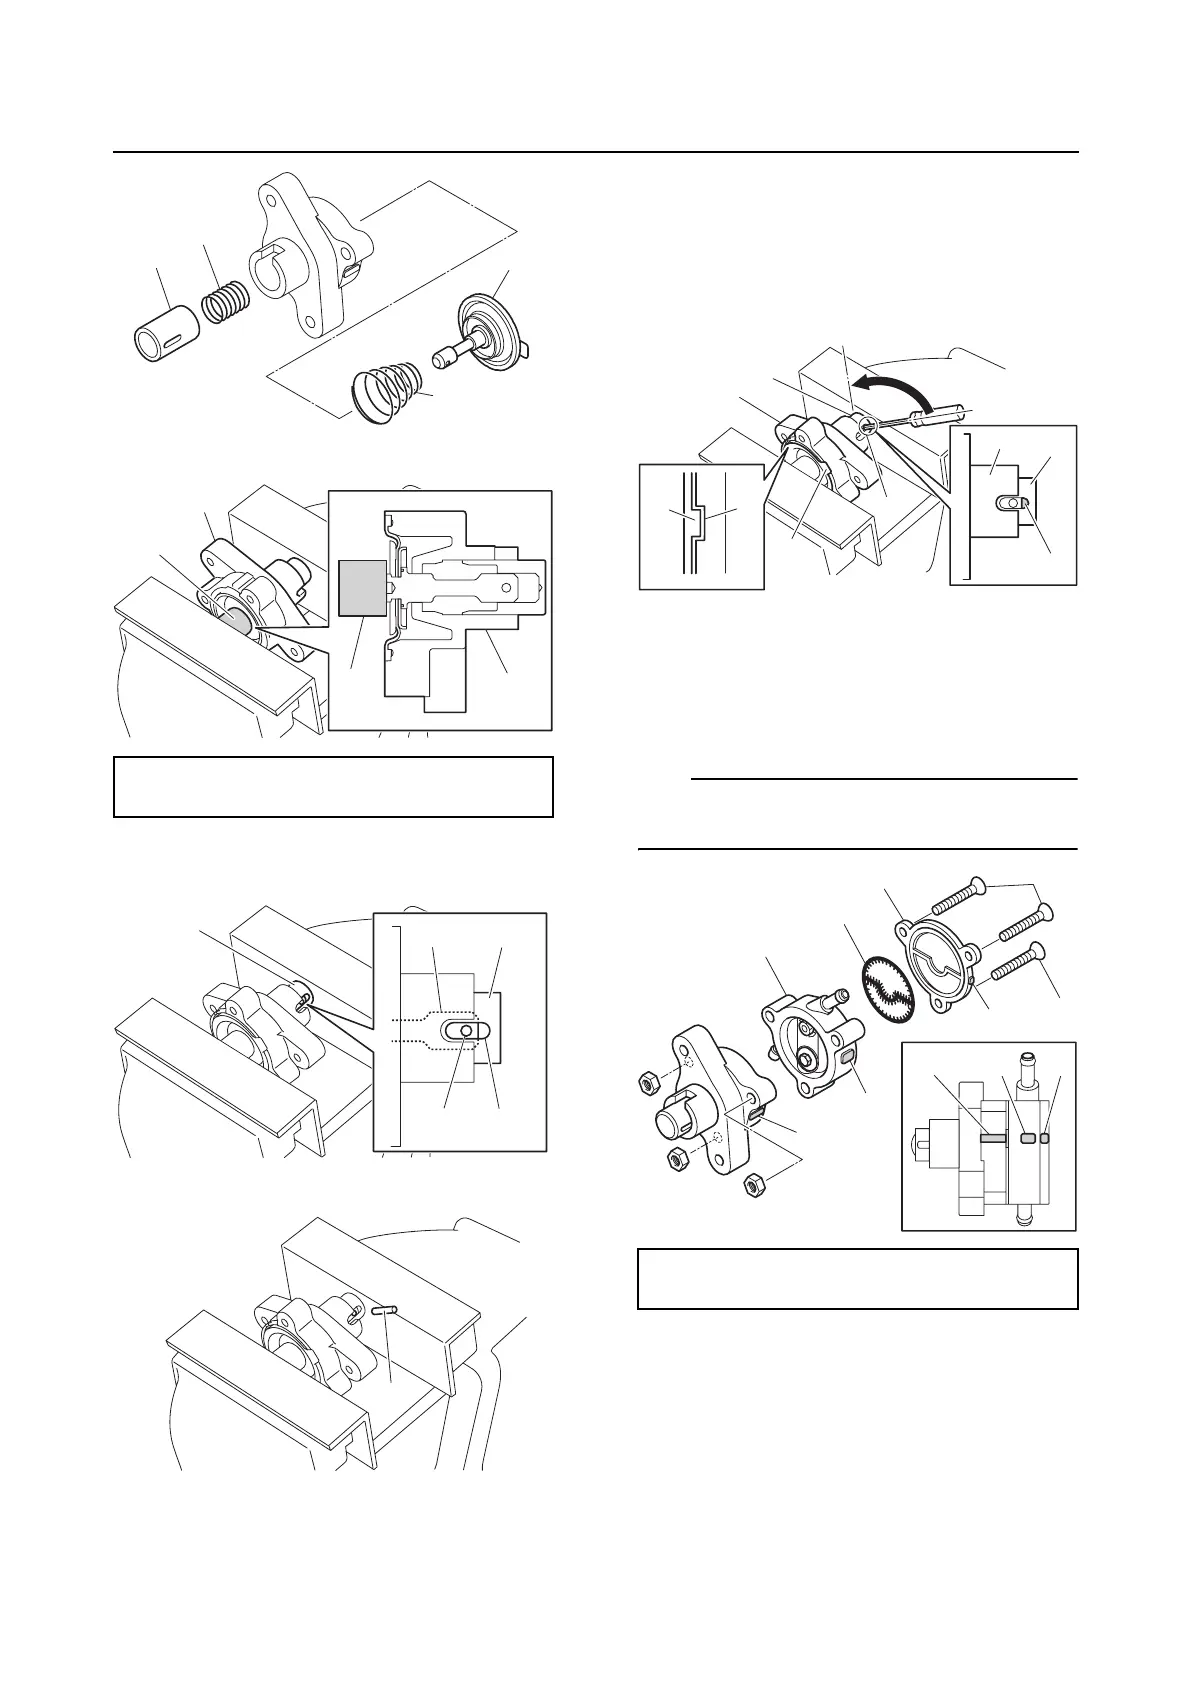
Fuel pump
2. Hold fuel pump body 1 “1”.
3. Align the hole “a” in the plunger “1” with
the hole “b” in the diaphragm “2”.
4. Install the pin “1”.
5. While holding fuel pump body 1 “1” in
place, insert a flathead screwdriver into
the hole “a” in the plunger “2” and turn it
90° until the tab “b” on the diaphragm is
aligned with the slot “c” in fuel pump body
1 “1”.
6. Install fuel pump body 2 “1”, diaphragm
“2”, and cover “3”, and then tighten the
fuel pump screws “4” to the specified
torque.
TIP:
Make sure to align the protrusions “a”, “b”,
and “c”.
Installing the fuel pump assembly
1. Install new O-rings “1” and the fuel pump
assemblies “2”, and then tighten the fuel
pump bolts “3” to the specified torque.
Small end bearing installer “2”:
90890-06528
3
1
2
4
2
1
1
2
1
1
2
a
b
1
Fuel pump screw “4”:
4 N·m (0.4 kgf·m, 3.0 ft·lb)
a
90°
2
1
b
c
a
2
1
b
4
4
c
a
b
c
b
a
1
2
3