266
Saving Groove Clips as Wave Files/ACIDized Wave
Files
Once you have created a Groove clip in SONAR, you can save the clip as a Groove
Clip/Wave file, compatible with ACIDized wave files.
To Save a Groove Clip as a Riff Wave File/ACIDized Wave File
1. If you have not already done so, create a Groove clip. In the Loop Construction
view, click the Save icon.
The Save As dialog appears.
2. Use the toolbar in the Save As dialog to navigate to the location where you
want to save the file.
3. In the File name field, enter a name for the file.
4. Click the Save button.
To Drag and Drop a Groove Clip Into Another Application
You can drag and drop clips from SONAR to another application or to a directory
in Windows. When you drag a file from SONAR, the source file is copied and the
copy is placed in the new directory or application.
Using Pitch Markers in the Track View
Pitch markers change the pitch at which Groove clips sound. All Groove clips in
SONAR that have the Follow Project Pitch option enabled adjust their pitch as
they encounter pitch markers in SONAR. If there are no pitch markers, all Groove
clips play at the default project pitch, unless the Follow Project Pitch parameter is
disabled.
To Enable a Clip’s Follow Project Pitch Option
1. Right-click the clip and choose Clip Properties from the popup menu.
The Clip Properties dialog appears.
2. On the Groove Clips tab, check the Follow Project Pitch checkbox.
3. Make sure that the Reference Note field is correct. When your project reaches
a pitch marker, SONAR transposes each groove clip that has the Follow
Project Pitch option enabled by the difference between the clip’s Reference
Note and the current Project Pitch.
4. Click OK to close the dialog.
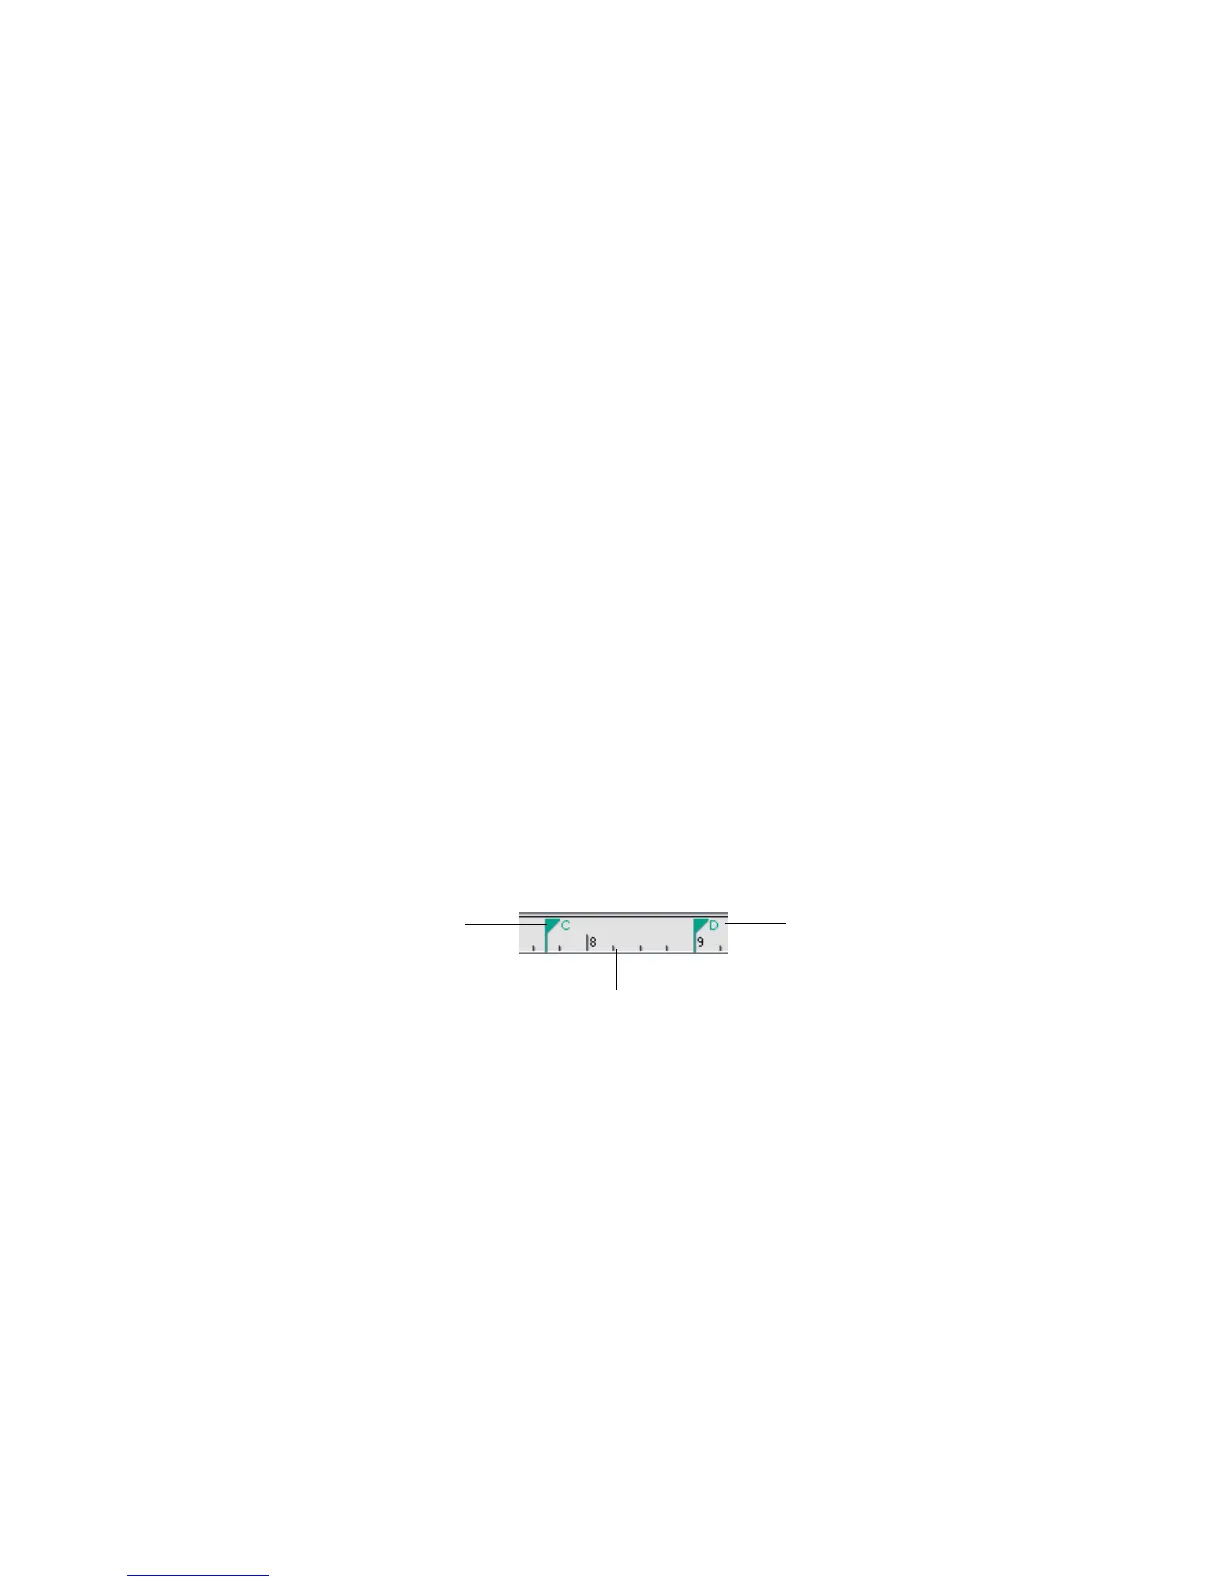
Pitch marker: Groove
clips with Follow
Project Pitch enabled
play with the Root
Note transposed to C
Time Ruler
Pitch marker: Groove
clips with Follow
Project Pitch enabled
play with the Root
Note transposed to D