78
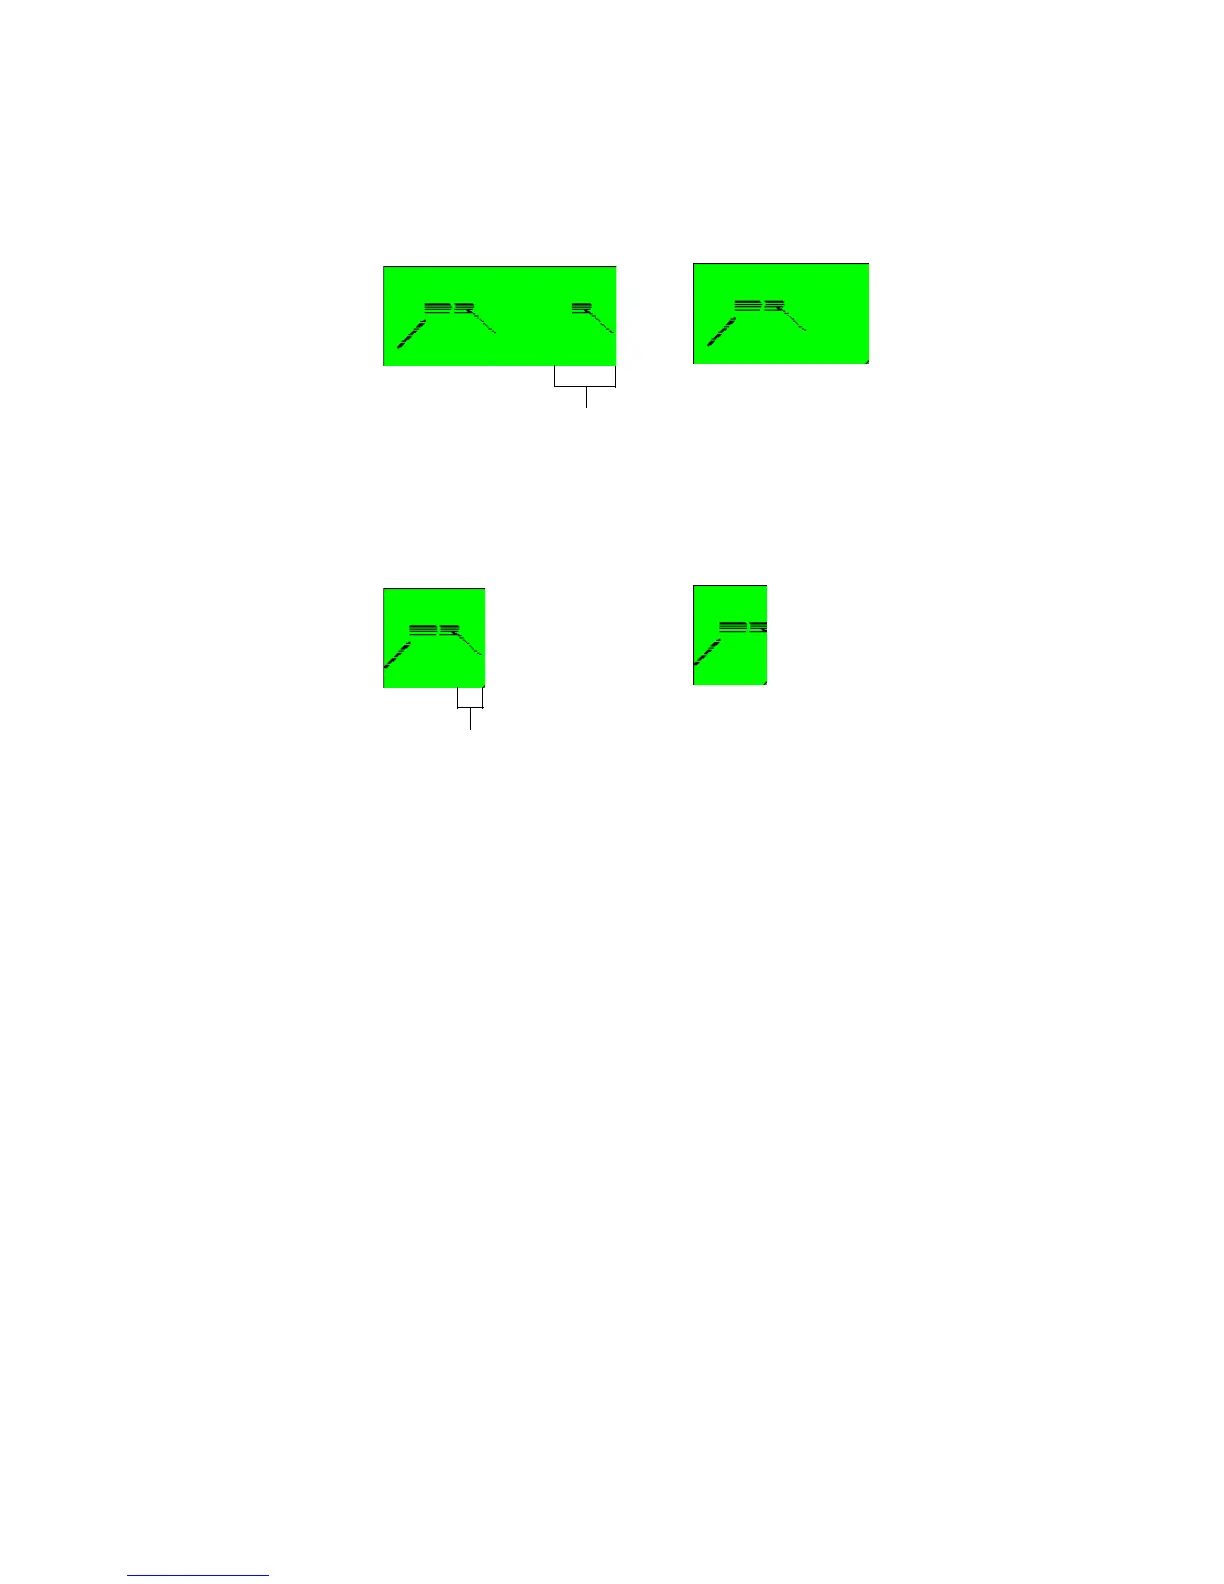
3. In the organ track in the Clips pane, move the cursor over the right end of the
first clip until the cursor changes to a square. Drag the right border to the left
until the MIDI data at the end of the clip is hidden.
Now you can’t hear those notes.
4. Drag the end of the second clip to the left until just the “tail” or glissando of
the data is hidden.
5. In the third clip, hold down both the Alt and Shift keys and drag only the data
inside the clip to the left by about one eighth note.
You can experiment as much as you want with slip editing, all without destroying
any data! For more information about Slip Editing, see “Slip-editing Audio (Non-
destructive Editing)” on page 375.
Drawing MIDI Envelopes
MIDI envelopes are lines and curves you can draw on MIDI data in the Clips pane.
Each envelope produces continuous control over one of the following track
parameters: volume, pan, chorus, reverb, automated mute, or a MIDI controller.
You can show or hide any envelope you create, but the envelope still functions
when it is hidden. For our tutorial, let’s create a MIDI volume envelope.
To Draw and Edit a MIDI Volume Envelope
1. In the Clips pane in the organ track, right-click and choose Envelopes-Create
Track Envelope-Volume (default Ch. 1) from the Clips pane popup menu.
SONAR creates a blue line through the organ track, with a small square dot (a
node) at the beginning of the line. The line shows the initial volume of the
track, if it has an initial volume. Otherwise, it shows a default value.
2. Scroll the Now Time to the next marker by pressing Ctrl+Shift+Page Down;
the marker is called Verse, and is located just before measure nine. Drag the
Hide this region
Like this
Hide this region
Like this