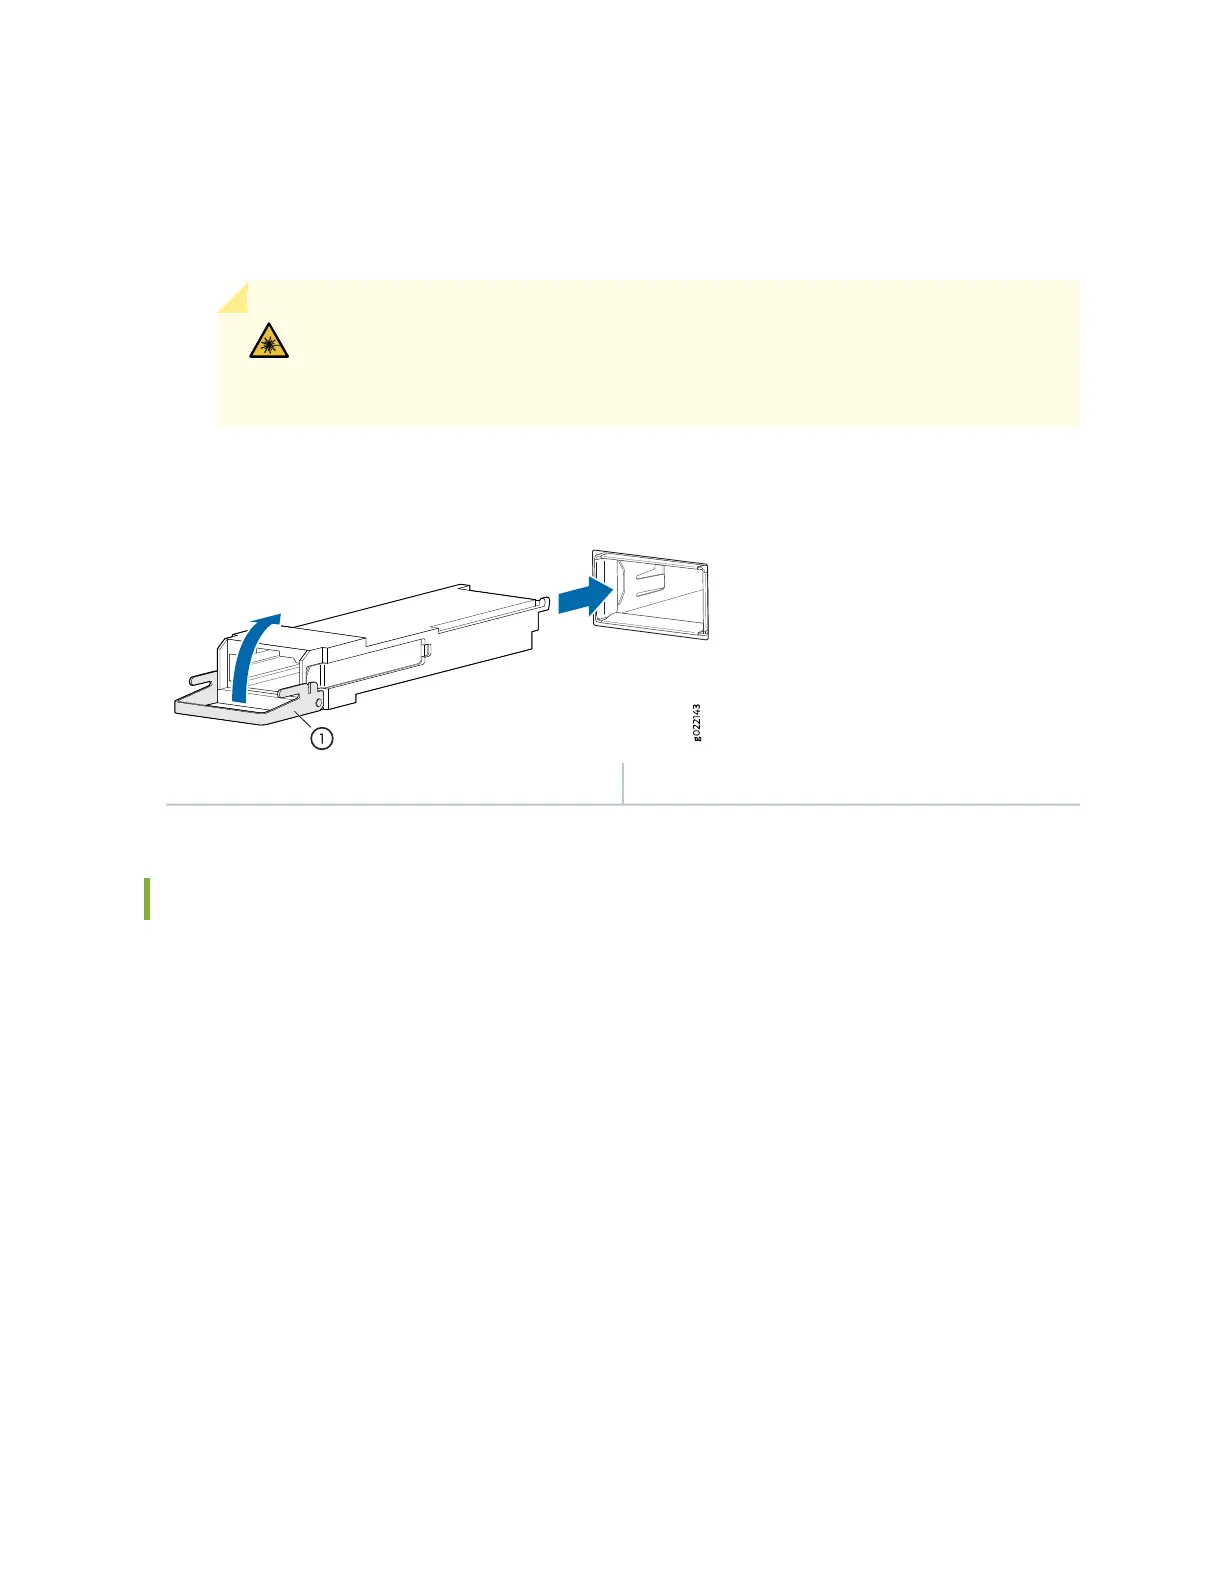
6. Slide the transceiver in gently until it is fully seated. If you are installing a CFP transceiver, tighten the
captive screws on the transceiver by using your fingers.
7. Remove the rubber safety cap when you are ready to connect the cable to the transceiver.
WARNING: Do not look directly into a fiber-optic transceiver or into the ends of
fiber-optic cables. Fiber-optic transceivers and fiber-optic cables connected to
transceivers emit laser light that can damage your eyes.
Figure 179: Install a Transceiver
1—Ejector lever
Disconnecting a Fiber-Optic Cable from a QFX Series Device
The QFX Series has field-replaceable unit (FRU) optical transceivers to which you can connect fiber-optic
cables.
Before you disconnect a fiber-optic cable from an optical transceiver installed in the QFX Series, ensure
that you have taken the necessary precautions for safe handling of lasers (see “Laser and LED Safety
Guidelines and Warnings for the QFX Series” on page 212).
Ensure that you have the following parts and tools available:
•
Rubber safety cap to cover the transceiver
•
Rubber safety cap to cover the fiber-optic cable connector
486

 Loading...


