Repair Information 4-3
4062-XXX
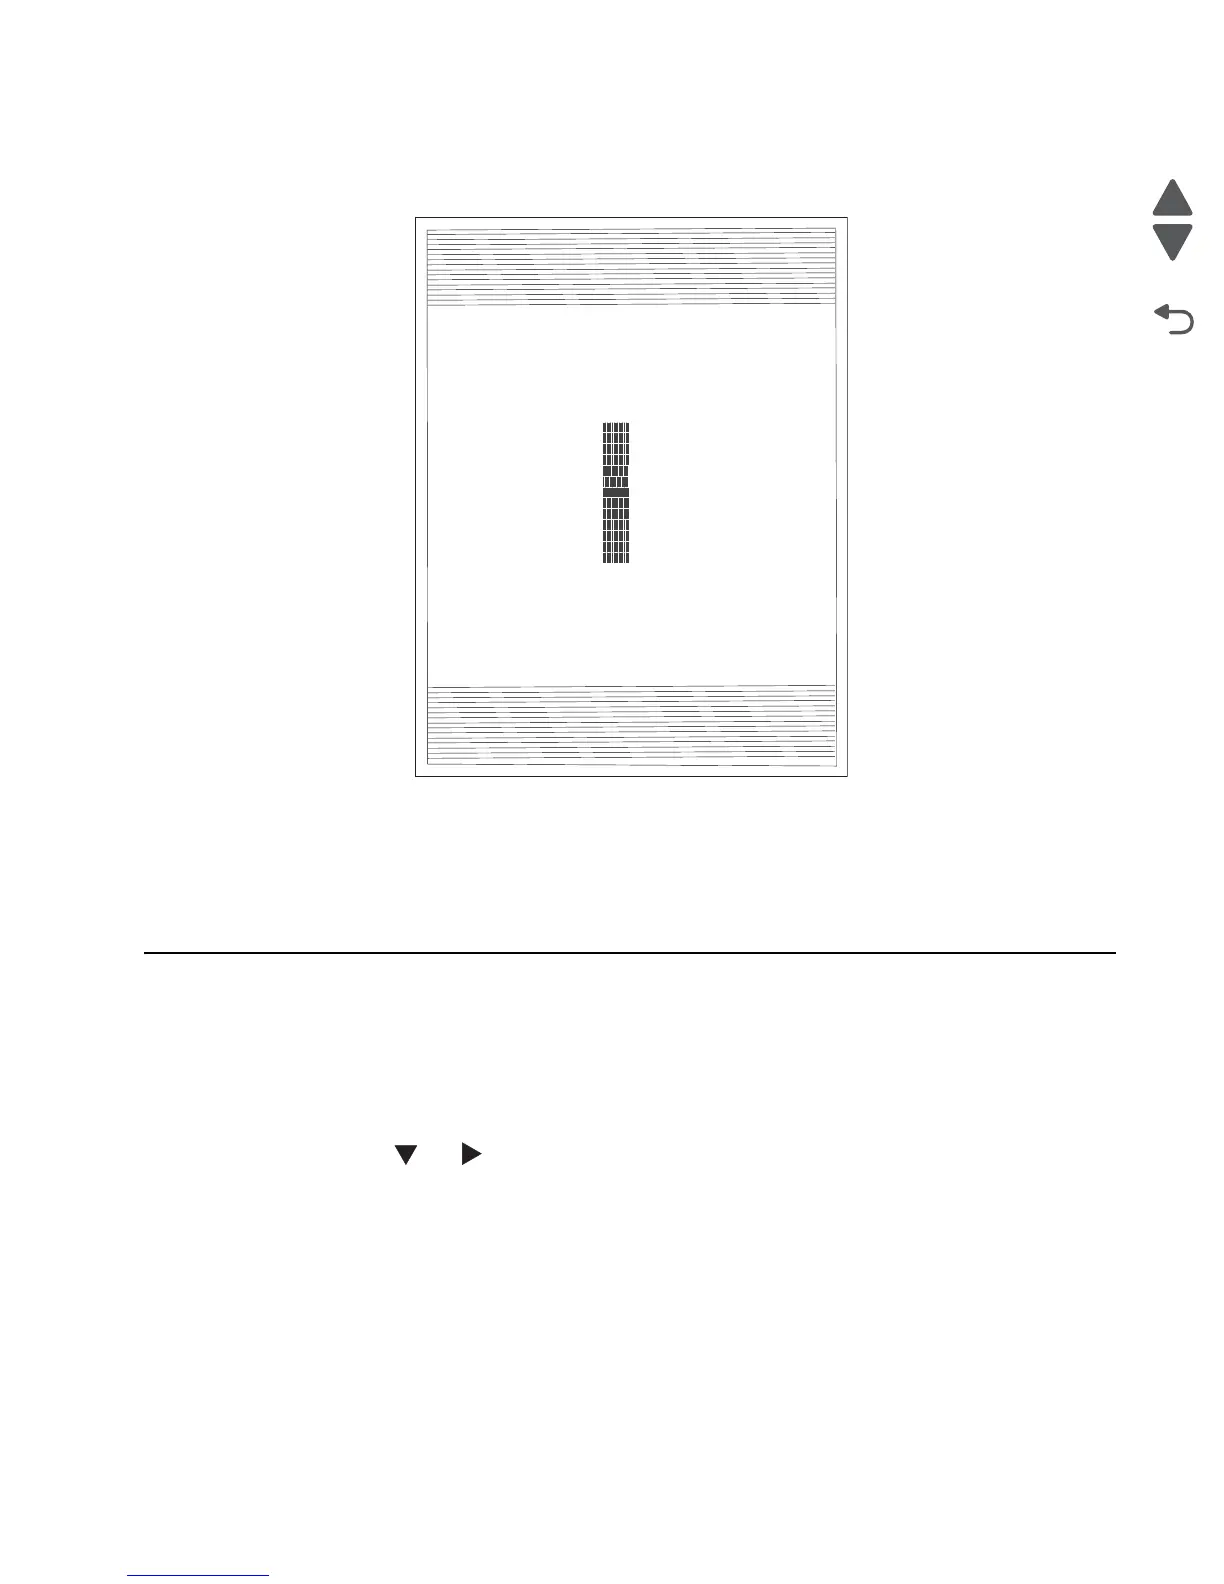
5. Select Quick Test Page. The test page should only be printed on letter or A4 paper from Tray 1. The Quick
Test Page consists of alignment diamonds, horizontal lines that can be used for mechanical registration
adjustment. An example of the printhead alignment printout is shown below:
6. Check the Quick Test Page for any sign of misalignment by checking the diamonds at the top left and top
right of the test page for equal distance from the top of the page. If necessary, rotate the printhead to the left
or right and tighten down the mounting screws and check for proper alignment again by running another
Quick Test Page. This procedure may take two or three attempts before you get satisfactory results.
7. When you have the correct adjustment, ensure that the printhead mounting screws are properly tightened.
Oscillating printhead assembly electronic adjustment
A step-by-step process to align a new printhead.
Note: Before aligning the printhead electronically, first align the printhead mechanically, if needed. Go to “To
perform the mechanical registration adjustment:” on page 4-2.
1. Turn the printer off.
2. Press and hold and to enter the diagnostic mode.
3. Turn the printer on, and release the buttons when Performing Self Test displays.
4. Select Registration from the menu.
5. Select Quick Test Page. The test page should only be printed on letter or A4 paper from Tray 1. The Quick
Test Page consists of alignment diamonds, horizontal lines that can be used for skew adjustment, page
count setting, printer serial number code levels, and print registration settings. An example of the printhead
Loader
Kernel
Base
Network
Netwrk Drvr
Engine
Panel
Font
LF.LBH.P055-0
FFN.APS.F191a-0
LF.LBH.P055-0
NF.APS.N179-0
LF.LBH.P055-0
AF.LB.E037-0
9.9
8.31M02-U5.0
Lexmark Hd
QuickTest
Device Information
Printer Revision Levels
Printer Margin Settings
Page Cou nt
Installed Memory
Processor Speed
31
192 MB
467MHz
Serial Number
0116413
TDS Calibration
00 14 FF 00 00 00 00
Engine ID
40
System Card ID
0004007E24A2
Top Margin
= 5
Bottom Margin
= 0
Left Margin
Right Margin
Dup Top Margin
Dup Left Margin
Paper Source
Formatted Size
= -3
= 0
= 0
= 0
=Tray 1
= Letter
Darkest bar indicates
ADJUSTMENT AMOUNT
for bidirectional alignment
- 12
- 10
- 8
- 6
- 4
- 2
0
+ 2
+ 4
+ 6
+ 8
+ 10
+ 12

 Loading...


