On the controller:
► Press SHIFT + PLAY to activate or deactivate the metronome.
Adjusting the Metronome’s Volume and Time Signature
On your controller you can adjust the volume and time signature of the metronome in the re-
cording settings:
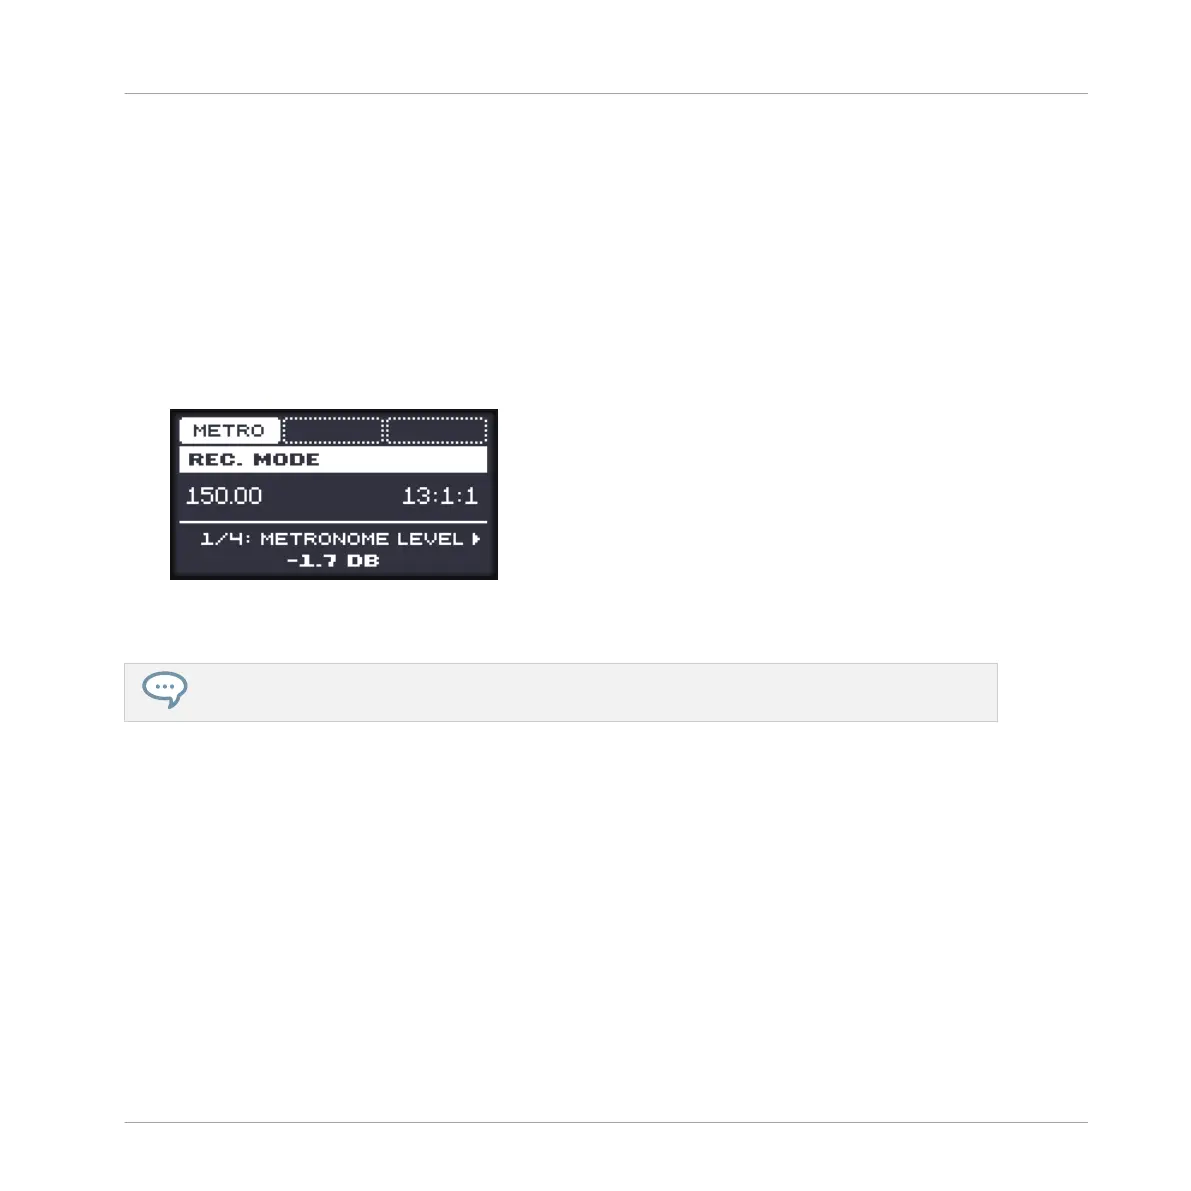
1. Press SHIFT + GRID to show the recording settings.
2. Press the Left Arrow button repeatedly until METRONOME LEVEL appears on the display
and turn the Control encoder to adjust the metronome volume.
3. Press the Left/Right Arrow button to select TIME on the display and turn the Control en-
coder to select a time signature.
While adjusting the metronome settings you can enable/disable the metronome via F1 (METRO).
This is strictly equivalent to pressing SHIFT + PLAY as mentioned above.
11.2.4 Recording with Count-in
Count-in allows you to start the metronome before the sequencer and recording begins. This is
very handy if you want to start recording a Pattern exactly on the downbeat.
When recording starts with a Count-in, the following happens:
▪ The playhead jumps to the beginning of the Loop Range.
▪ You hear the metronome alone during the count-in phase (1, 2 or 4 bars).
▪ After the count-in phase, the recording starts in Overdub mode (see ↑11.2.1, Recording
Your Patterns Live). The metronome turns off if it was off before the Count-in, otherwise it
stays on.
Working with Patterns
Recording Patterns in Real Time
MASCHINE MIKRO - Manual - 471