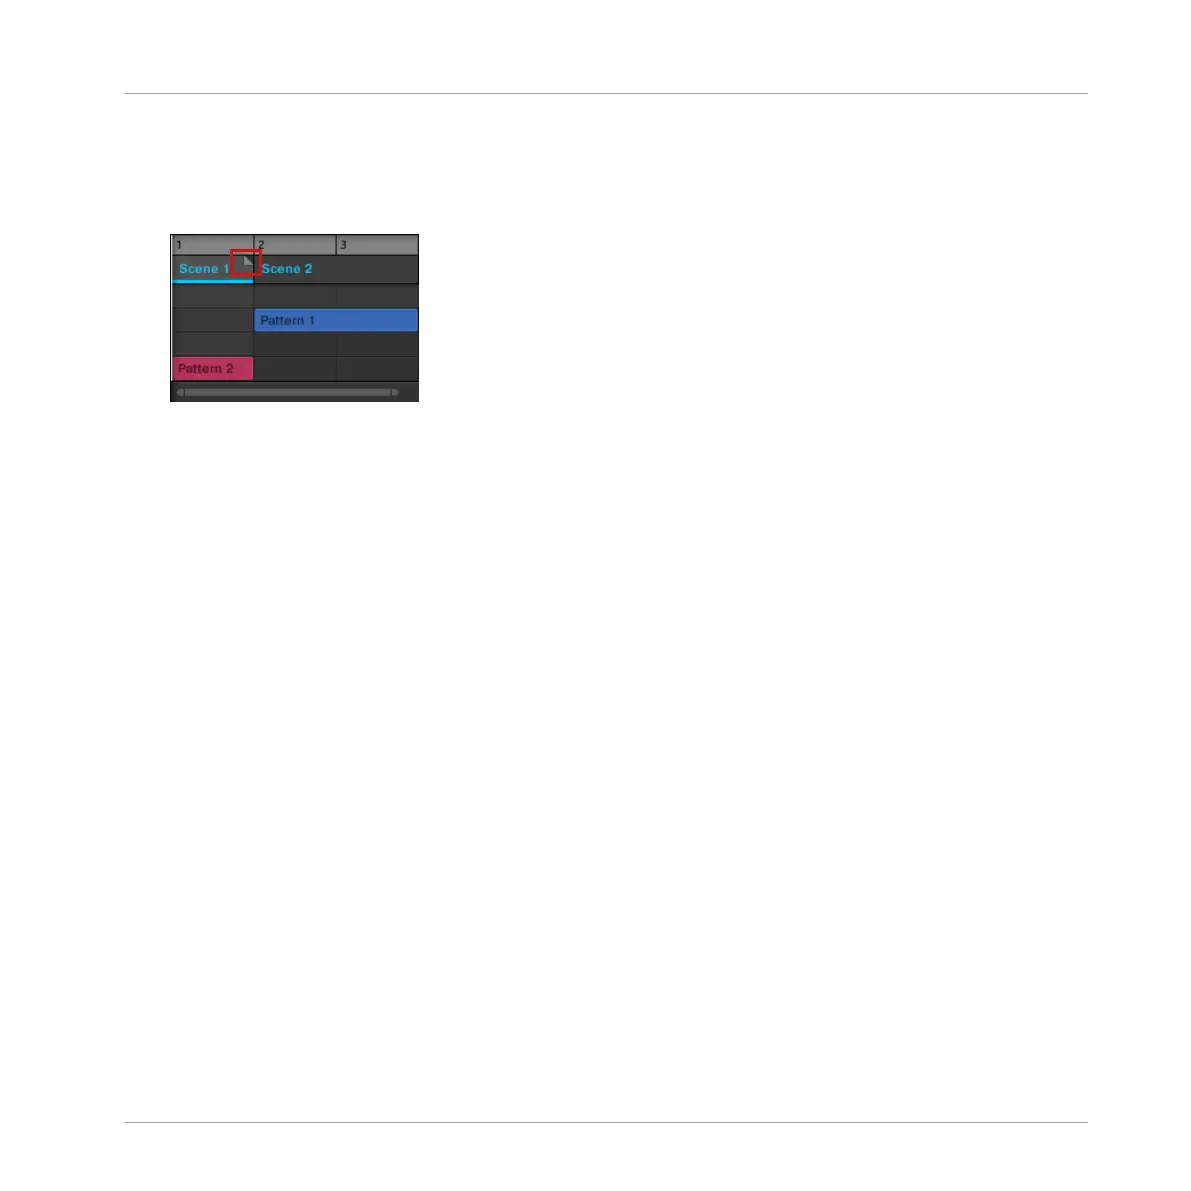
→ The Scene will be shortened, and if the adjustment is shorter than the referenced Pattern
a small Truncated Clip marker will appear on the right-hand side of the Section to indi-
cate that a part of the Scene is hidden. Only the visible part of the Scene will be audible
during playback.
When adjusting the size of a Section the following rules apply:
▪ The value set in the Arrange Grid is used for length increments. For more information on
Arrange Grid, read: ↑16.6, The Arrange Grid.
▪ When [Shift] is pressed while changing the length, the value set in the Step Grid is used.
For more information on Step Grid, read: ↑11.1.7, Adjusting the Step Grid and the Nudge
Grid.
▪ The minimum length a Section marker can be dragged without modifier is one Arrange Grid
increment.
▪ When [Shift] is pressed, the minimum length a Section marker can be dragged is one Step
Grid increment.
▪ The minimum length of a Section equals the minimum Scene length. This can only be ach-
ieved if Arrange Grid or Step Grid is set to Off.
16.3.6.2 Adjusting the Length of a Section Using the Controller
To adjust the length of a Section using your hardware controller:
1. Press the SCENE button to enter the Section mode.
2. Press MAIN/CONTROL (PIN) to pin the page if required.
3. Select the pad relating to the Section you want to adjust.
4. Press the right arrow below the display to select LENGTH.
Working with the Arranger
Using Song View
MASCHINE MIKRO - Manual - 793