187
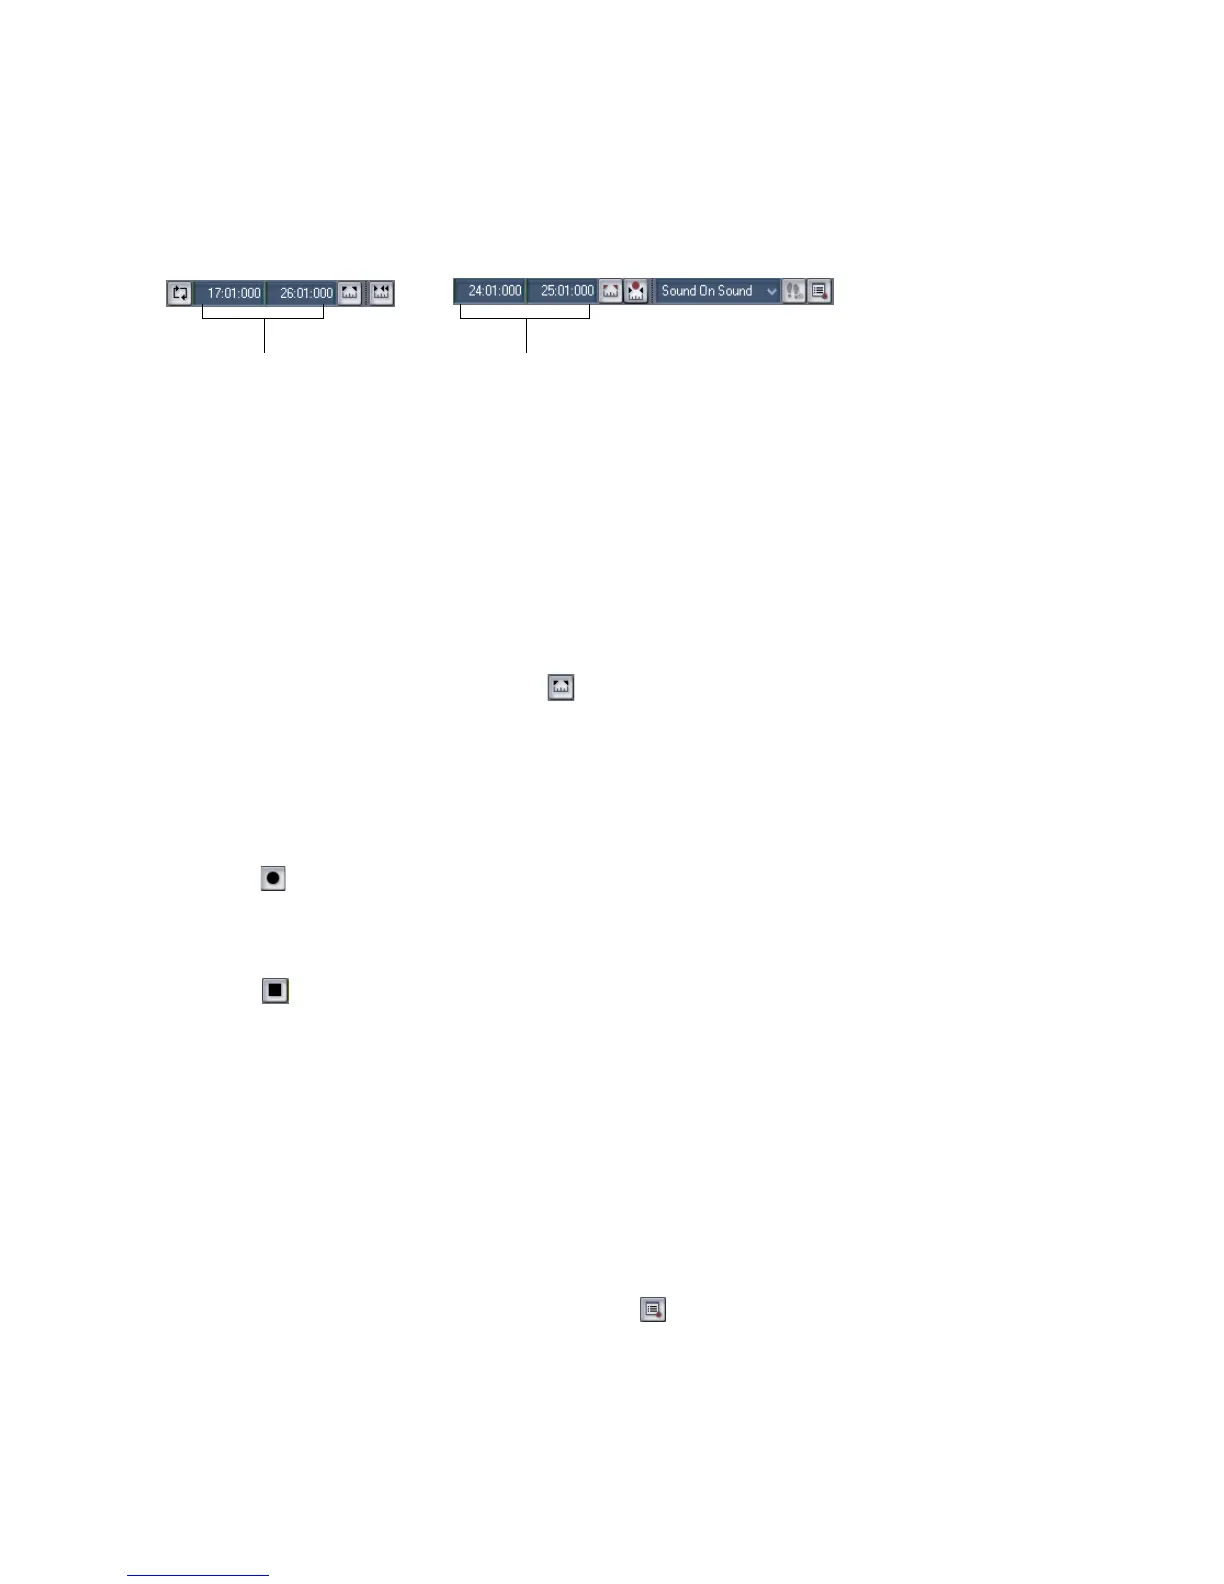
In the example mentioned previously, you could loop from bar 17 to bar 26 but
record only bars 24 and 25. Here’s what this looks like:
To Punch Record
1. Choose the input(s) for the track(s) you want to record, and arm the track(s)
for recording.
2. Enable the Auto Punch button in the Record toolbar (the button is red when
enabled).
3. Set the start and end times in one of the following ways:
• Enter the times directly on the toolbar
• Select a range of time and click on the Record toolbar
• Select a range of time, then right-click in the Time Ruler and choose Set
Punch Points
4. Choose either Sound on Sound or Overwrite from the Record toolbar.
5. Set the Now time to a point where you want to start playback.
6. Click , or press r, or choose Transport-Record. If your metronome count-in
is turned on, it will play the count-in measures or beats.
7. Play or perform the material you want to record.
8. Click , or press the Spacebar, or choose Transport-Stop to stop recording.
The material you play during the punch time is recorded in the chosen track,
either replacing any existing material (Overwrite mode) or blending with it (Sound
on Sound mode).
To Use Punch While Looping
1. Choose the input for the track(s) you want to record, and arm the track(s) for
recording.
2. Set the loop start and end times.
3. Set the punch start and end times, as described previously.
4. Choose Transport-Record Options, or click on the Record toolbar, to
display the Record Options dialog box.
5. Choose to stack all takes in a single track or to store them in separate tracks.
The punch starts and ends here
The loop starts and ends here