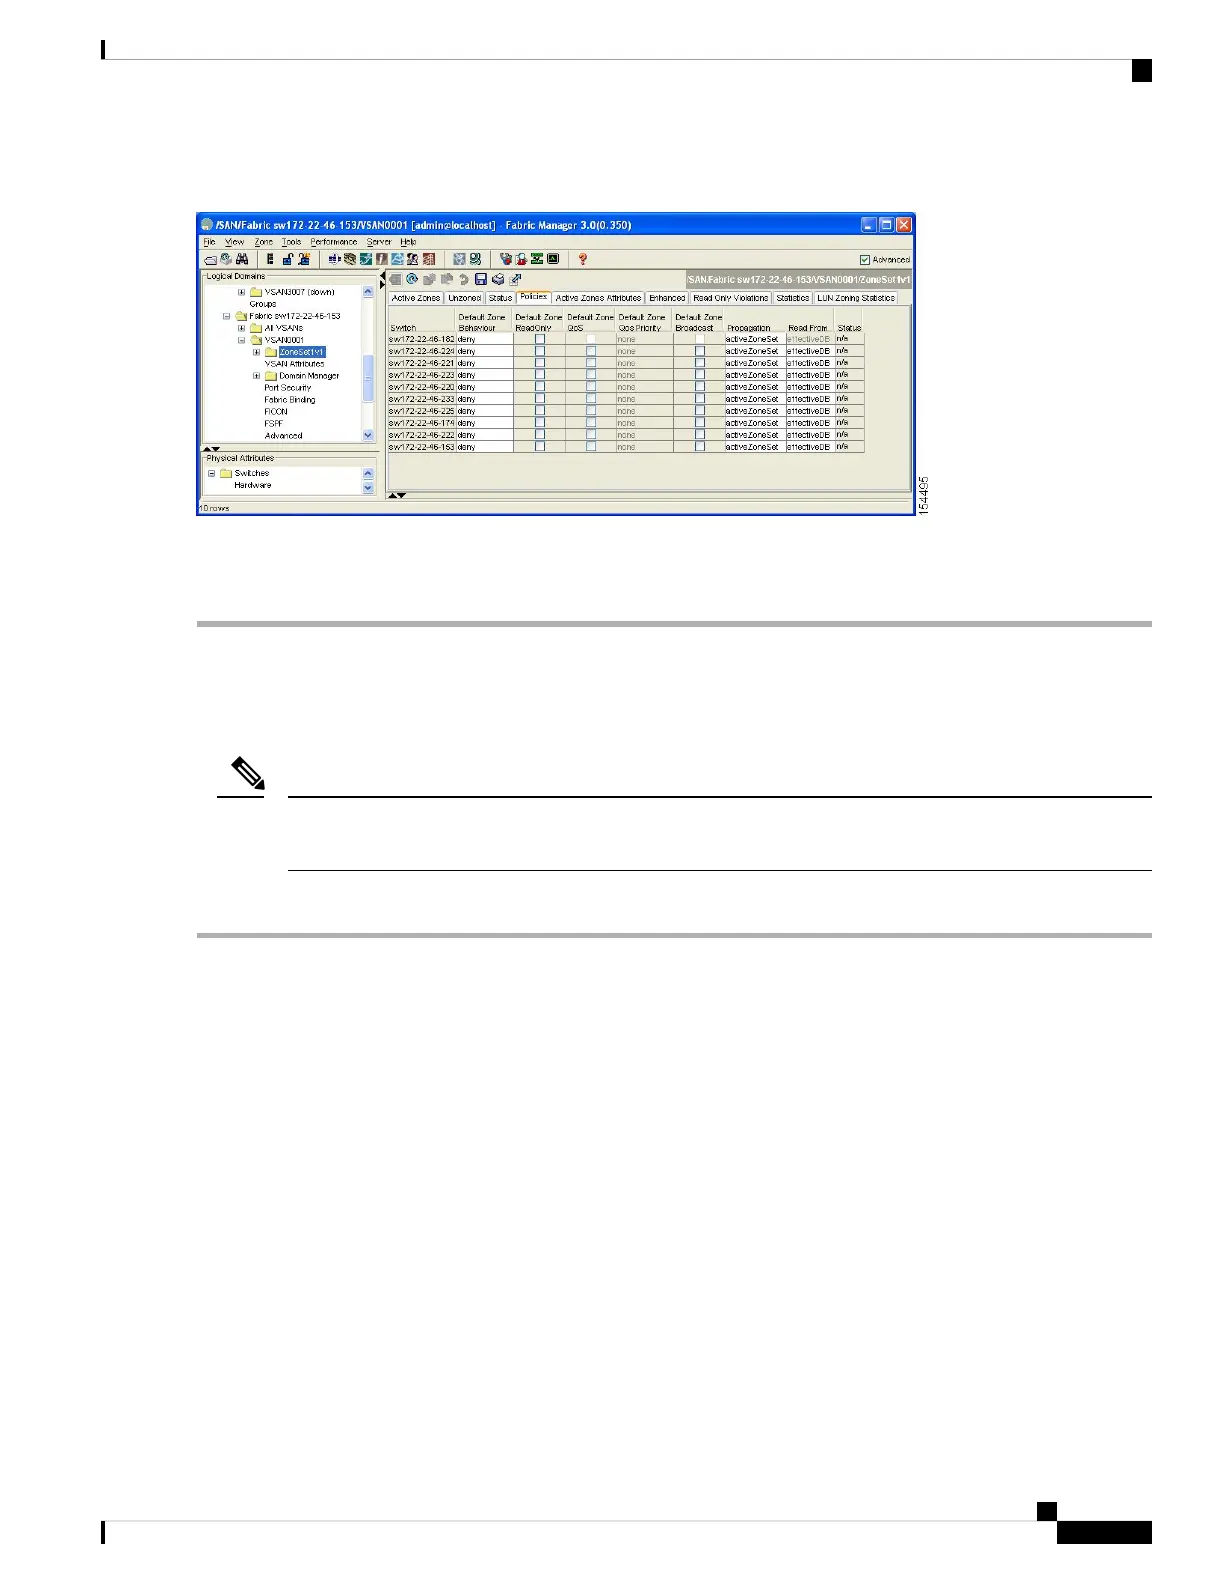
Figure 38: Zone Policies Tab in the Information Pane
Step 3 Use the check boxes and drop-down menus to configure QoS on the default zone.
Step 4 Click Apply Changes to save the changes.
Configuring Default Zone QoS Priority Attributes
QoS priority attribute configuration changes take effect when you activate the zoneset of the associated zone.
If a member is part of two zones with two different QoS priority attributes, the higher QoS value is implemented.
This situation does not arise in the VSAN-based QoS as the first matching entry is implemented.
Note
To configure the QoS priority attributes for a default zone, follow these steps:
Step 1 switch# configure terminal
Example:
switch(config)#
Enters configuration mode.
Step 2 switch(config)# zone default-zone vsan 1
Example:
switch(config-default-zone)#
Enters the default zone configuration submode.
Step 3 switch(config-default-zone)# attribute qos priority high
Sets the QoS priority attribute for frames matching these zones.
Step 4 switch(config-default-zone)# no attribute qos priority high
Cisco MDS 9000 Series Fabric Configuration Guide, Release 8.x
91
Configuring and Managing Zones
Configuring Default Zone QoS Priority Attributes

 Loading...