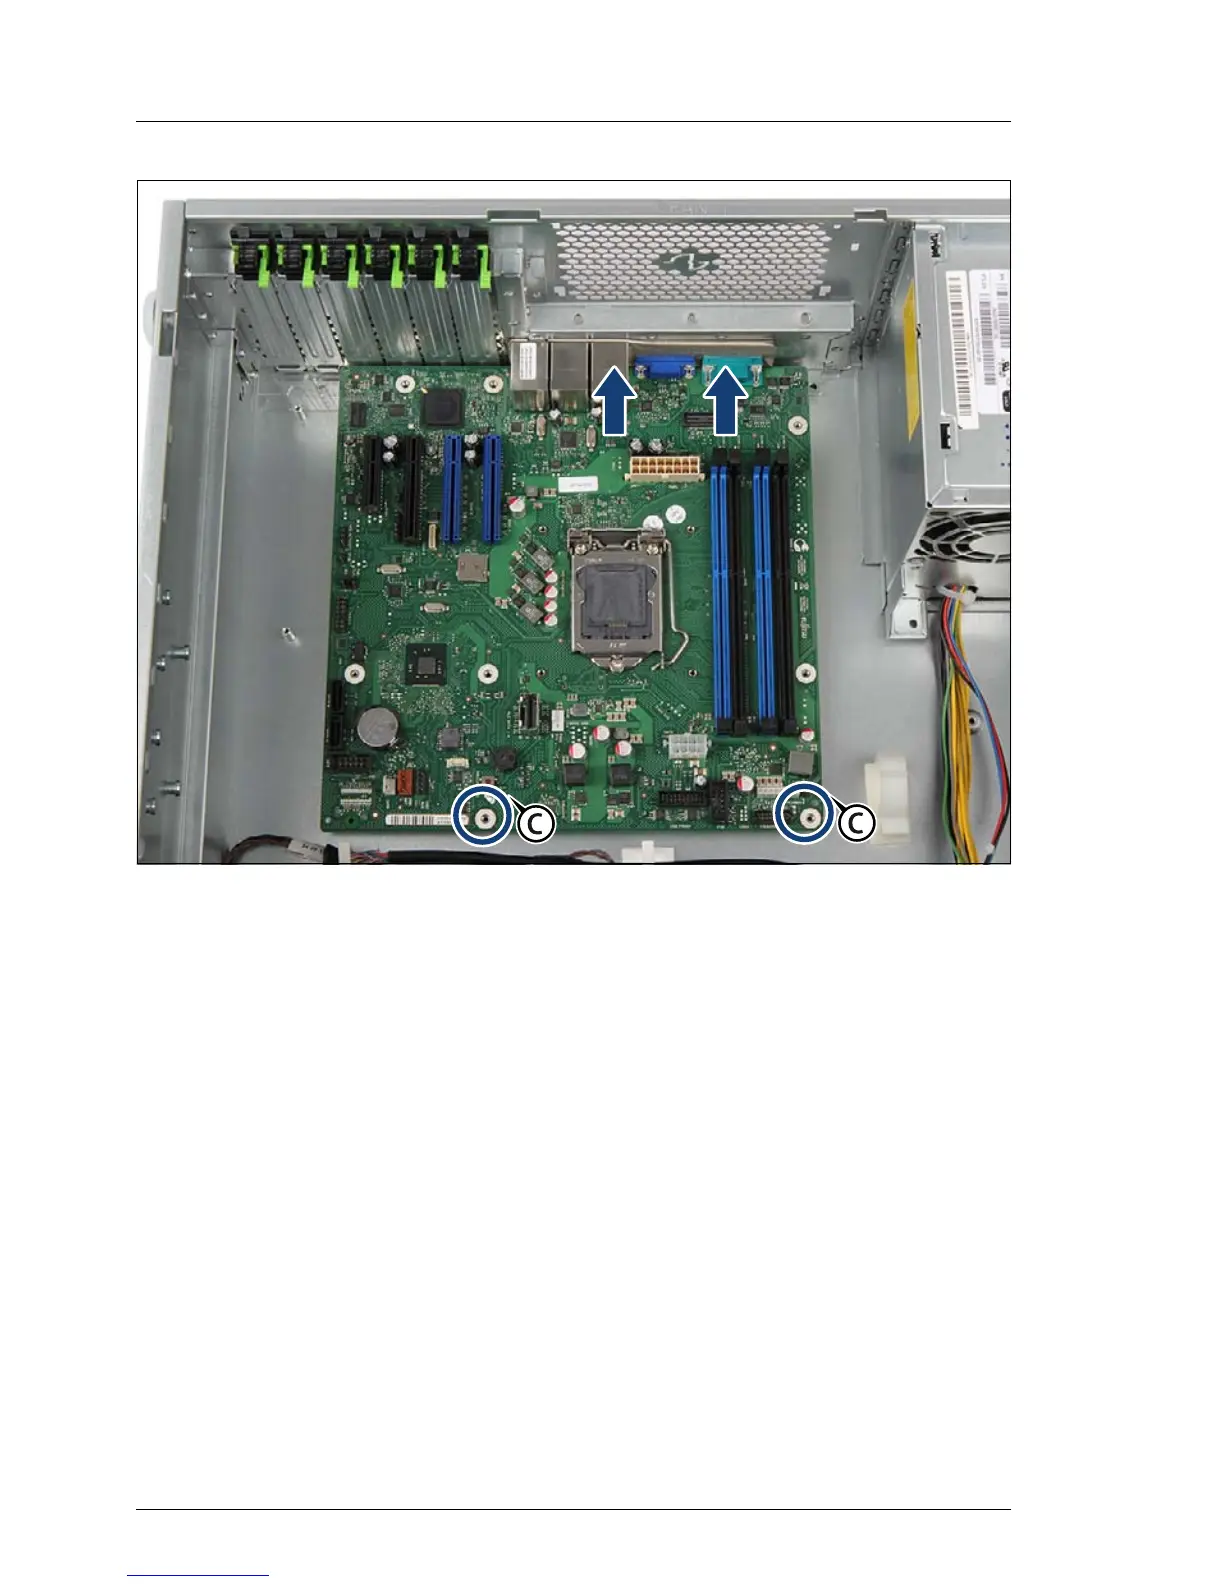
Figure 191: Installing the system board (B)
Ê Carefully shift the system board towards the server rear until the plug shells
engage with the cut-outs in the connector panel.
Ê Lower the system board onto the centering bolts (C).
Ensure that the system board is properly seated on both centering bolts.
Ê Secure the system board with eight screws (see circles in figure 186 on
page 306).
I Screw torque: 0.6 Nm (not applicable for the Japanese market)
Tighten the screws in a cross diagonal pattern.

 Loading...