EasyManuals Logo

Juniper QFX5110 Series User Manual

Juniper QFX5110 Series
669 pages
To Next Page IconTo Next Page
To Previous Page IconTo Previous Page
Page #306 background imageLoading...
Page #306 background image
Figure 68: Attaching Mounting Rails to the QFX5100-96S
g050304
4. Attach the mounting rail to the switch using the mounting screws (and cage nuts and washers if your
rack requires them). Tighten the screws.
5. Repeats steps 4 and 5 on the opposite side of the switch.
6. Have one person grasp both sides of the switch, lift it, and position it in the rack so that the front
bracket is aligned with the rack holes.
7. Have a second person secure the front of the switch to the rack using four mounting screws (and cage
nuts and washers if your rack requires them.) Tighten the screws. See Figure 69 on page 282 and
Figure 70 on page 283 for examples of connecting the mounting rails and blades.
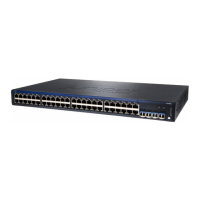
Figure 69: Attach 1 U Switch to Rack
g004477
282

Table of Contents

Questions and Answers:

Question and Answer IconNeed help?

Do you have a question about the Juniper QFX5110 Series and is the answer not in the manual?

Juniper QFX5110 Series Specifications

General IconGeneral
Rack Units1U
Operating SystemJunos OS
Form FactorFixed
ManagementCLI, SNMP, NETCONF
Operating Temperature32°F to 104°F (0°C to 40°C)
Storage Temperature-40°F to 158°F (-40°C to 70°C)
Humidity5% to 90% non-condensing
AC Power Input100-240 VAC
Power SupplyRedundant, hot-swappable

Related product manuals