3. Locate the power cord or cords shipped with the switch; the cords have plugs appropriate for your
geographical location. See “AC Power Cord Specifications for a QFX Series Device” on page 154.
WARNING: Ensure that the power cord does not block access to device components
or drape where people can trip on it.
4. Connect each power supply to the power sources. Insert the coupler end of the power cord into the
AC power cord inlet on the AC power supply faceplate.
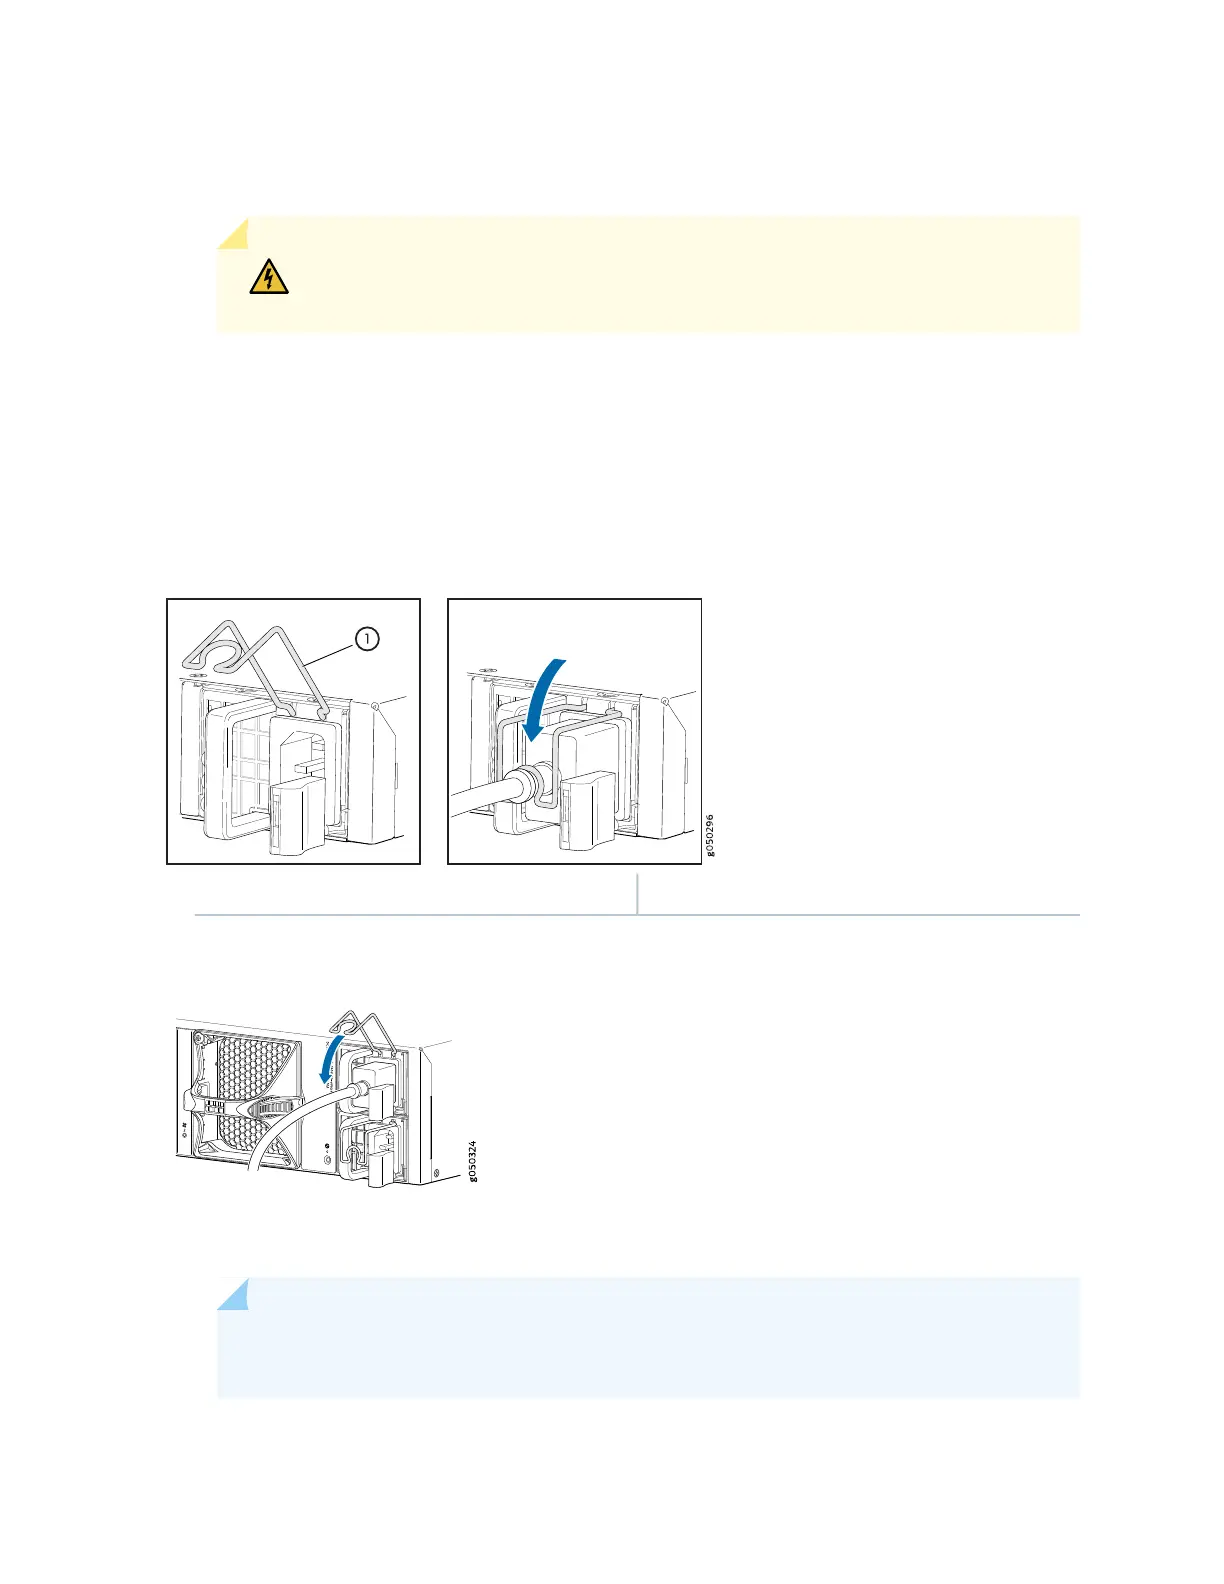
5. Push the power cord retainer onto the power cord (see Figure 74 on page 287 and Figure 75 on page 287).
Figure 74: Connecting an AC Power Cord to an AC Power Supply in a 1 U QFX5100 Device
1—Power cord retainer
Figure 75: Connecting an AC Power Cord to an AC Power Supply in a 2 U QFX5100 Device
6. If the AC power source outlet has a power switch, set it to the OFF (O) position.
NOTE: The switch powers on as soon as power is provided to the power supply. There is no
power switch on the device.
287

 Loading...


