Ensure that you have the following parts and tools available to install a fan tray in a QFX3500 device:
•
ESD grounding strap
To install a fan tray in a QFX3500 device (see Figure 162 on page 458):
1. Attach the ESD grounding strap to your bare wrist, and connect the strap to the ESD point on the
chassis.
2. Taking care not to touch the connectors, remove the fan tray from its bag.
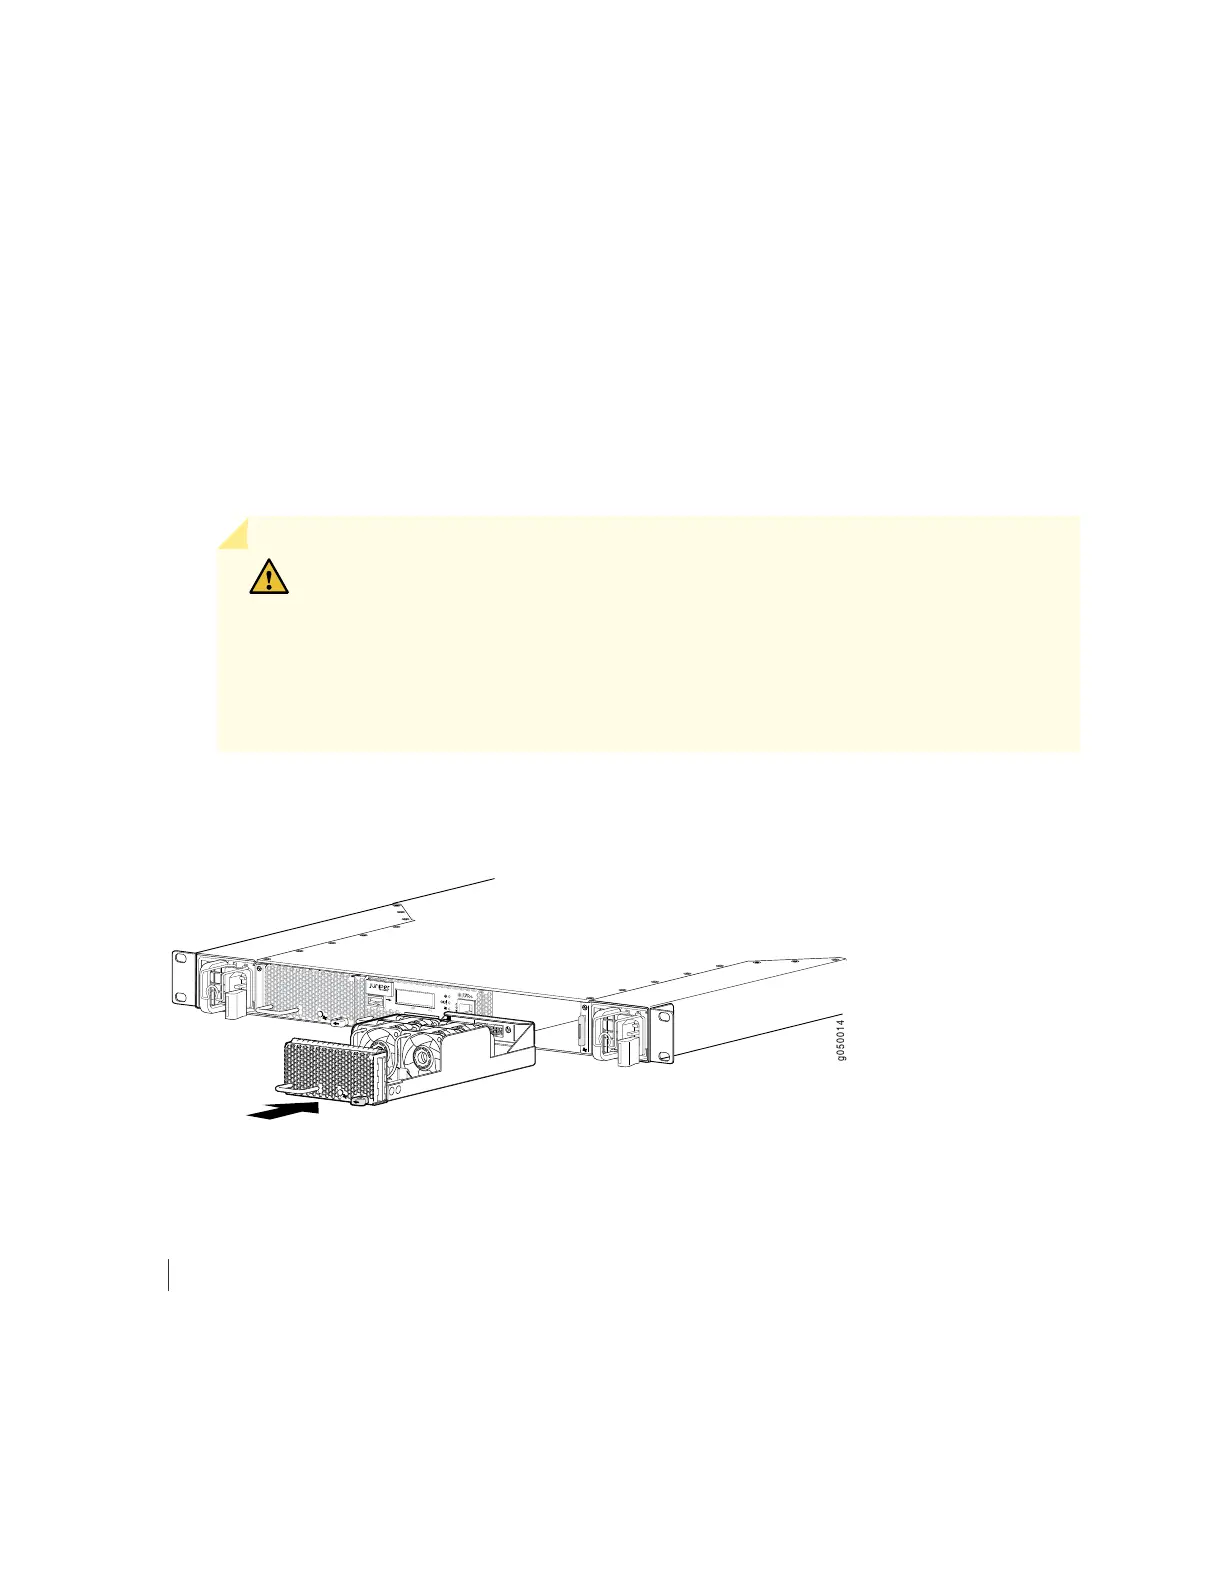
3. Using both hands, align the tray with the fan tray slot on the front panel of the chassis and slide it in
until it is fully seated and the locking lever slides into place.
CAUTION: Damage can occur if you attempt to install a fan tray into a chassis with
a different airflow direction. Check the device model to ensure that you are installing
a fan tray with the same airflow direction as the chassis. The fan trays are designed
so that they can only be inserted into the QFX3500 device model that supports
the same airflow type. See Cooling System and Airflow for a QFX3500 Device for
more information.
Figure 162: Installing a Fan Tray in a QFX3500 Device
RELATED DOCUMENTATION
Removing a Fan Tray from a QFX3500 Device | 459
458
 Loading...


