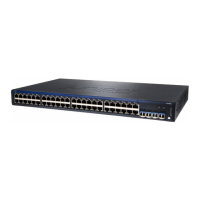
Table 112: Chassis Viewer for EX4500 Switches (continued)
DescriptionField
Mouse over the module to display details of the intraconnect module. The intraconnect
module helps the switch achieve line rate on all its ports.
Intraconnect module
Mouse over to display details of the switches in the Virtual Chassis configuration.Virtual Chassis module
Table 113: Chassis Viewer for EX4550 Switches
DescriptionField
Front View
In the image, the colors listed below denote the interface status:
•
Green—Interface is up and operational.
•
Yellow—Interface is up but is nonoperational.
•
Gray—Interface is down and nonoperational.
Mouse over the interface (port) to view more information.
For a Virtual Chassis configuration, select the switch to view the interface status.
If an expansion module or a Virtual Chassis module is installed in the switch, mouse over
the interface (ports) on the module for more information.
On an EX4550-32F switch, for SFP and SFP+ ports, the interfaces appear dimmed if no
transceiver is inserted. The chassis viewer displays Transceiver (1G/10G) not plugged in
when you mouse over the port icon.
Interface status
LCD panel configured for the LEDs on the ports. Mouse over the icon to view the current
character display.
LCD panel
The console port is used to connect the switch to a management console or to a console
server.
Console port
The mini console port is used to connect the switch to the management console.Mini Console port
The management port is used to connect the switch to a management device for out-of-band
management. Use this port for initial switch configuration.
Management (me0) port
You can insert an uplink module or a Virtual Chassis module in the PIC1 slot. Mouse over
to display the details of the module inserted (uplink or Virtual Chassis).
PIC1 slot
555

 Loading...


