Sampling mode
342
If you select one side of a stereo sample, it will
automatically be detected as a stereo sample, and the other
side of the sample will also be processed by the Link
command.
If the “Front” Sample is mono and the Rear Sample is stereo,
the L and R of the “Rear” Sample will be mixed to mono
before linking.
If the “Front” Sample is stereo and the “Rear” Sample is
mono, the identical sample will be placed in L and R of the
“Rear” Sample before linking.
4. Use Rear Sample No. to select the sample number that
will be linked.
When the command is executed, this sample will be placed
in back.
5. In Crossfade Length, specify the length over which the
crossfade will occur.
If you specify a % value, the proportion in relation to the
entire “Front” Sample will be calculated automatically. If
you specify 50%, the last half of the “Front” Sample will
crossfaded.
If the rear sample is short, the Crossfade Length cannot
be set any longer than the length of the “Rear”sample.
In this case, it will not be possible to specify a value up
to 100%.
After selecting a sample in step 1, you can set “Start” and
specify the beginning of the crossfade while viewing the
waveform. Set “End” to the end of the sample. If you specify
these, Crossfade Length will indicate the length determined
by “Start” and “End.”
6. In “Curve,” specify how you want the volume to
change in the crossfaded portion.
Linear: The volume will change linearly.
Power: The volume will change non-linearly. In some cases,
Linear may sound as though the volume diminishes in the
middle of the curve. If this occurs, use Power.
7. In “Save to No.,” specify the save destination sample
number.
An unused sample number will be selected by default.
The sample number cannot be specified if “Overwrite” is
checked. For more information, please see “About
“Overwrite”” on page 329.
For stereo samples, use “Save to No.(L)” and “(R)” to
specify the save-destination of the L and R channels.
8. To execute the Link command, press the OK button. To
cancel without executing, press the Cancel button.
If you link samples of different sampling rates (such as
created by Rate Convert), the newly created sample
will have the sampling rate of the “Front” sample.
One vacant sample is used in order to execute Link. Be
aware that if there are no vacant samples, an error will
occur.
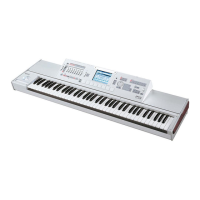
Grid
This command displays a grid in the “sample waveform
display.”
When you set the Grid to On and execute this command,
vertical dotted lines will appear in the “sample waveform
display” according to the specified resolution (Resolution)
and tempo (Grid 1–1d, 2–1d).
Use the grid when you wish to cut the sample data or
determine waveform starting locations based on BPM
values or beats.
Note: The vertical dotted lines will be shown starting at the
Start (when Loop is off) or Loop S (when Loop is on) (P2:
Loop Edit) addresses, and are calculated according to the
playback when the sample is played by the currently
selected key (displayed in gray) (Keyboard & Index 0–1a).
1. Use Sample Select (1–1b) to select a sample.
2. Select “Grid” to open the dialog box.
3. Use the On/Off radio buttons to switch the grid on or
off.
4. In Resolution, select the desired resolution for the grid.
The grid that appears will be determined by this setting and
by the Grid (1–1d, 2–1d) setting in the page.
5. To execute the settings, press the OK button. To cancel,
press the Cancel button.
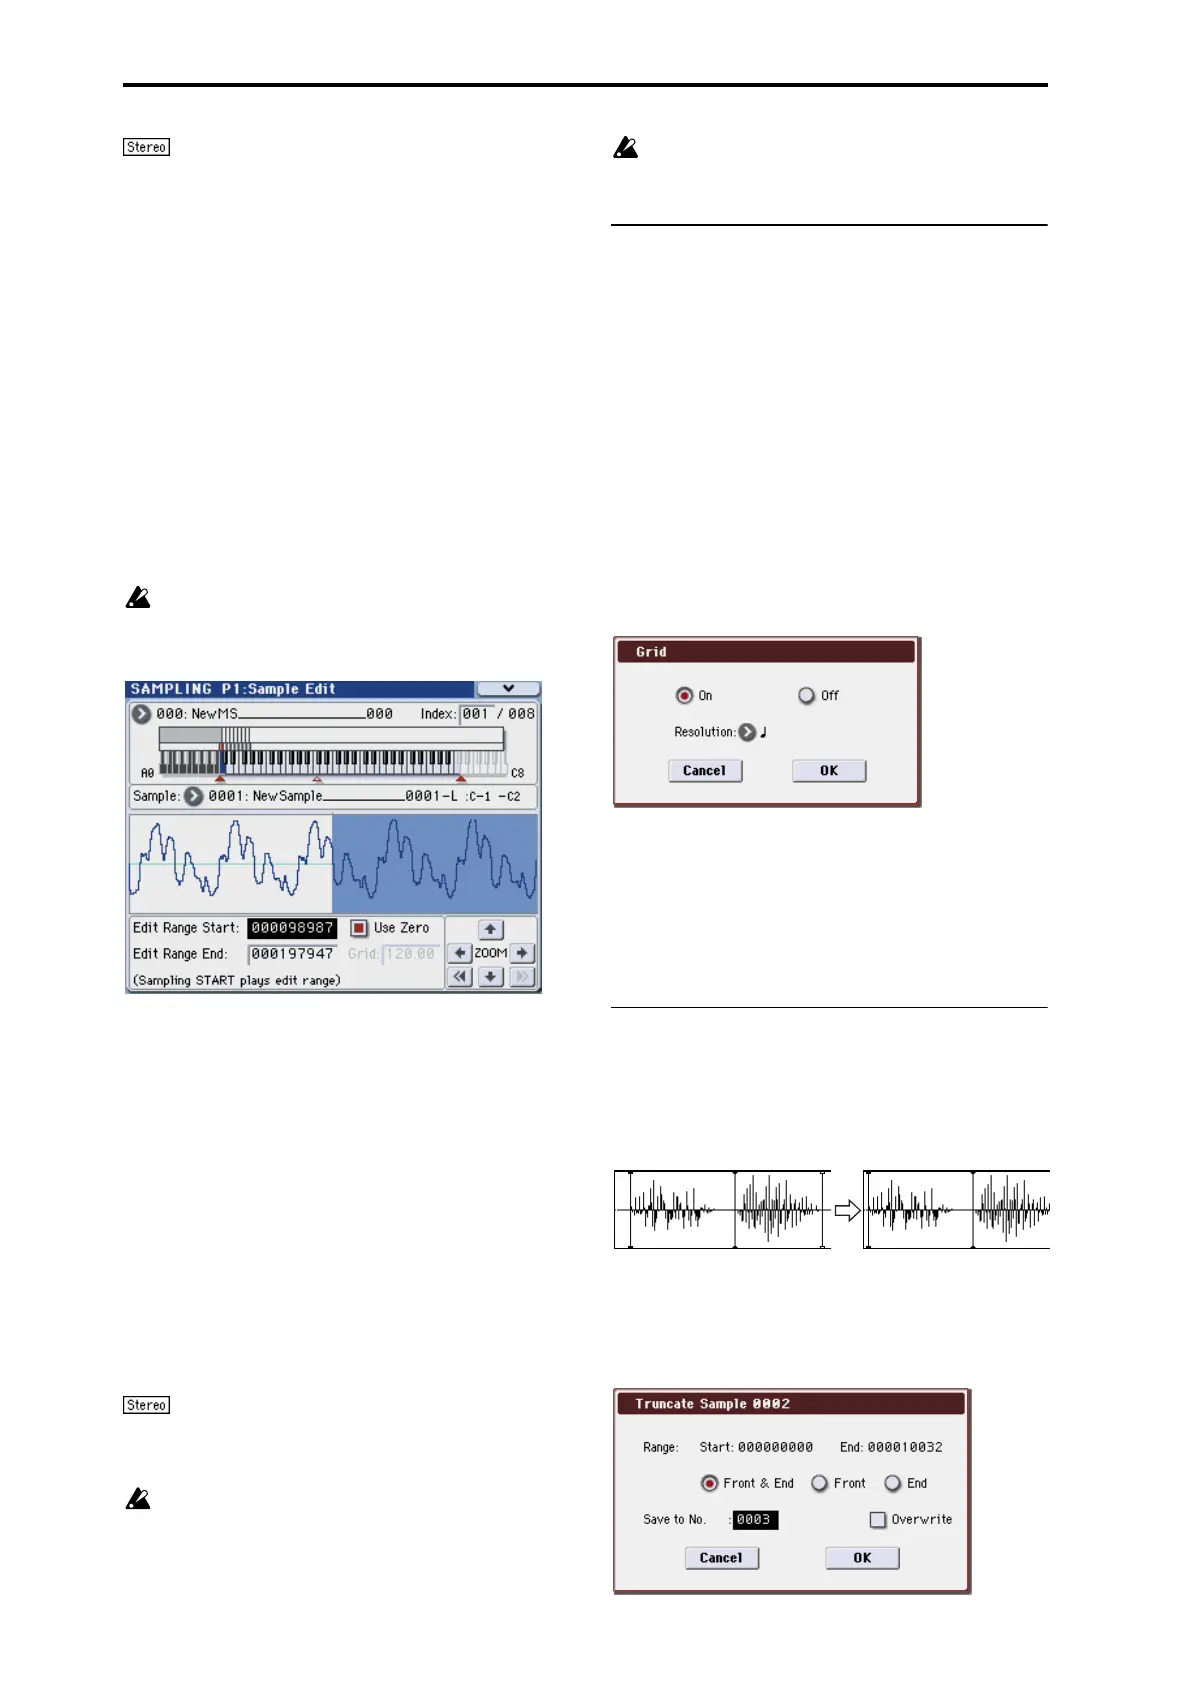
Truncate (for Loop Edit)
This command deletes unwanted data that lies outside of
the Start (Start Address), Loop S (Loop Start Address), and
End (End Address) (2–1d). After setting the start address,
loop start address, and end address of the sample, use this
command to delete unwanted sample data.
1. Use Sample Select (2–1b) to select the sample that you
want to edit, and use Start (Start Address) or Loop S
(Loop Start Address) and End (End Address) to specify
the region that you want to edit.
2. Select “Truncate” to open the dialog box.