193
connection process.
5. Close the housing of the glass breaking sensor again.
Range test:
1. Open the alarm panel menu “Sensors” “Range” and press “Start”.
2. Press the Learn button of the glass breaking sensor.
3. The sensor and the signal strength should be indicated. The higher the indicated
number the better the reception (1-9).
Please note:
If the signal strength at the place of installation is below 4, we advice to use a wireless
repeater, since it is normal that the signal strength may fluctuate for 2-3 points, thus,
a signal loss is possible.
Installation
Please adhere to the following installation guidelines.
You can install the glass breaking sensor directly on a wall or ceiling. Use the
Mounting holes (7) as temples for the included dowels and screws.
You can also install the glass breaking sensor on a suspended ceiling.
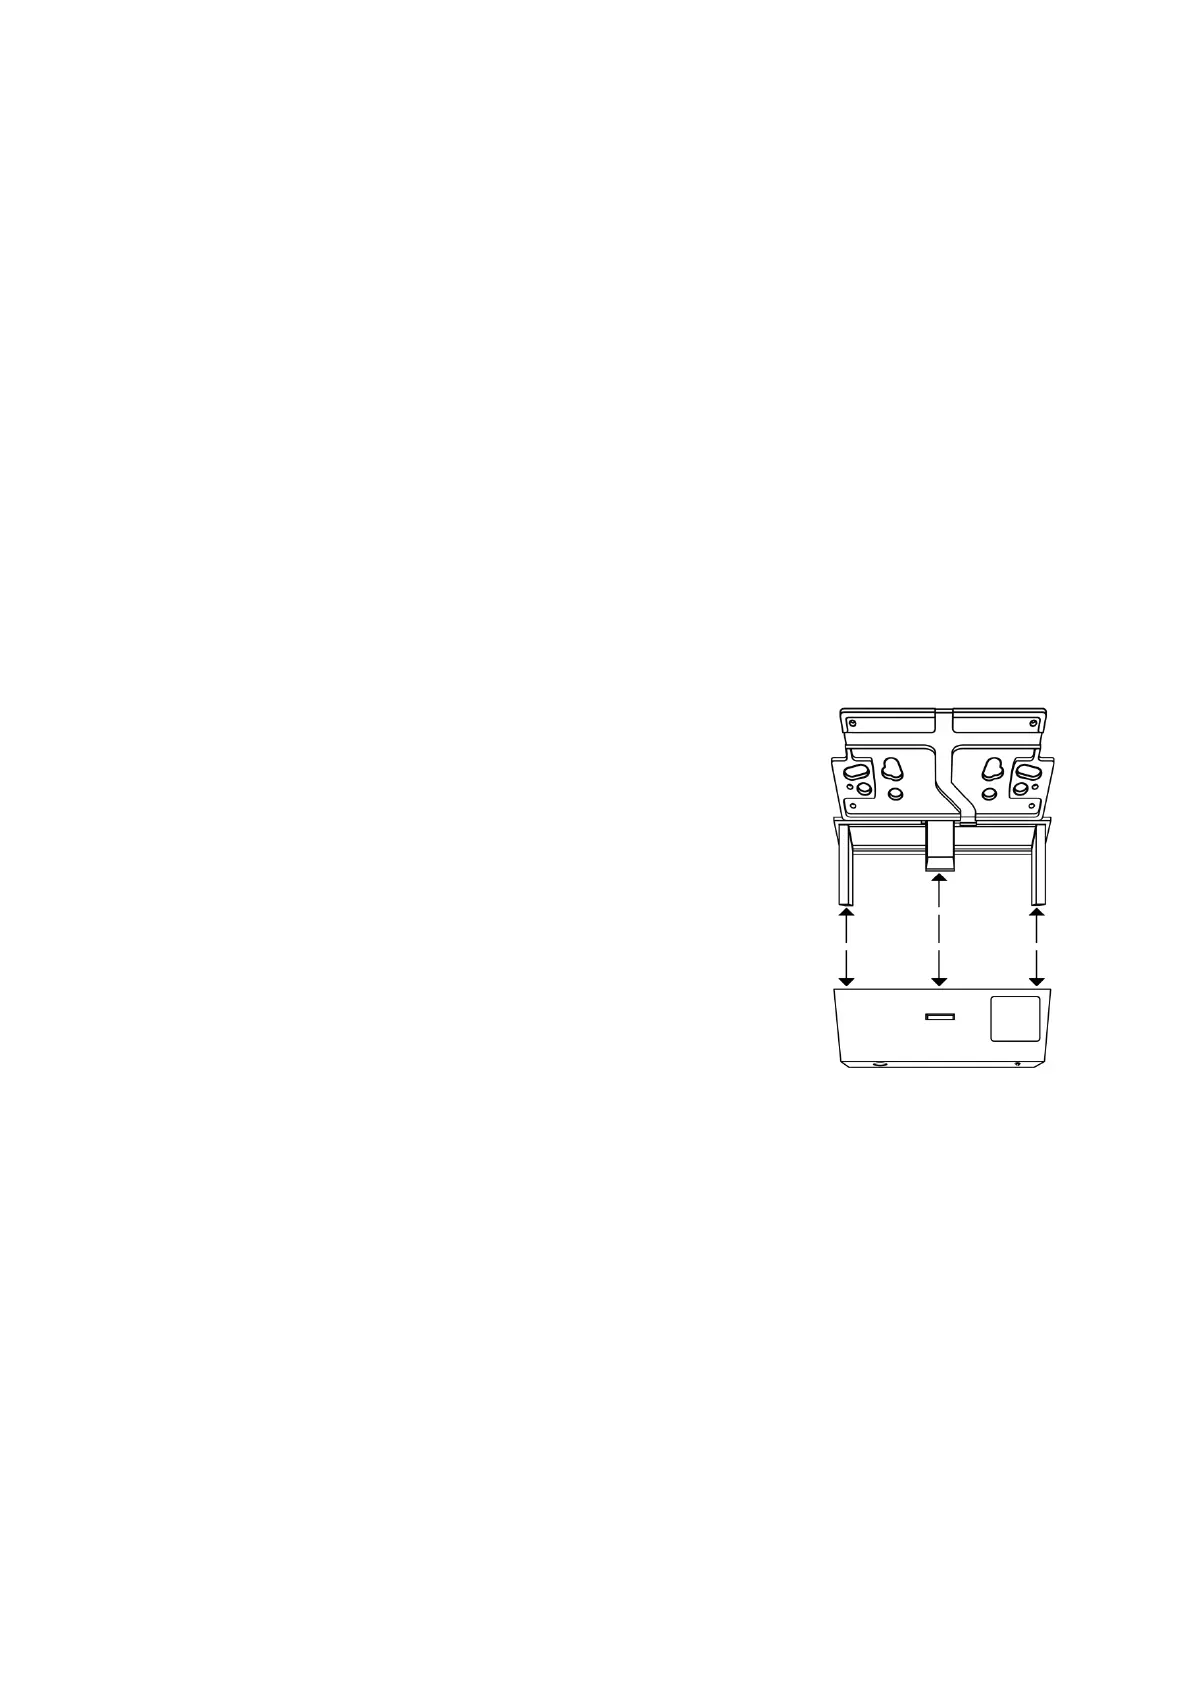
o Open the glass breaking sensor and remove the
sensor (1+2) and transmission unit (3-5). Both
are fixed with Velcro.
o Cut a slit into the suspended ceiling fitting for the
sensor (1+2).
o To make sure that the sensor does not fall down,
fix it with the included mount and place it with
the microphone downwards.
You can mount the glass breaking sensor on a wall or
on a ceiling.
Please note:
The glass breaking sensor is listed as a door contact in the sensor list
The glass breaking detector detects sounds in a 360° radius.
Install the glass breaking sensor at least one meter (3.2 feet) and maximally 6
meters (6.5 yards) from the window.
Make sure that no obstacles are between the window and the glass breaking
sensor.
Do not install the glass breaking sensor close to other electric devices.
Install the glass breaking sensor in an open space (not in corners), in order that
sound waves can reach the sensor from as many sides as possible.
If jumper 2 (JP2) is not set, the supervision function (battery check) is activated).