54
Add
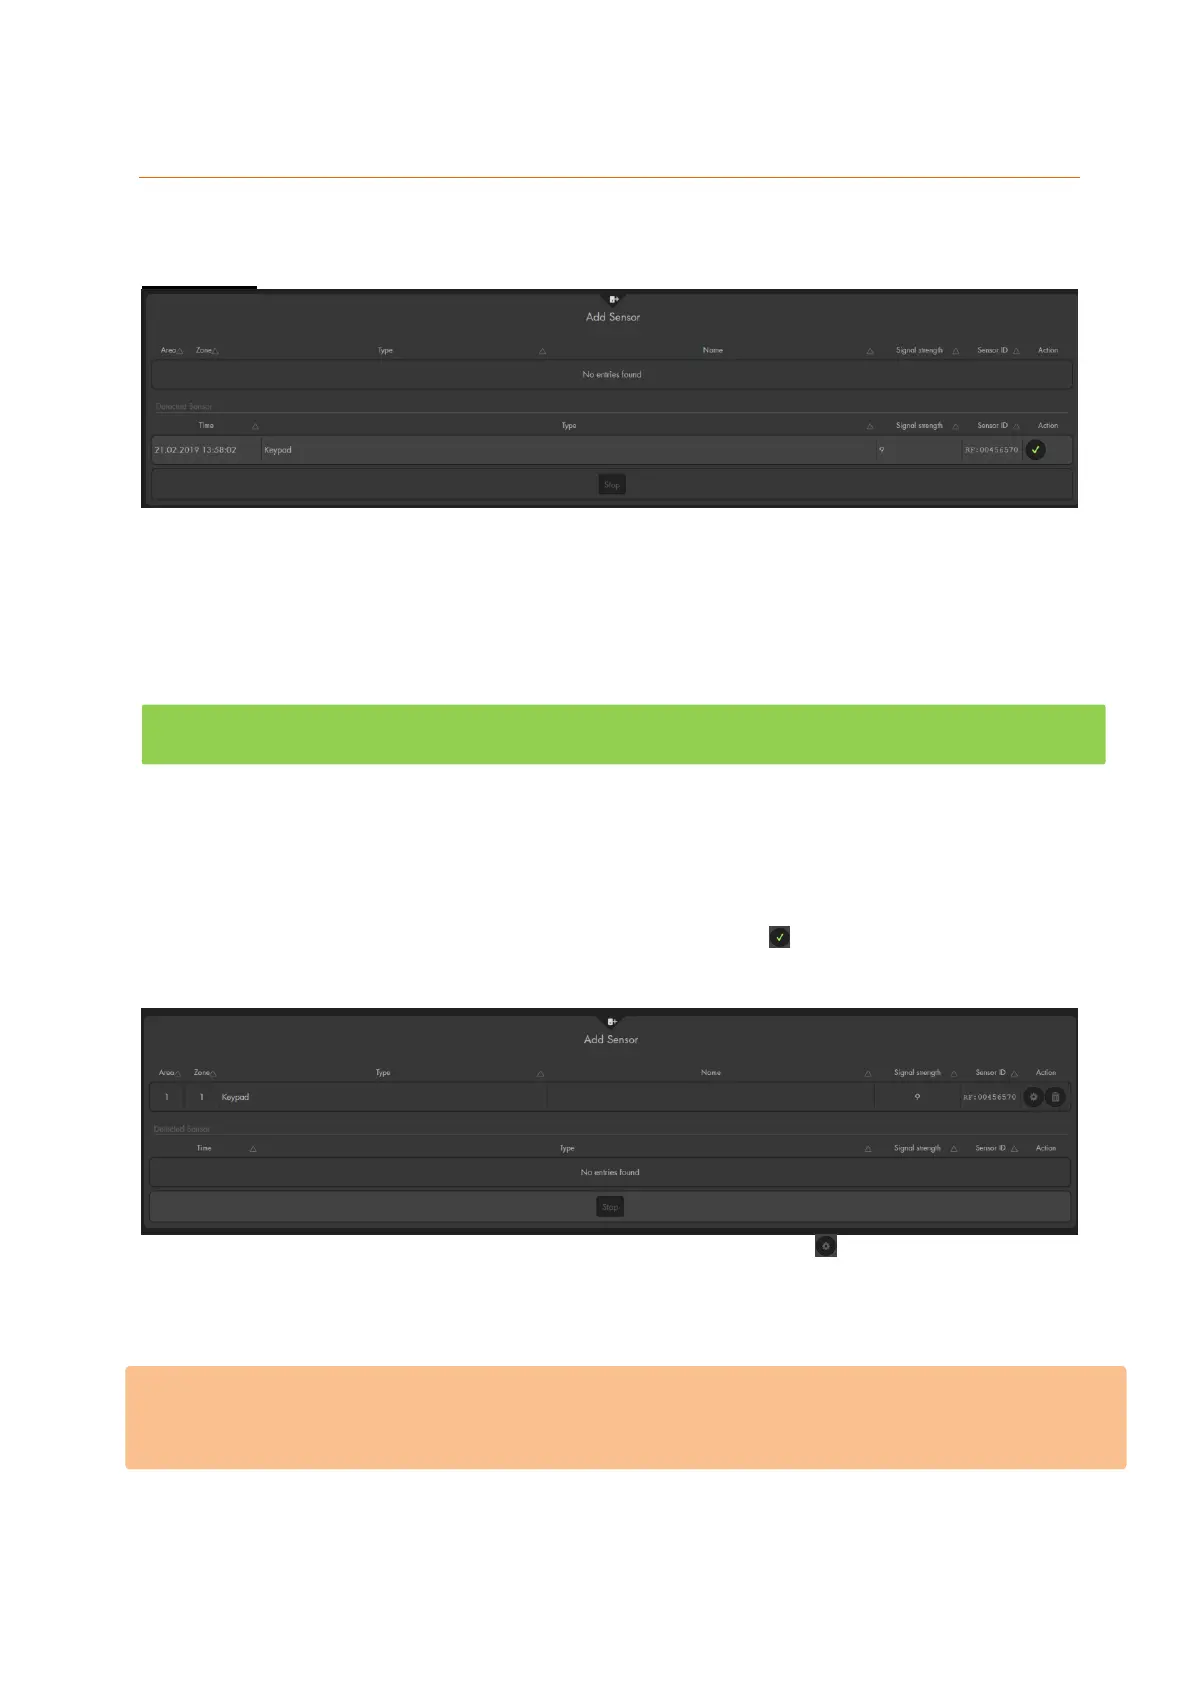
In the menu “Add,” you can add sensors to the alarm panel.
Add sensor
Click on “Start” at the bottom of the menu to activate the learn mode (the LEDs or Area 1
and 2 begin to flash green). Then begin the adding process of your sensor.
Please note:
In the manual of your sensor, you find a step-by-step guide that explains
how this sensor is added. For most sensors, you need to press a certain
button for a specific amount of time.
Older XT2 alarm panels (not Plus version), the area 1 LED flashes green
and the area 2 LED flashes red while in add or range mode.
After a sensor was found, it is listed in the table below “detected sensors”. It also displays
the time when the sensor was found. This can be important if you add multiple sensors
of the same type. Additionally, the type of the sensor, the signal strength and the unique
sensor ID is listed.
You can add the sensor to the alarm panel by clicking on at the right. The sensor is
added to the alarm panel, the alarm panel emits a notification sound, and the sensor is
moved to the up into a different table.
You can assign properties to the added sensor by pressing on . This opens the menu
“Edit sensor” explained in the previous chapter.
You can stop the add mode by clicking on “stop”. After five minutes, the add mode is
deactivated automatically.
Please note:
We advise you to add all sensors before you install them. The sensors stay added when
you open them or remove the batteries.