190
Connecting the emergency button and putting it into operation
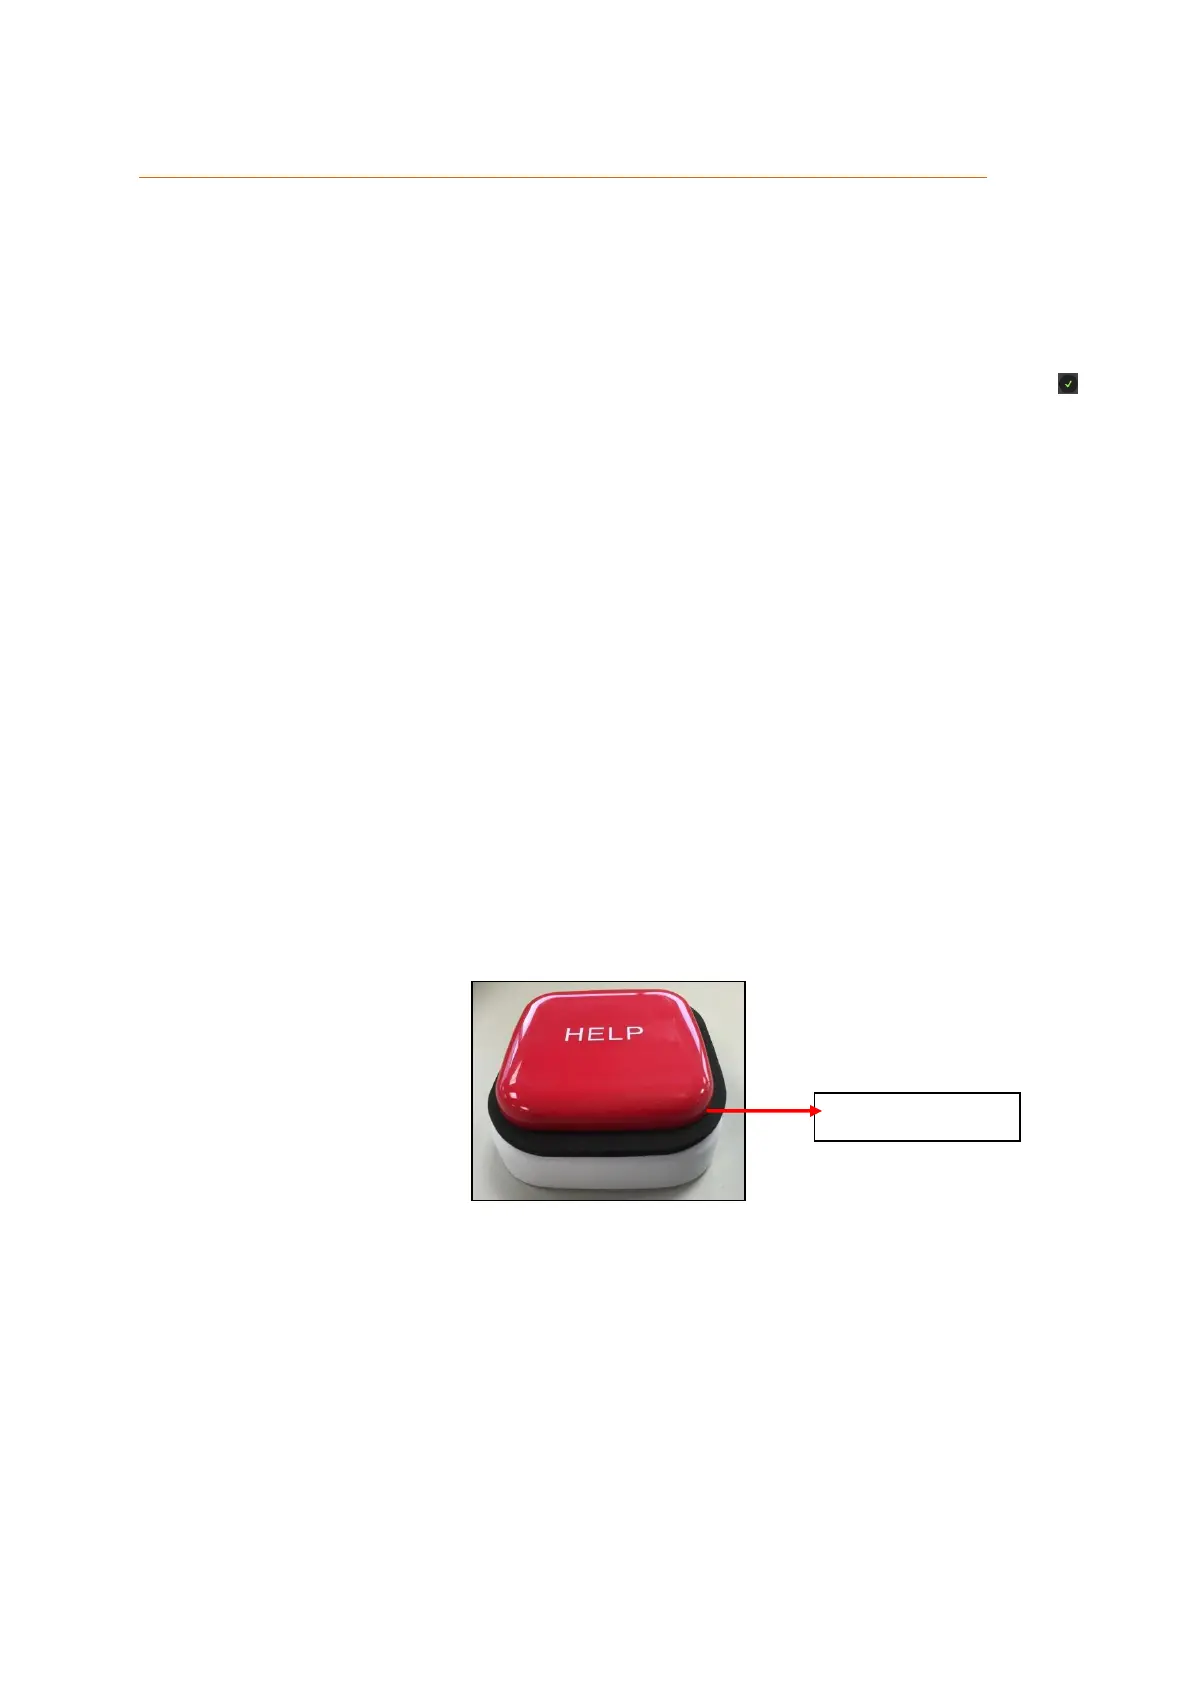
6. Remove the battery breaker from the emergency button to energise the devise.
7. Open the main menu of the alarm panel.
8. Open the menu “Sensors” “Add”.
9. Click “Start”.
10. Press the learn-/emergency button.
11. The alarm panel will confirm the successful addition with a brief signal tone
and display the emergency button in the menu “Sensors” ”Add”. Click on
next to the listed sensor to finish the connection process.
Range test:
7. Open the alarm panel menu “Sensors” “Range” and press “Start.”
8. Press the learn-/emergency button.
9. The sensor and the signal strength should be indicated. The higher the indicated
number the better the reception (1-9).
Please note:
If the signal strength at the place of installation is below 4, we advise to use a wireless
repeater, since it is normal that the signal strength may fluctuate for 2-3 points, thus,
a signal loss is possible.
Installation:
You can install the emergency button permanently with the included Velcro or use it
mobile by means of the non-slip installation pad.
The protective cover between the emergency button and the chassis will prevent false
alarms during the installation.
Remove the protective cover carefully after the installation in order to be able to trigger
an alarm in an emergency.
Clean the surface on which you want to install the emergency button with
degreaser. Do not install the emergency button on uneven surfaces or loose
paint.
The Velcro has two sides – one with hooks and one with loops