311
Installation
The universal IR controller is intended for wall mounting. Either you screw the back of the
controller directly to the wall or by means of a pivotable mount. For this purpose, install
at first the mount to the wall and then attach the universal IR controller to the mount.
Please observe the following pages below, before you choose the place of installation.
Installation of universal IR controller
The IR transmitter must be directed towards the appliances you want
to control.
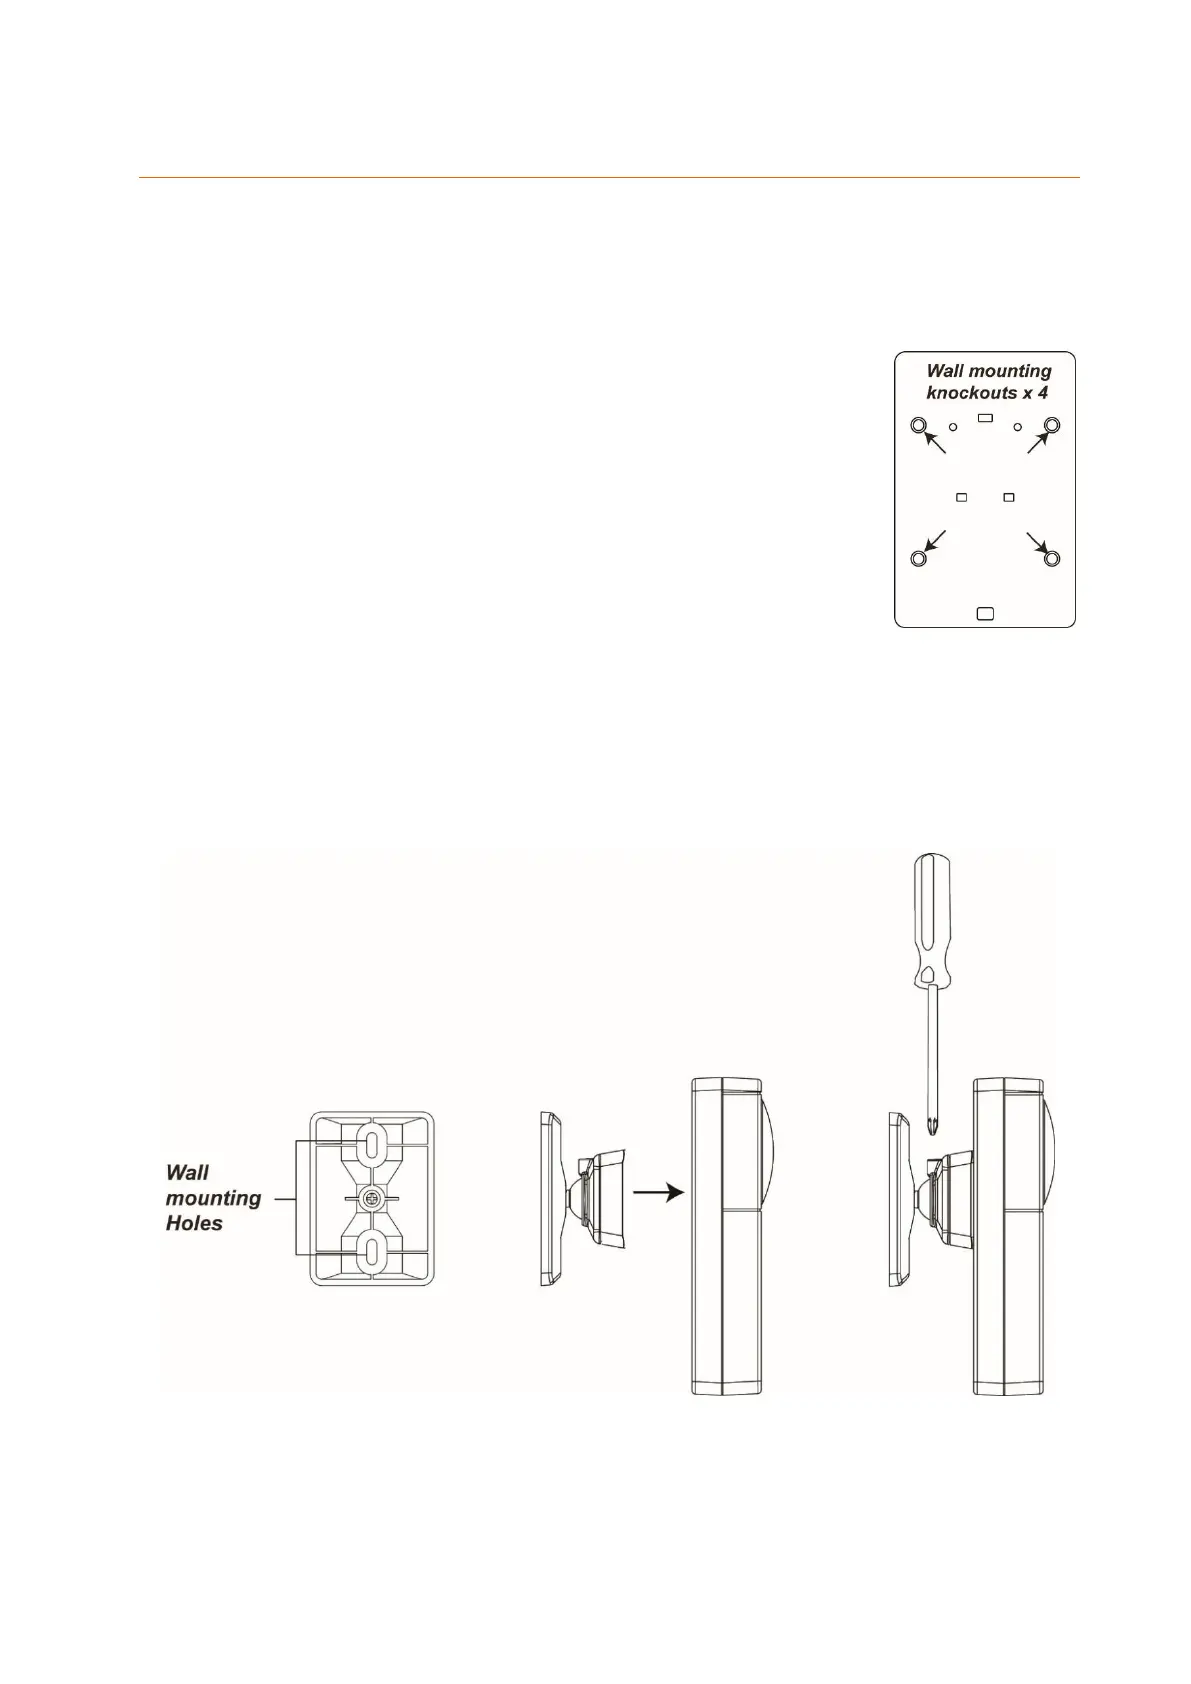
Installation to the wall
The housing cover has four notches for bolting on the back.
1. Open the housing and break off the notches.
2. Use the holes as the template to drill the four holes into the
wall. Use dowels, if necessary.
3. Tighten the cover to the wall.
4. Reinstall the front cover onto the back cover.
Installation using the pivotable mount
The pivotable mount has an adjustable joint to align the universal IR controller with
the appliances to operate.
1. The pivotable mount has two mounting holes. Use them as the template for drilling.
2. Tighten the mount to the wall.
3. Fix the universal IR controller with the holes onto the mount.
4. Loosen the screw on the mount to adjust the mount.