8D-10 - DRIVE SHAFT / PROPELLER SHAFT MODELS 90-823225--1 1096
3. Check output coupling flange of transmission.
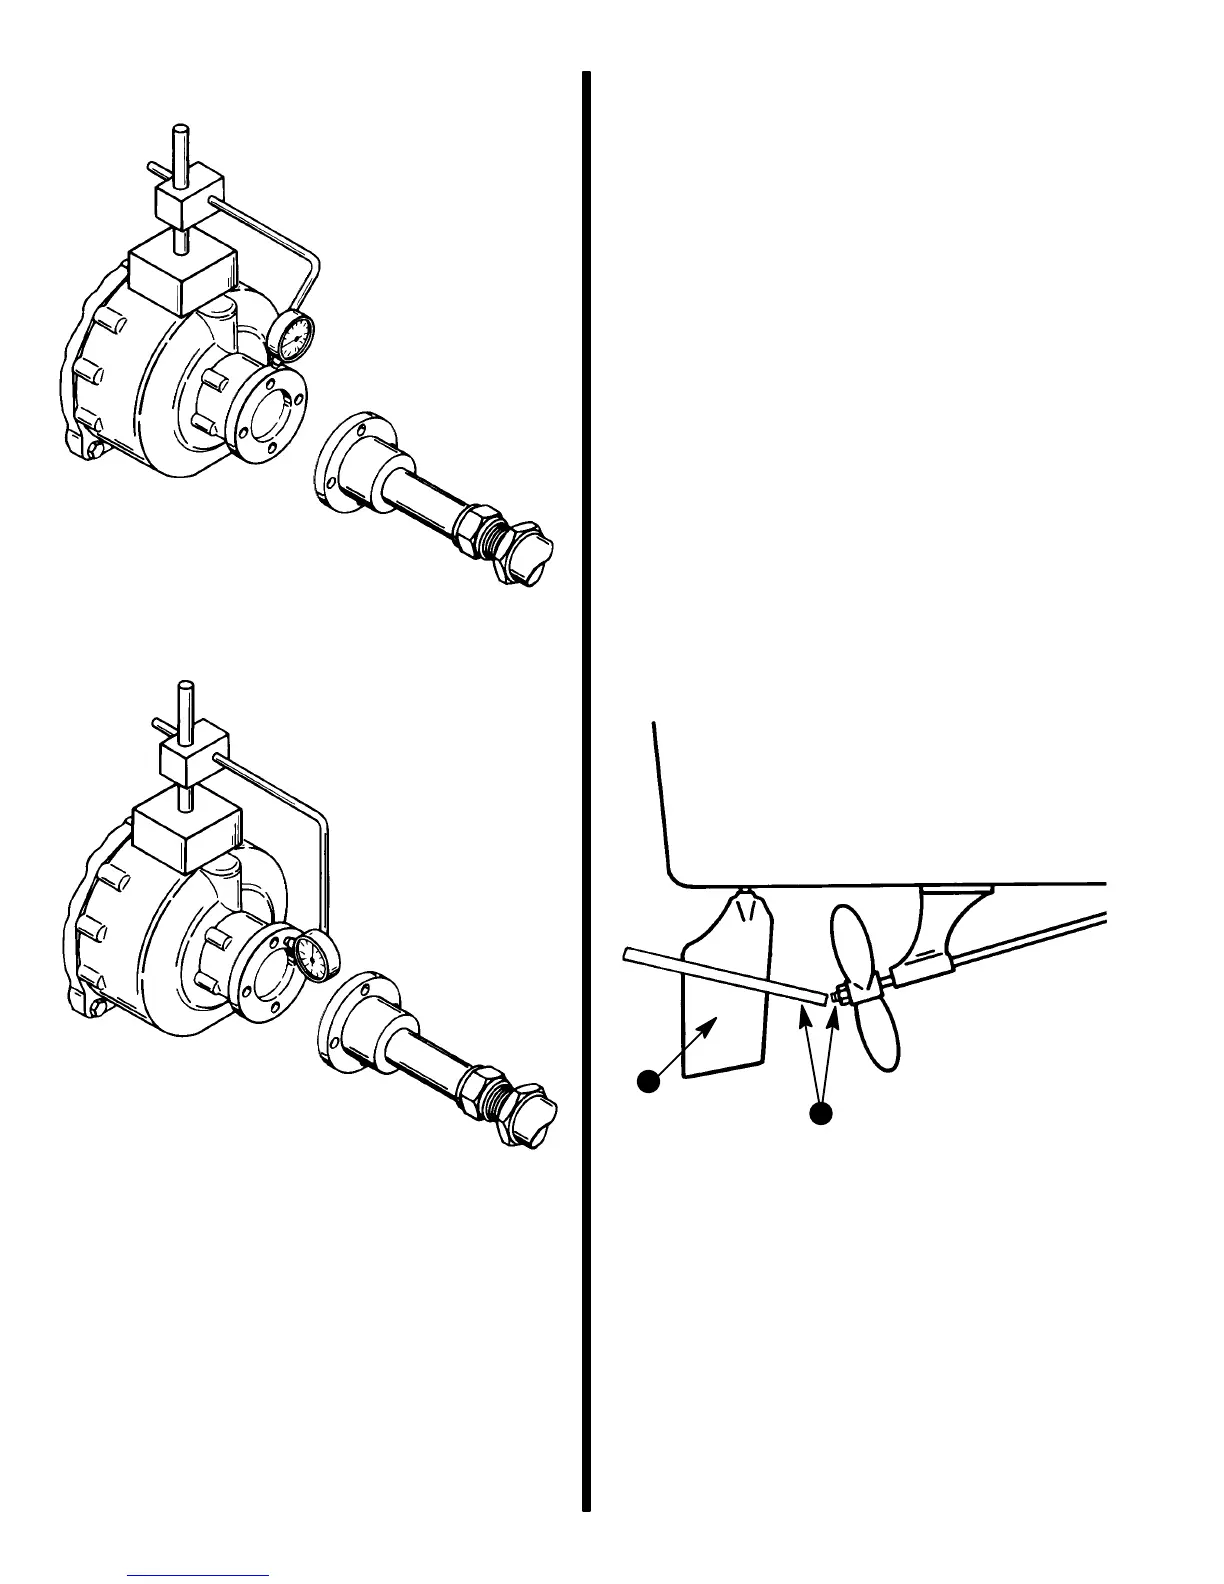
Checking Coupling Outside Diameter - Rotate
One Complete Turn
Checking Coupling Face - Rotate One Complete
Turn
4. If there is movement in Step 3, replace output
coupling.
5. Replace damaged parts and realign engine as
outlined.
6. Torque propeller shaft coupling and transmission
coupling (output flange) to 50 lb. ft. (68 N·m).
Tighten set- screws securely, if so equipped.
Safety wire set screws, if so equipped.
Checks Made with Boat Out of Water
and Shaft Installed
Possible causes for vibration may be propeller shaft,
propeller to shaft fit or propeller. All three can be
checked by using the rudder, a strong metal straight
edge and a C-clamp.
1. Check installation of propeller to shaft.
a. Remove propeller.
b. Check for chipped or cracked keyway in pro-
peller on shaft without key.
c. Install propeller on shaft without key.
d. Mark the shaft (behind the propeller), then re-
move propeller.
e. Install the key and propeller. Make sure pro-
peller still lines up with mark. This ensures
that key is not oversize and holding the tapers
apart. Retighten propeller nut.
f. Be sure key is not sticking out of propeller.
2. Check for propeller shaft being bent behind the
strut.
a
b
a - Metal Straight Edge (Held T Rudder With C-Clamp) - Posi-
tion Corner Of Straight Edge At Center Of Shaft. Rotate
Shaft One Complete Turn. If Shaft Wobbles, Replace
Shaft.
b - Rudder

 Loading...