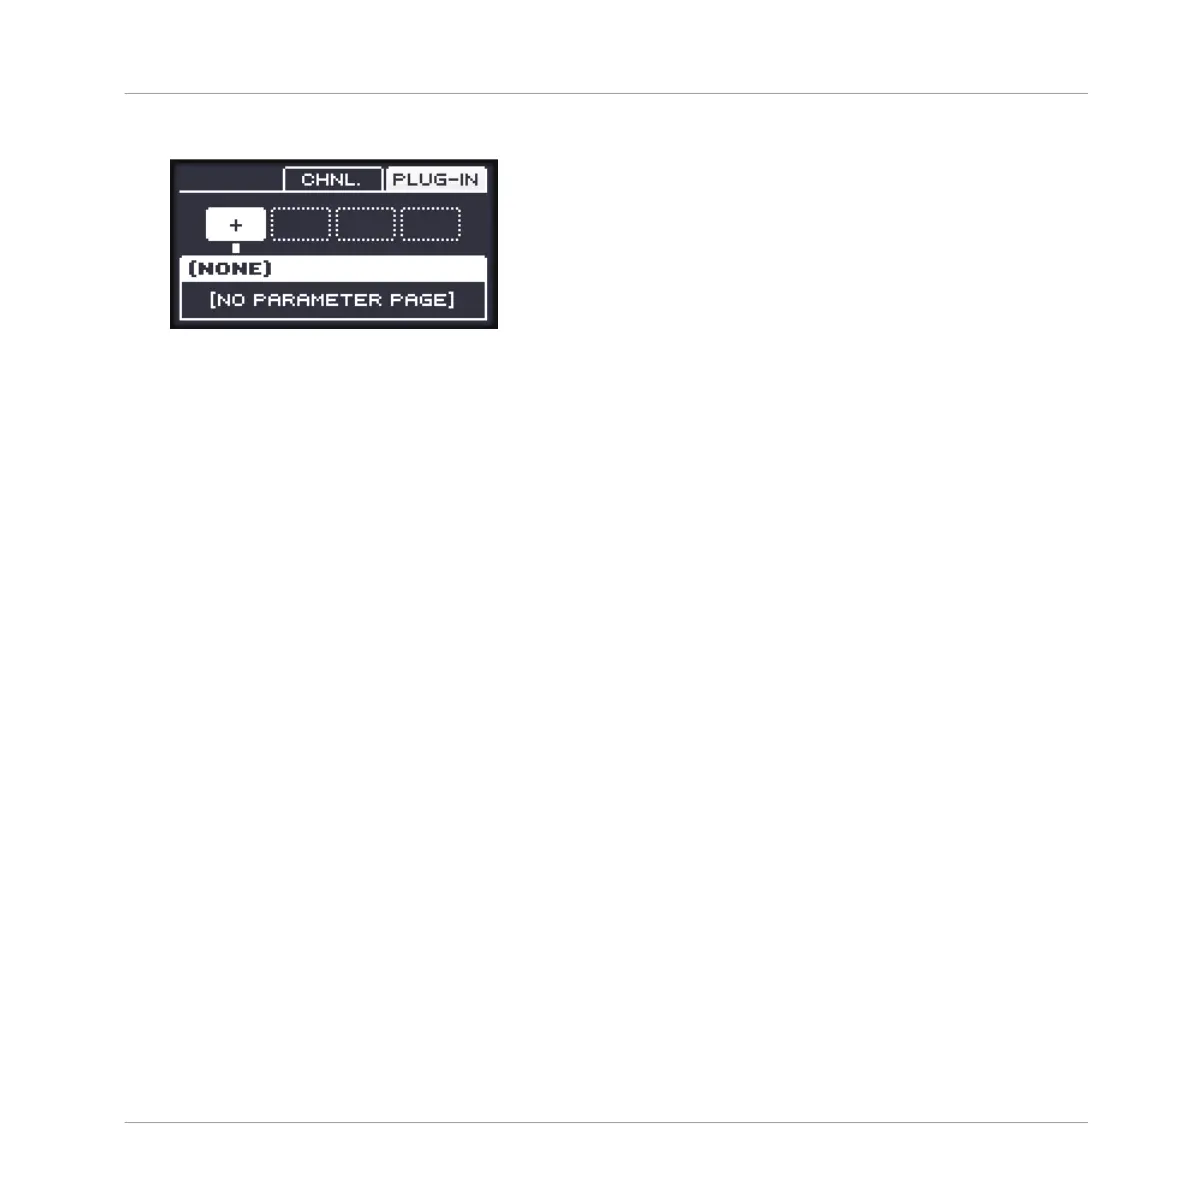
5. Press NAV + F3 (PLUG-IN) to show the Plug-in slots of the selected Sound.
Since we have selected an empty Sound, while holding NAV you see (NONE) on the dis-
play (i.e. there is no Plug-ins to navigate yet).
→ Plug-in slot 1 is automatically selected since it’s the only existing Plug-in slot for now.
Now load the desired effect into that Plug-in slot:
1. Press SHIFT + BROWSE to browse Plug-ins.
2. Press F1 to select FILTER.
3. Check that FILTER is selected at the top left of the display. If not, press F1 to select it.
4. Press the Left Arrow button under the display to select 1/2: TYPE.
5. Turn the Control encoder to choose EFFECT.
6. Press the Right Arrow button under the display to select 2/2: VENDOR.
7. Turn the Control encoder to select the vendor, e.g., INTERNAL.
8. Press F2 (LIST) to show the filtered list of results.
9. Turn the Control encoder to select an effect (e.g., the MASCHINE Compressor) and press
the Control encoder to load it.
→ The selected effect is loaded in a new Plug-in slot. By pressing CONTROL or SHIFT +
BROWSE again you can switch back to Control mode and adjust the effect via the usual
methods (see ↑3.3.6, Navigating Channel Properties, Plug-ins, and Parameter Pages in
the Control Area). When you load an effect into the first Plug-in slot of a Sound, MA-
SCHINE automatically configures the Sound’s input to receive any signal(s) coming from
other Sounds and Groups in your Project and sends them through its own Plug-in slots —
in other terms, you now have a send effect.
Using Effects
Creating a Send Effect
MASCHINE MIKRO - Manual - 659