4-11
4-10. Teach weld section (Welding spec.)
Welding robots are provided with functions for operation frequently used in welding (welding ON/OFF operation) for easy
operation.
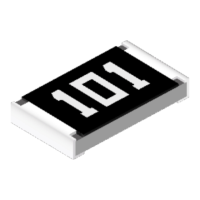
4-10-1. Wire/inching Gas check
Turn ON the
Wire/gas
check
icon lamp in the menu bar, to use the
Function keys for wire/inching gas check.
Function keys Functions
Wire feed forward
While holding down the key, wire feeds forward without outputting welding
non-load voltage. The wire will be fed at low speed for the first 3 seconds after the
key is pressed. Then the speed will be changed to high.
Wire feed backward
While holding down the key, wire feeds backward without outputting welding
non-load voltage. The wire will be fed at low speed for the first 3 seconds after the
key is pressed. Then the speed will be changed to high.
Gas check
While the green lamp is lit on, the gas valve is open.
Each time the key is pressed the gas ON/OFF state is switched.
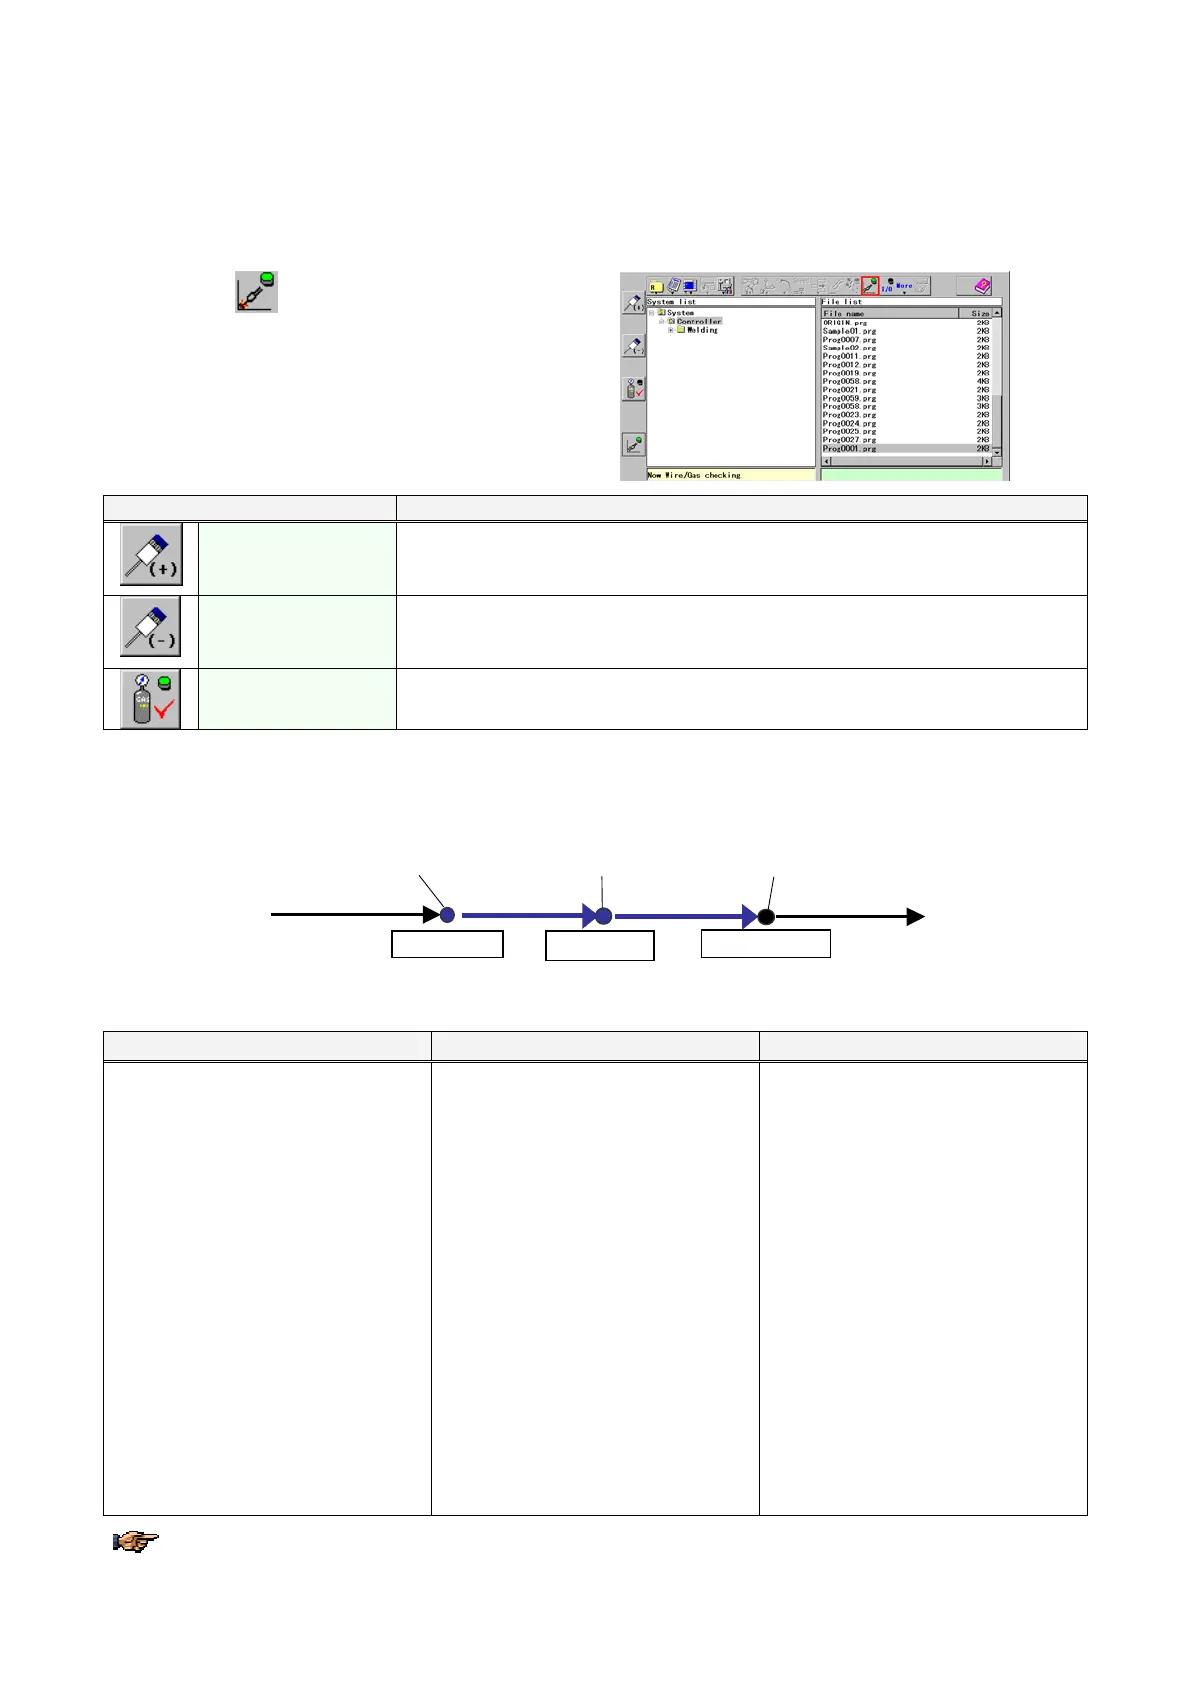
4-10-2. Teaching welding points and air-cut points
Store the welding start point and the intermediate point as “Weld” points, and the welding end point as “Air-cut” point.
Intermediate
point
Welding start point
Set “Weld”
Welding end point
Set “Air-cut”
Welding section Welding sectionAir-cut section Air-cut section
RC-SET
RC-ON
CRATER
RC-OFF
Set “Weld”
Teaching of a welding start point Teaching of intermediate point(s) Teaching of a welding end point
1. Move the robot to the point to
you want to start welding and
press the Enter key. Then the
dialog box to set teaching point
appears.
2. Change the attribute in the
dialog box to “Weld”.
3. Press the Enter key to save the
point as a welding start point.
1. Move the robot to a point within
the welding section and press
the Enter key. Then the dialog
box to set teaching point
appears.
2. Check the attribute in the dialog
box that “Weld” is specified.
3. Press the Enter key to save the
point as an intermediate point.
1. Move the robot to the point you
want to end welding and press
the Enter key. Then the dialog
box to set teaching point
appears.
2. Change the attribute in the
dialog box to “Air-cut”.
3. Press the Enter key to save the
point as a welding end point.
Note)
In a welding start point, commands to
start welding; ARC-SET (that
specifies welding current, voltage
and speed) and ARC-ON (that
specifies the program to start welding
operation) will be saved
automatically.
Note)
To change welding conditions at an
intermediate point, newly save
ARC-SET command (to change all
welding current, voltage and speed),
AMP (to change only welding current)
or VOLT (to change only welding
voltage).
Note)
In a welding end point, commands to
end welding; CRATER (that specifies
crater welding current, voltage and
time) and ARC-OFF (that specifies
the program to end welding
operation) will be saved
automatically.
Instead of the Enter key, you can click the OK button on the screen to save a teaching point.