5-1
5. AUTO mode
When the Mode select switch is in the AUTO position, it is possible to operate a program created in
teach mode.
5-1. Start
There are two ways to start operation (run the program); one way is to use the start switch on the teach pendant (which is
called “manual start”), and the other way is to send a signal from an external device (which is called “auto start”). This
document (basic operation) explains manual start method.
Note) For the auto start method, please also refer to section “Controller settings” in Advanced operation manual or the
manual of the robot controller.
Warning
· Make sure that no personnel are present within the safety fenced area prior to
start.
· The operator shall be able to press the Emergency stop button at any time the
operator observes danger.
1. Position yourself outside of the safety fenced area
and lock the door of the safety fence.
2. Place the mode select switch to the Auto position.
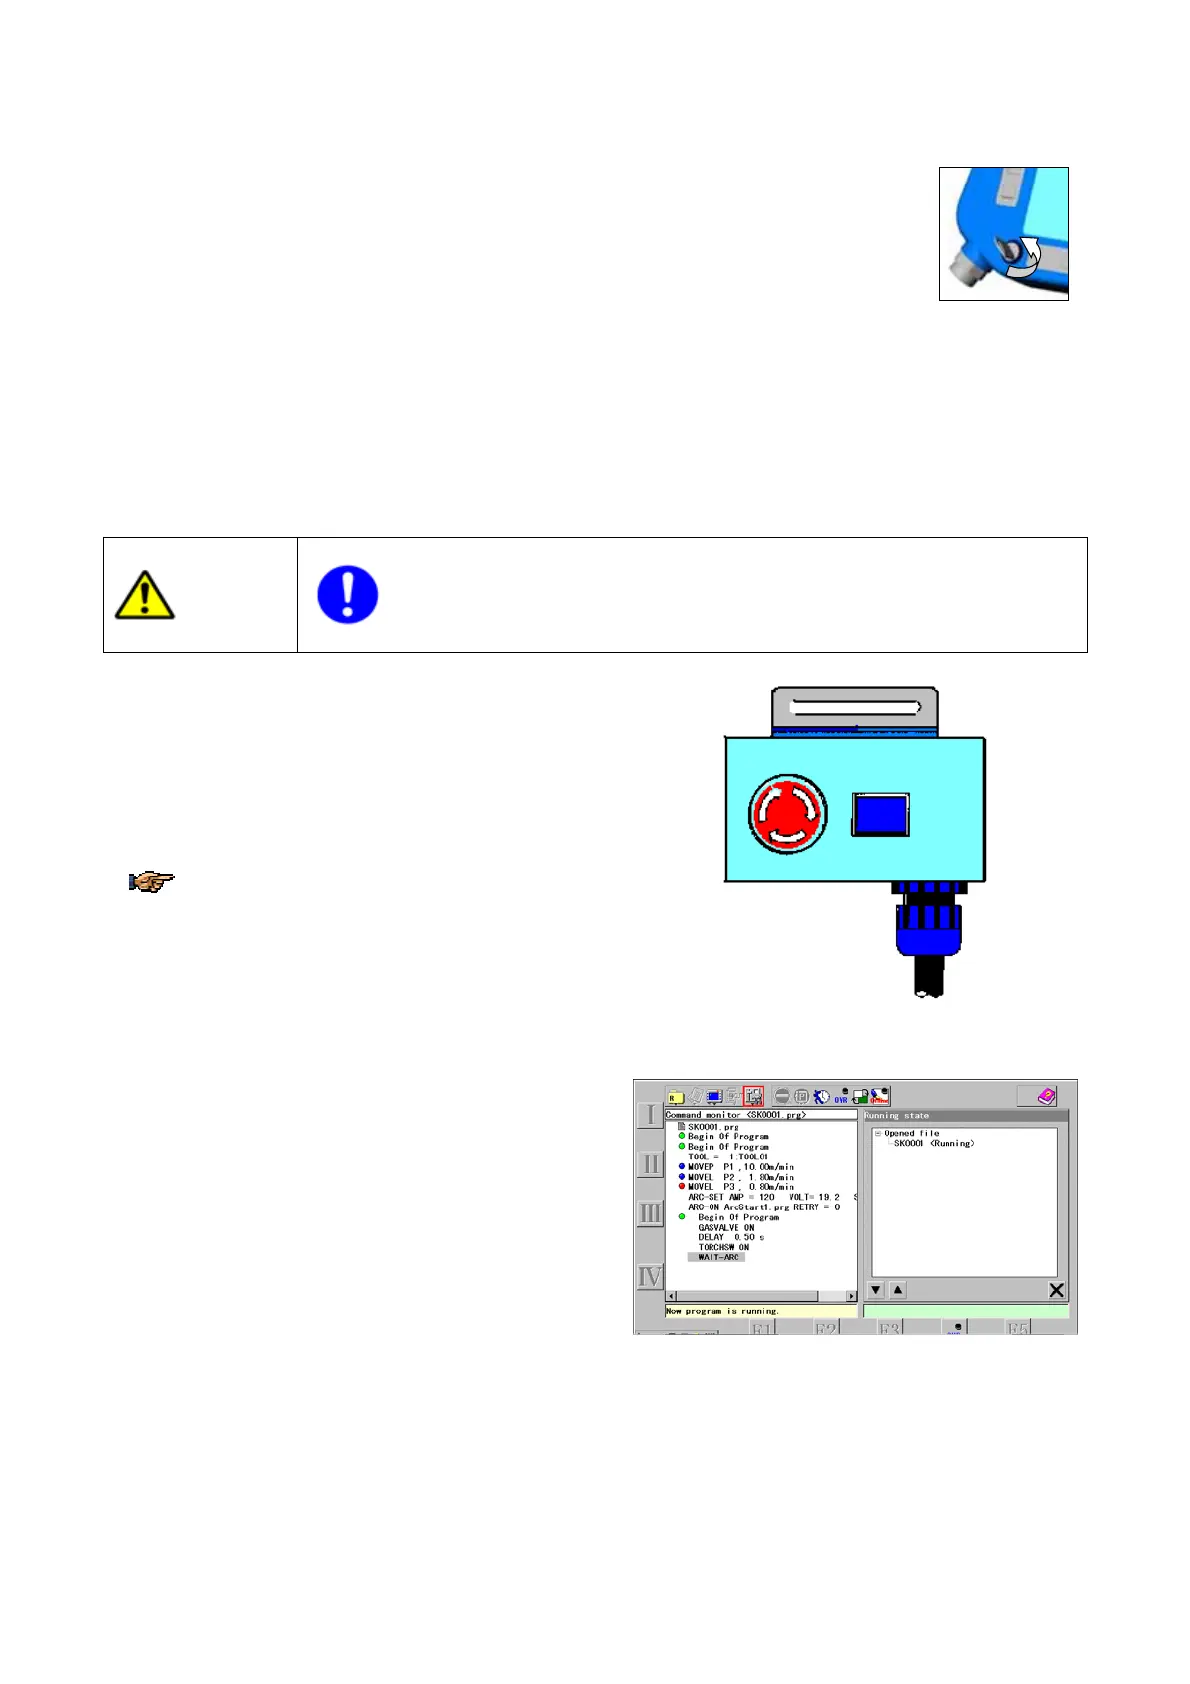
3. If the robot is provided with the operation box, press
the AUTO switch (to bring the robot in AUTO mode).
· The operation box is optional for some
robot models.
· To ensure safe operation, the operation box
must be installed outside of the safety fence.
EMGSTOPAUTO
Operation box
4. Open the file you want to operate.
5. Turn ON the servo power.
6. Press the Start switch, then the robot starts to
execute the series of taught operations.
<Supplements>
· Each action once executed is indicated in the right pane in order of execution.
· The program starts where the cursor is positioned.
· Delay in indicating each action may be expected as operation has priority. Some actions may not be
indicated depending on the timing.