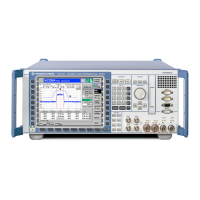
CMU A Short Tutorial on CMU Operation
1100.4903.12 2.1 E-9
2 Getting Started
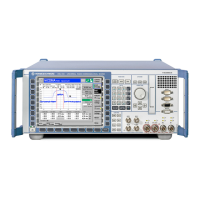
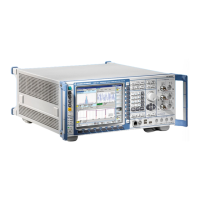
The following Chapter presents a sample session with the universal radio communication tester CMU. It
is intended to provide a quick overview of the settings provided in the base system and the RF function
group. No specific device under test is required. For an introduction to mobile network tests (e.g. tests
of GSM900/1800/1900 mobile phones) please refer to the relevant operating manuals.
Before starting any measurement with the CMU, please note the instructions given in Chapter 1 for
putting the instrument into operation. In Chapters 2 to 4 you will find detailed information on customiz-
ing the instrument and the display according to your personal preferences.
The steps to perform are explained on the left side of each double-page together with the results ob-
tained on the CMU screen. On the right side, additional information is given. We also point out alterna-
tive settings and related measurements which could not be reported in detail.
For a systematic explanation of all menus, functions and parameters and background information refer
to the reference part in Chapter 4.
A Short Tutorial on CMU Operation
The principles of manual operation – controls, operating menus, dialog elements and measurement
control – are discussed in Chapter 3. Below we list some essentials for first users:
Condensed Operating Instructions
1. When using CMU for the first time it is useful to set it to the default state (RESET hardkey).
2. ENTER key: press even if "No" or "Yes" is displayed.
3. There is no Home menu but the MENU SELECT hardkey can be pressed in any state of the unit. A
large popup menu is then displayed in which the function group (network etc.), signalling mode and
measurement menus can be selected. Activate by pressing ENTER.
4. A front-panel LED indicates which of the RF connectors is configured as output. In the menu, the
RF generator can be activated or deactivated with ON/OFF (green/red). The front-panel LED goes
out if the generator is in the OFF position.
5. A front-panel LED indicates which of the RF connectors is configured as input. In the menu, the
measurement can be controlled via the ON/OFF and CONT/HALT keys (ON (green), OFF (red) and
HLT (yellow) states). In the OFF state, the LED goes out.
6. The SETUP hardkey allows to make static, measurement-independent default settings such as
Remote or Time, to check which options are installed and to activate new software options.
7. The left softkey row is missing in the graphical menus. The softkeys on the right-hand side are used
to change the hotkeys across the bottom and their functions. Pressing the Menus softkey (bottom
right) allows a fast switchover between related menus using the hotkeys.
8. Signalling does not necessarily have to be activated by means of a general menu; for example, the
Power menu for GSM mobile tests can be called up immediately, without transferring any signalling
information. The user is popup-menu guided (as default) through the different CMU signalling
states (messages: switch mobile on, registered, call setup). This menu guidance via popup menu
can be switched off.
 Loading...
