CMU Putting the Instrument into Operation
1100.4903.12 1.11 E-10
Mounting in a Rack
Using the adapter ZZA-411 (order number 1096.3283.00) the instrument can be mounted in 19" racks
according to the mounting instructions supplied with the rack adapter.
Note: For convenient operation of the instrument note the following:
! Allow for sufficient air supply in the rack.
! Make sure that there is sufficient space between the ventilation holes and the rack
casing.
Connecting the Instrument to the AC Supply
Caution!
After moisture condensation, allow the instrument to dry before switching on.
Note the permissible ambient temperature according to the data sheet.
Do not cover the lateral and rear ventilation holes.
The CMU may be connected to one-phase AC supplies with nominal voltages ranging from 100 V to
240 V and nominal frequencies ranging from 50 Hz to 400 Hz (see inscription on the rear panel and
data sheet). Depending on the options installed, the power consumption ranges from 120 W to 230 W.
Note: The CMU is automatically adapted to the AC supply voltage applied. External
switchover or adaptation of the fuses are not necessary.
o
I
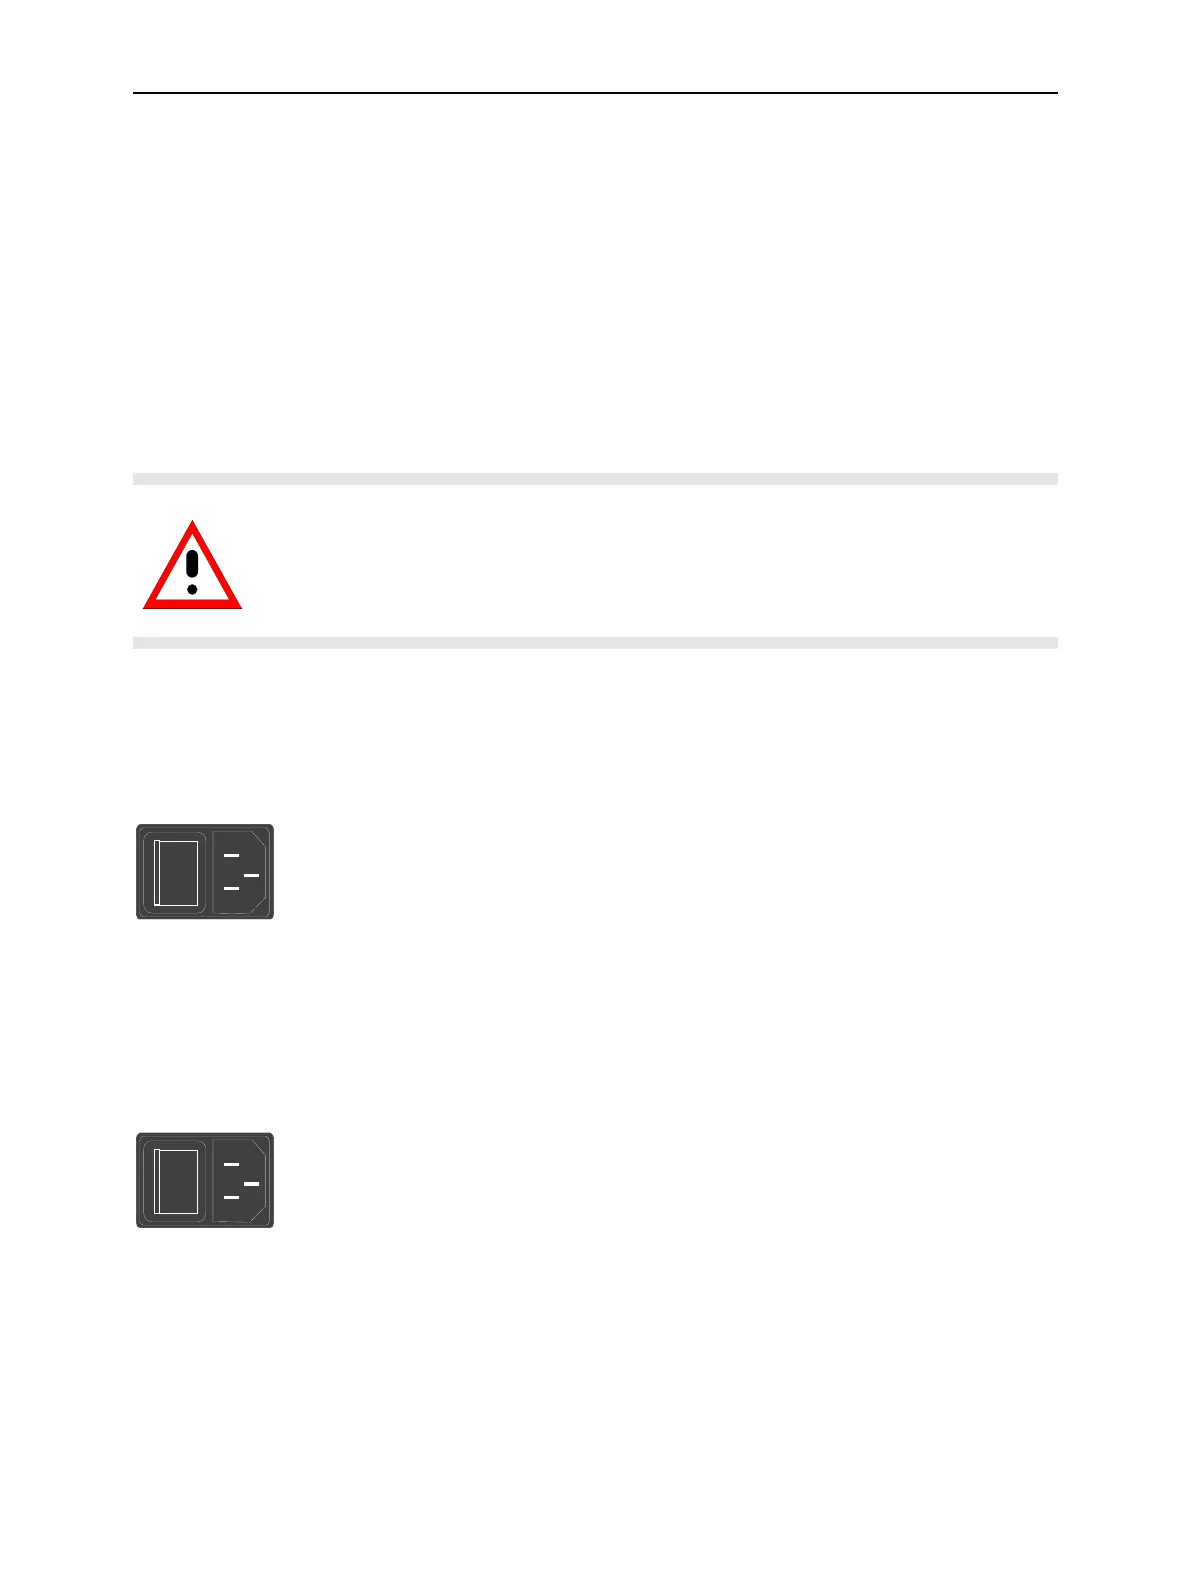
Mains
connector
For the mains connection use the supplied mains connector.
As the instrument is designed according to the regulations for safety class
EN61010, it must be connected to a power outlet with earthing contact.
Switching on the Instrument / Startup Test
o
I
Mains
switch
The CMU can be switched on using the mains switch at the rear of the
instrument and the ON/STANDBY key at the bottom left of the instrument
front.
The mains switch can be set to two positions:
0 The 0 position implies an all-pole disconnection of the instrument
from the mains.
I In the I position, the instrument is in standby mode or in operation,
depending on the position of the ON/STANDBY key at the front of
the instrument.

 Loading...


