RF User Correction CMU
1100.4903.12 1.28 E-10
Compiling and Loading User Correction Tables
To generate user correction tables and activate the user correction proceed as follows:
To deactivate old user
correction (if available)…
1. Start the CMU and press the Menu Select key after the boot-up
sequence is terminated (from the moment when the CMU display
turns black until the end of the 3-beep acoustic signal) to activate
the VersionManager.
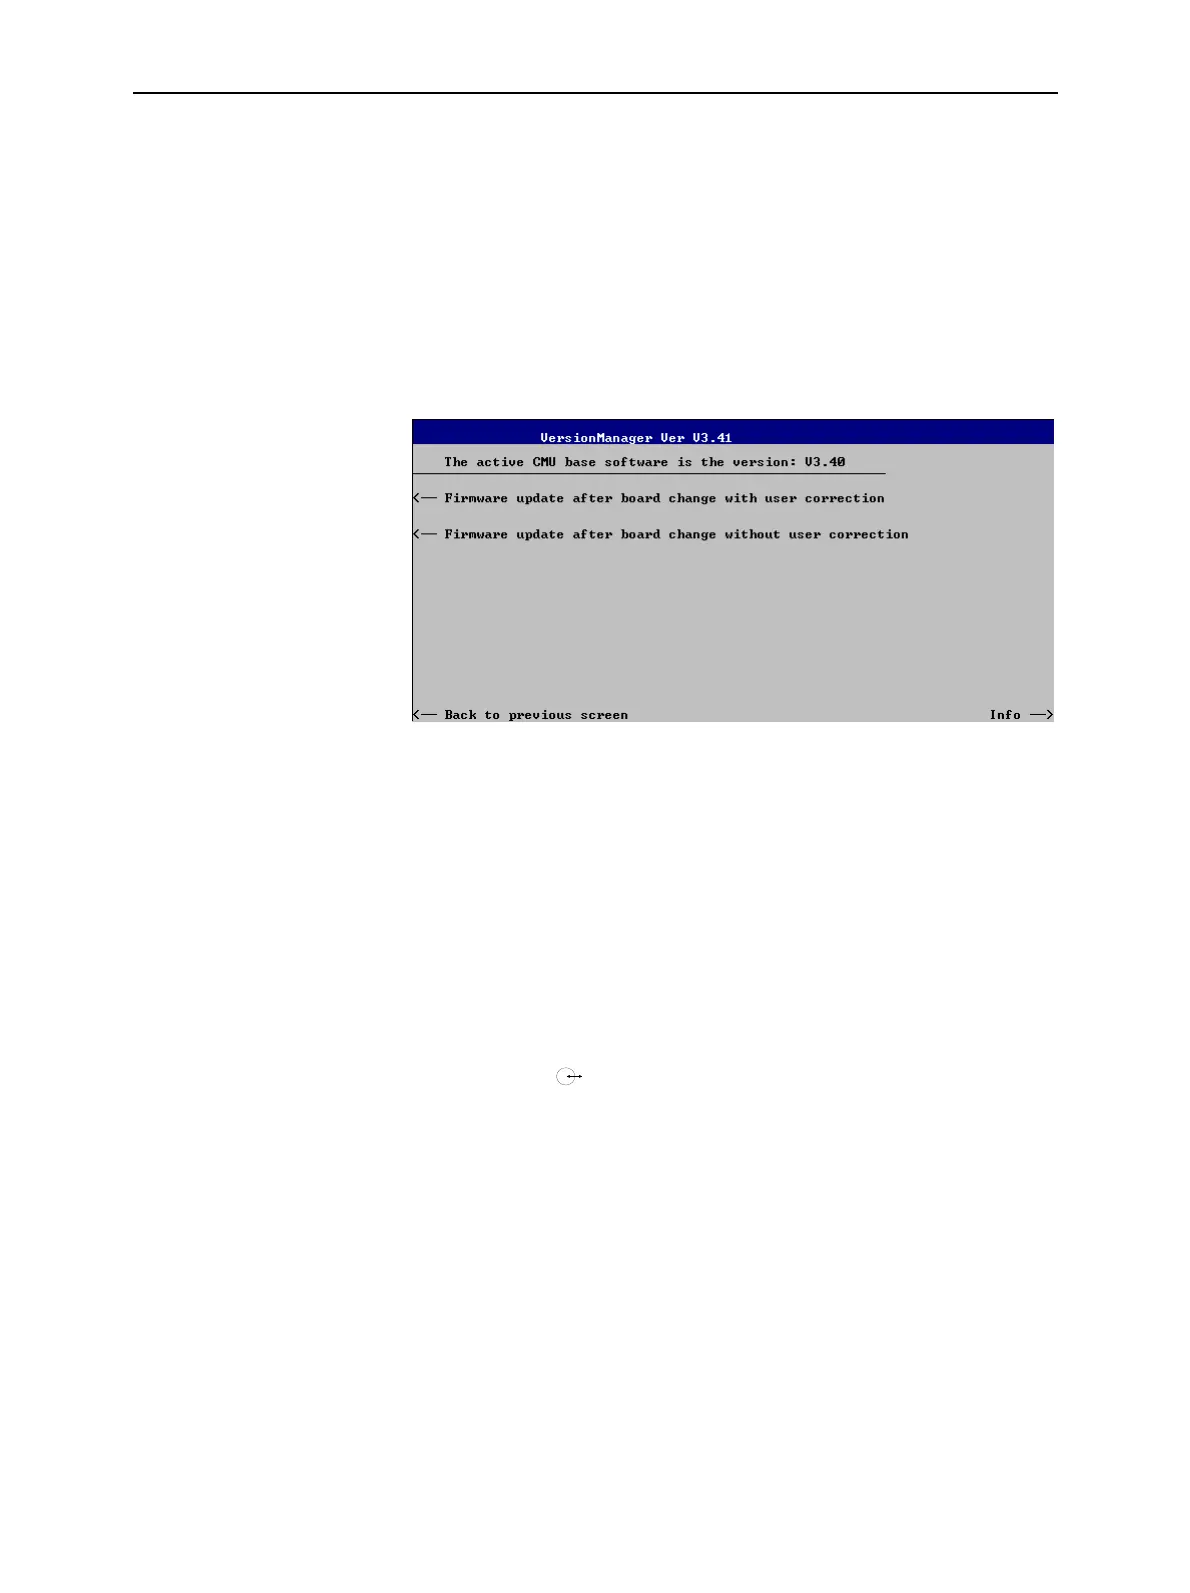
2. Select Firmware update after board change…
3. In the submenu opened, select Firmware update after board change
without user correction and Back to previous screen.
The CMU closes the VersionManager and resumes the start-up
procedure.
4. Open the Data menu and access the Arrange tab. Delete or rename
the old user correction file stored in the directory
INTERNAL\USERCOR\USERCOR1.DAT.
5. Press Menu Select to close the Data menu and access the Menu
Select menu.
Settings for acquiring
correction values
The following settings and precautions will ensure maximum accuracy of
the user correction:
6. From the Menu Select menu, access the RF function group or one
of the network test options that will be used for the corrected
measurements.
7. In the RF
tab of the Connection Control menu, select the
external input and output attenuation factors (Ext. Att. Input, Ext. Att.
Output) that will be used for the corrected measurements.
8. In the Analyzer tab of the Connection Control menu, select the RF
input path attenuation (Analyzer Level – RF Attenuation: Normal,
Low Noise or Low distortion) that will be used for the corrected
measurements and set the RF Mode to Manual.
Note: The CMU provides a various mechanisms for automatic
input level control, e.g. the Analyzer Level – RF Modes
Auto (autoranging) and PCL (in GSM-MS networks). To
avoid unexpected effects, it is recommended to deactivate
these control mechanisms and always measure the
correction values at constant (Manual) maximum input
level.

 Loading...


