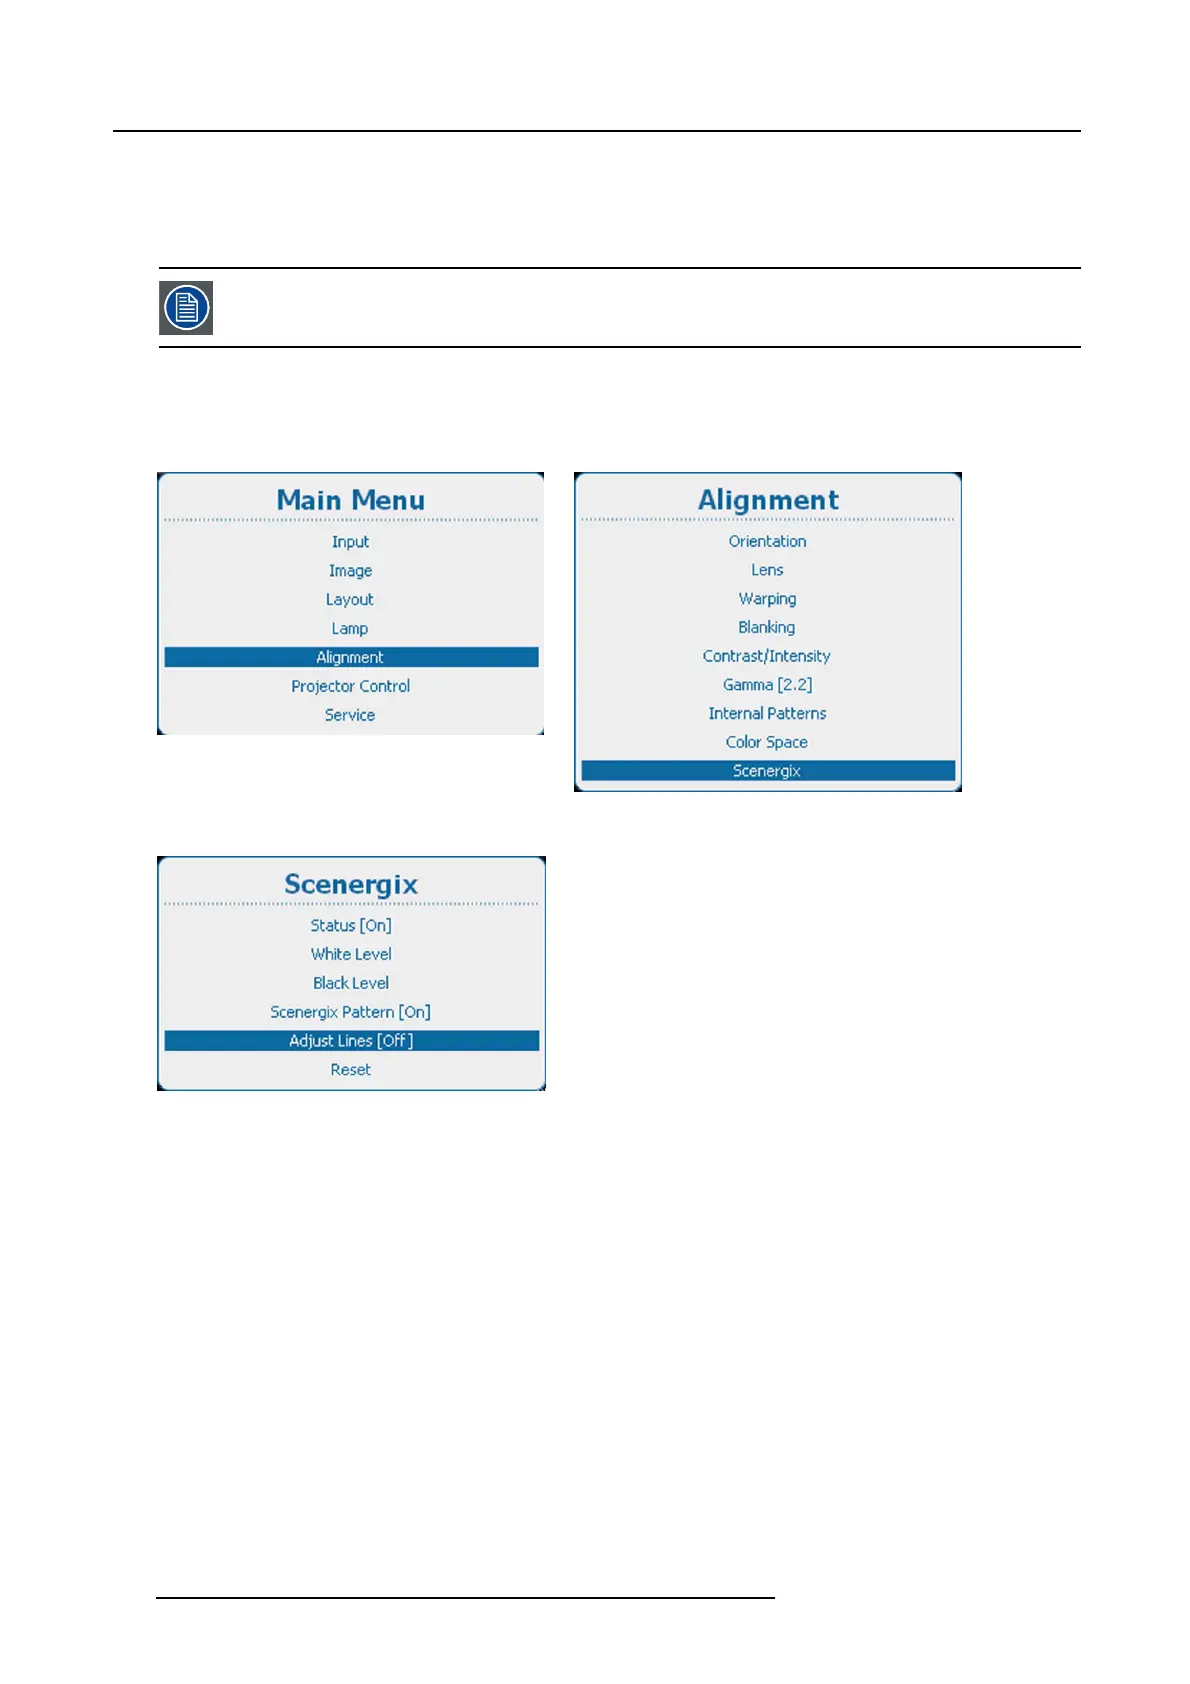
12. Alignment
12.14.5 Scenergix adjustment lines
What can be done?
Border lines for the blending areas can be displayed while adjusting the white and black level.
Adjustment lines can be activated when Scen ergix pattern is [On].
How to display
1. Press Menu to activate the menus and select Alignment → S cenergix → Adjust lines. (image 12-78, image 12-79, image 12-80)
2. Press ENTER to toggle between [On ] and [Off].
Image 12-78
Main menu, alignment
Image 12-79
Alignment, Scenergix
Image 12-80
12.14.6 White level adjustment (blending area)
How to set
1. Press Menu to activate the menus and select Alignment → Scenergix → White level. (image 12-81, image 12-82, image 12-83)
2. Press ENTER to select the W hite level adjustments.
The White level position menu opens.
When Adjustment lines is [On], the different areas are displayed on the screen. (image 12-84)
3. Use the ▲ or ▼ key to select one of the four size adjustments and press ENTER to select
Use the ◄ or ► key to change the border of the blending area to the desired position (value between 0 and 255) (image 12-85)
4. Set first the width for the first projector and repeat for the second one. (image 12-86, image 12-87)
156
R5905158 HDF W SERIES 10/07/2012

 Loading...


