8. Input
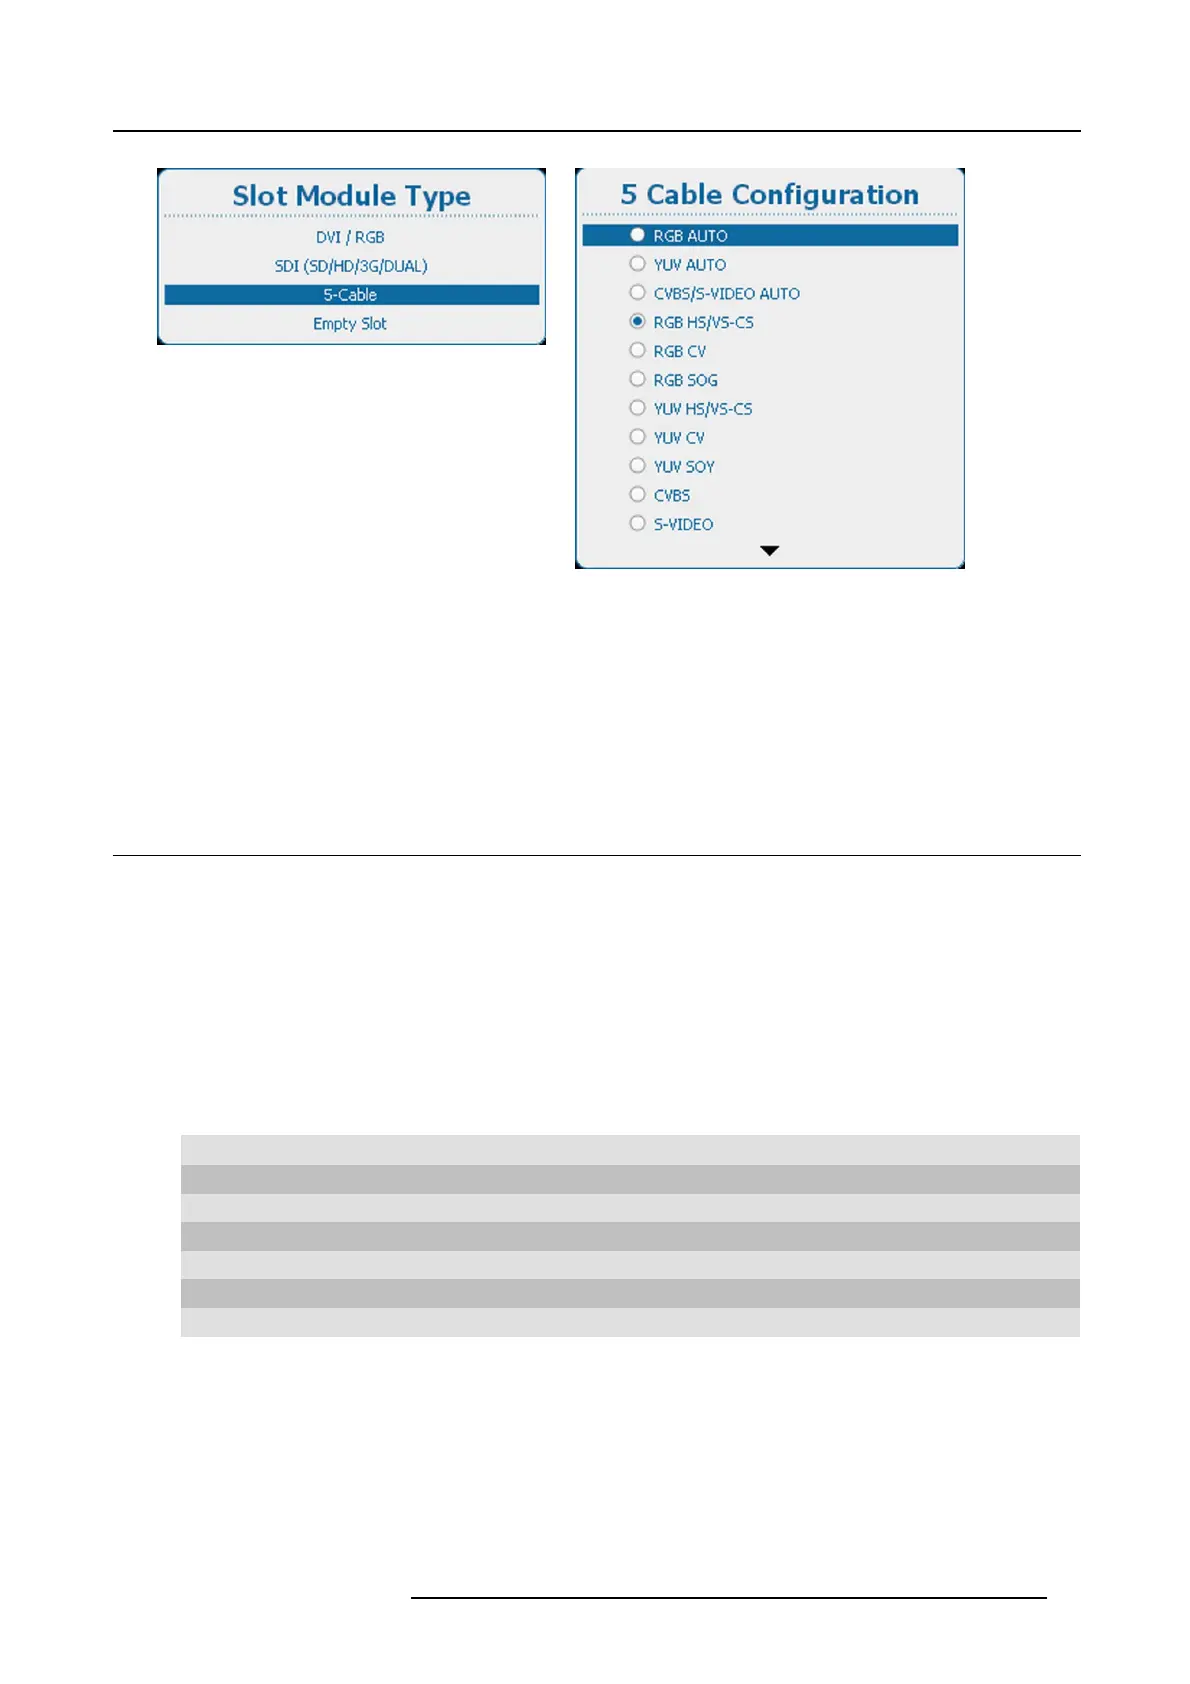
Image 8-7
Slot module type, 5-cable
Image 8-8
5 cable configuration
Use the ▲ or ▼ key to select the desired configuration and press ENTER to select.
When e.g. CVBS/S-VIDEO AUTO is selected, the projector discovers itself which type of signal is connected to it and loads the
correct settings.
For RGB selections, advanced settings are possible. To adjust these advanced settings, use the ▲ or ▼ key to select A dvanc ed
settings and press ENTER. The advanced settings menu opens:
Press ENTER to toggle between [Analog] and [TTL].
8.3 Input locking
What is possible?
The output signal can be locked on an internal sync signal or on the sync signal of one of the input sources. Or it can follow the
input of the Main window or Pip window. When locked to the corresponding input sync, the output will be shown without movement
artifacts. With locking to a specific input, a set of projectors can be kept in sync, no matter what input image is shown.
How to set up
1. Press Menu to activate the menus and select Input → Input locking.
2. Press ENTER.
The Input locking window is displayed with the current selection.
3. Use the ▲ or ▼ key to select a input to lock on. (image 8-9, image 8-10, image 8-11)
Input on Main window
Output is locked on the selected source of the main window
Input on PIP window
Output is locked on the selected source of the Pip window
Input 1 Output is locked on input 1
Input 2 Output is locked on input 2
Input 3
Output is locked on input 3
Input 4
Output is locked on input 4
Free run
Output is locked on an internal sync (60 Hz or manual setup)
R5905158 HDF W SERIES 10/07/2012
71

 Loading...


