260 Upgrade and Maintenance Manual TX120 S3
Processors
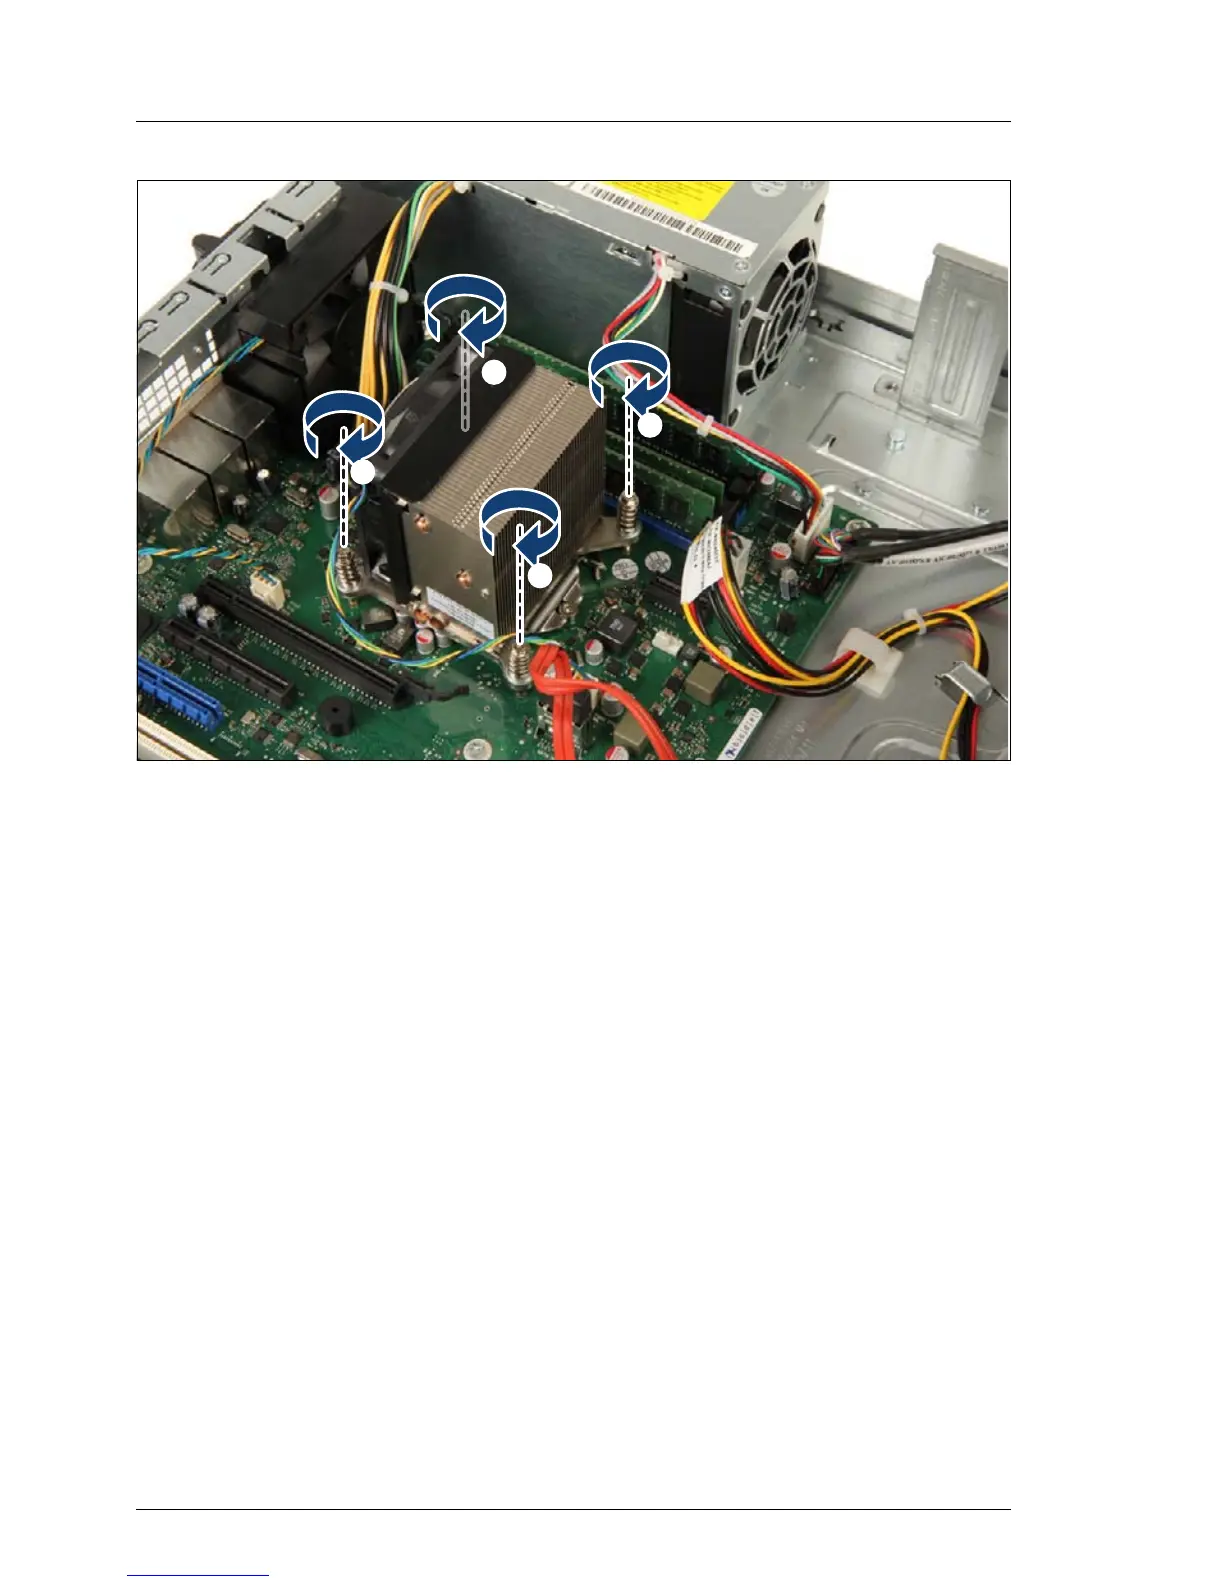
Figure 144: Installing the heat sink (B)
Ê Fasten the four captive screws on the heat sink in a crossover pattern (screw
torque: 0.6 Nm, not applicable for the Japanese market) (1-4).
Ê Connect the CPU fan cable to the system board.
11.2.8 Concluding steps
Perform the following procedures to complete the task:
Ê Close the server cover as described in section "Closing the server" on
page 70.
Ê Reconnect the AC power cord to the power supply unit.
Ê If available, update the system board BIOS to the latest version as described
in section "Updating or recovering the system board BIOS and iRMC" on
page 86.
Ê Enable boot watchdog functionality as described in section "Enabling SVOM
boot watchdog functionality" on page 96.
/
0
1
2

 Loading...


