12.2 Installing accessible drives
12.2.1 Preliminary steps
Ê "Shutting down the server" on page 48
Ê "Disconnecting the server from the mains" on page 48
Ê "Getting access to the component" on page 49
I The front cover only needs to be removed in order to remove or install
accessible drive dummy covers.
Ê "Removing the system fan holder" on page 74
12.2.2 Removing accessible drive dummy covers
Ê If applicable, remove the accessible dummy covers for the desired
accessible drive bay as described in section "Removing accessible drive
dummy covers" on page 184.
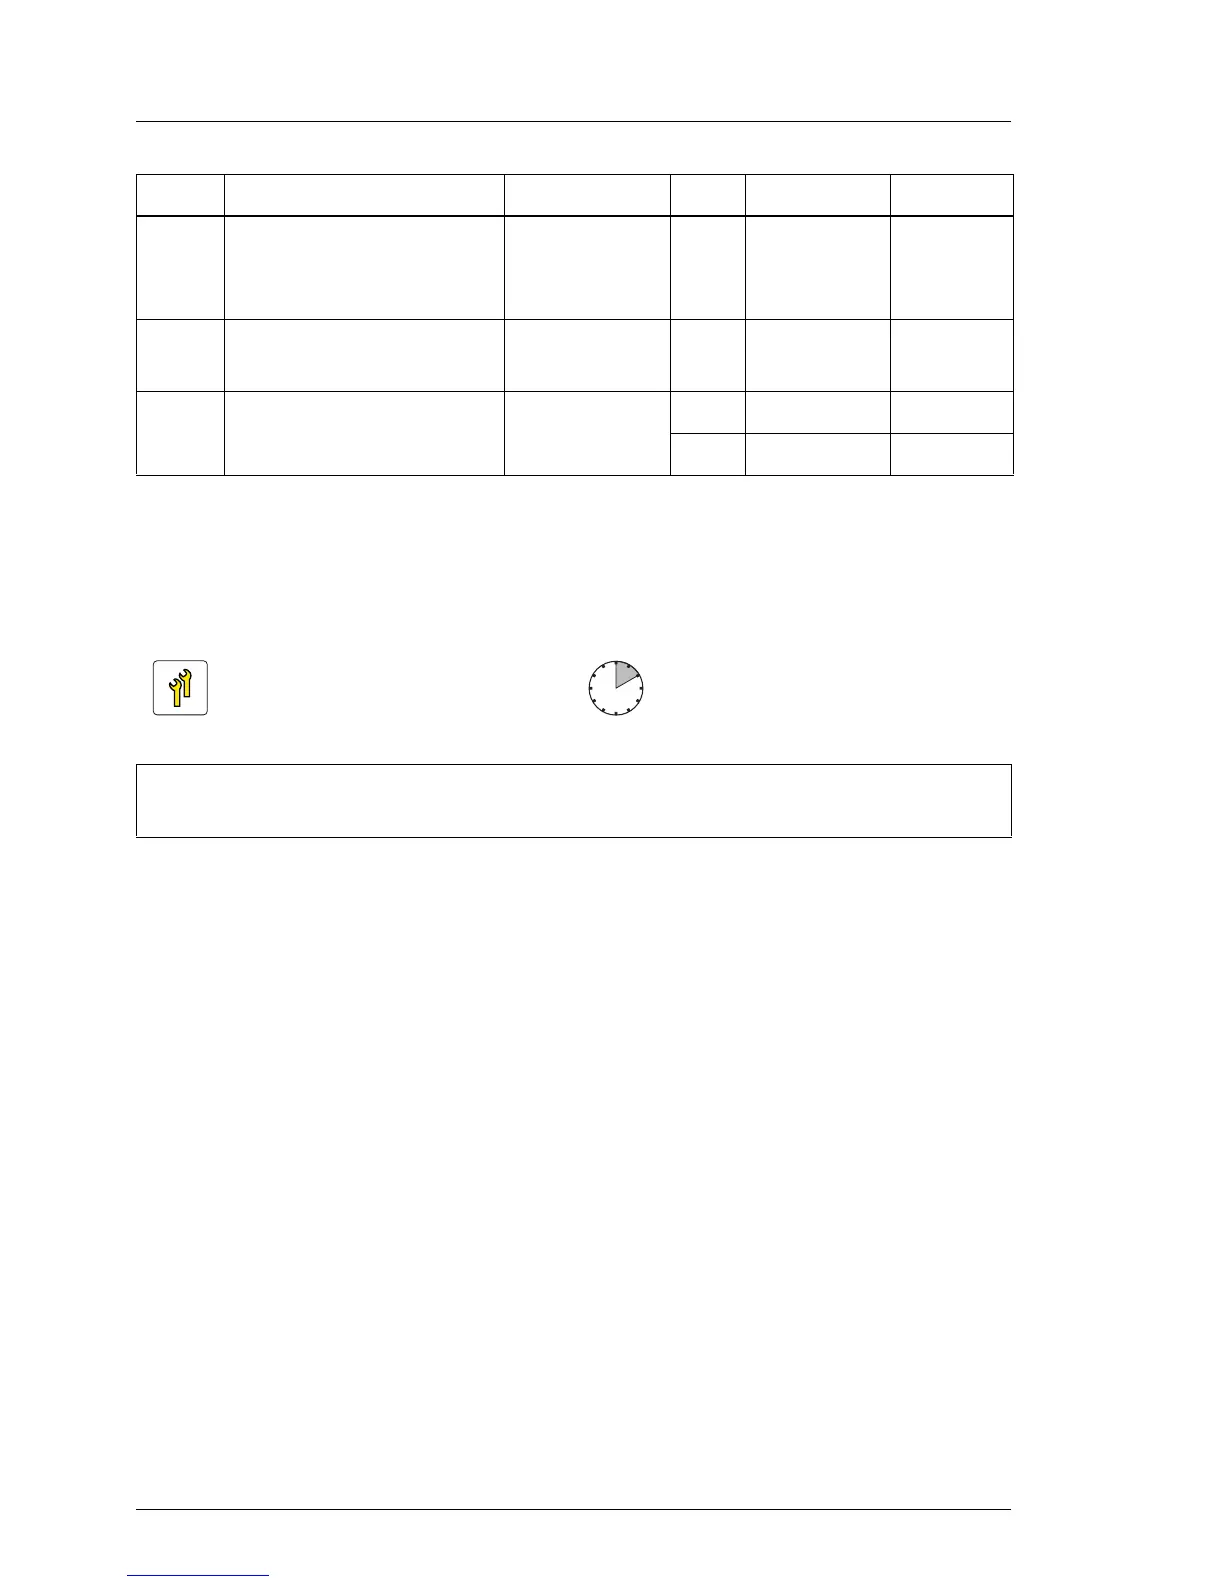
3
Backup drive
DDS Gen 5 (DAT72)/
Gen 6 (DAT160)
Bay 1, 2 or 3 2 1.6" x 5.25" USB 2.0
3
Backup drive
DDS Gen 6 (DAT160)
Bay 1, 2 or 3 2 1.6" x 5.25" USB 2.0
3 RDX backup drive Bay 1, 2 or 3
2 1.6" x 5.25" USB 2.0
1 1.6" x 5.25" USB 3.0
Upgrade and Repair Unit
(URU)
Hardware: 10 minutes
Tools: Slotted screw driver (for bending in or out accessible drive mounting
brackets)
Order Accessible drive Drive bay Max. Occupied Interface
Table 4: Accessible drive mounting sequence
 Loading...
