Chapter 12 ProDriveNext/EzSQ
12-1-1
12.1 Inverter Configuration Software ProDriveNext
12.1.1 What You Can Do with ProDriveNext
How to manage the parameters on PC?
How to perform automatic operation with the program operation function?
How to check the monitor data with a graph?
The inverter configuration software ProDriveNext is used for setting and managing inverter
parameters, displaying monitor data graphically, and editing and managing programs for the
program operation function EzSQ. The main functions are shown below.
Sets the output frequency and RUN/STOP command. The status of the intelligent
terminals can also be checked.
Basic setting, PID setting, auto-tuning, etc. can be set in wizard.
Parameter Setting
Function
Various parameters can be set, such as setting parameters individually or searching
for changed parameters from the factory default settings.
Parameters can be saved and read in CSV format file.
You can display the specified monitor data in a table format or in a graph format with
the horizontal axis as time. Monitor data can be saved and read in PMG format or
CSV format file.
EzSQ programming
function
EzSQ can be edited, debugged, uploaded and downloaded to the inverter, and
programs saved and read in CSV format file.
For detailed information on ProDriveNext functions, refer to the "Inverter configuration software
ProDriveNext instruction manual (NT8001*X)". When using EzSQ, refer to "Easy-Sequence
Function (EzSQ) Programming Guide (NT2021*X)" together.
Contact your supplier or local Hitachi sales office to get the latest version of ProDriveNext, EzSQ
and related instruction manuals.
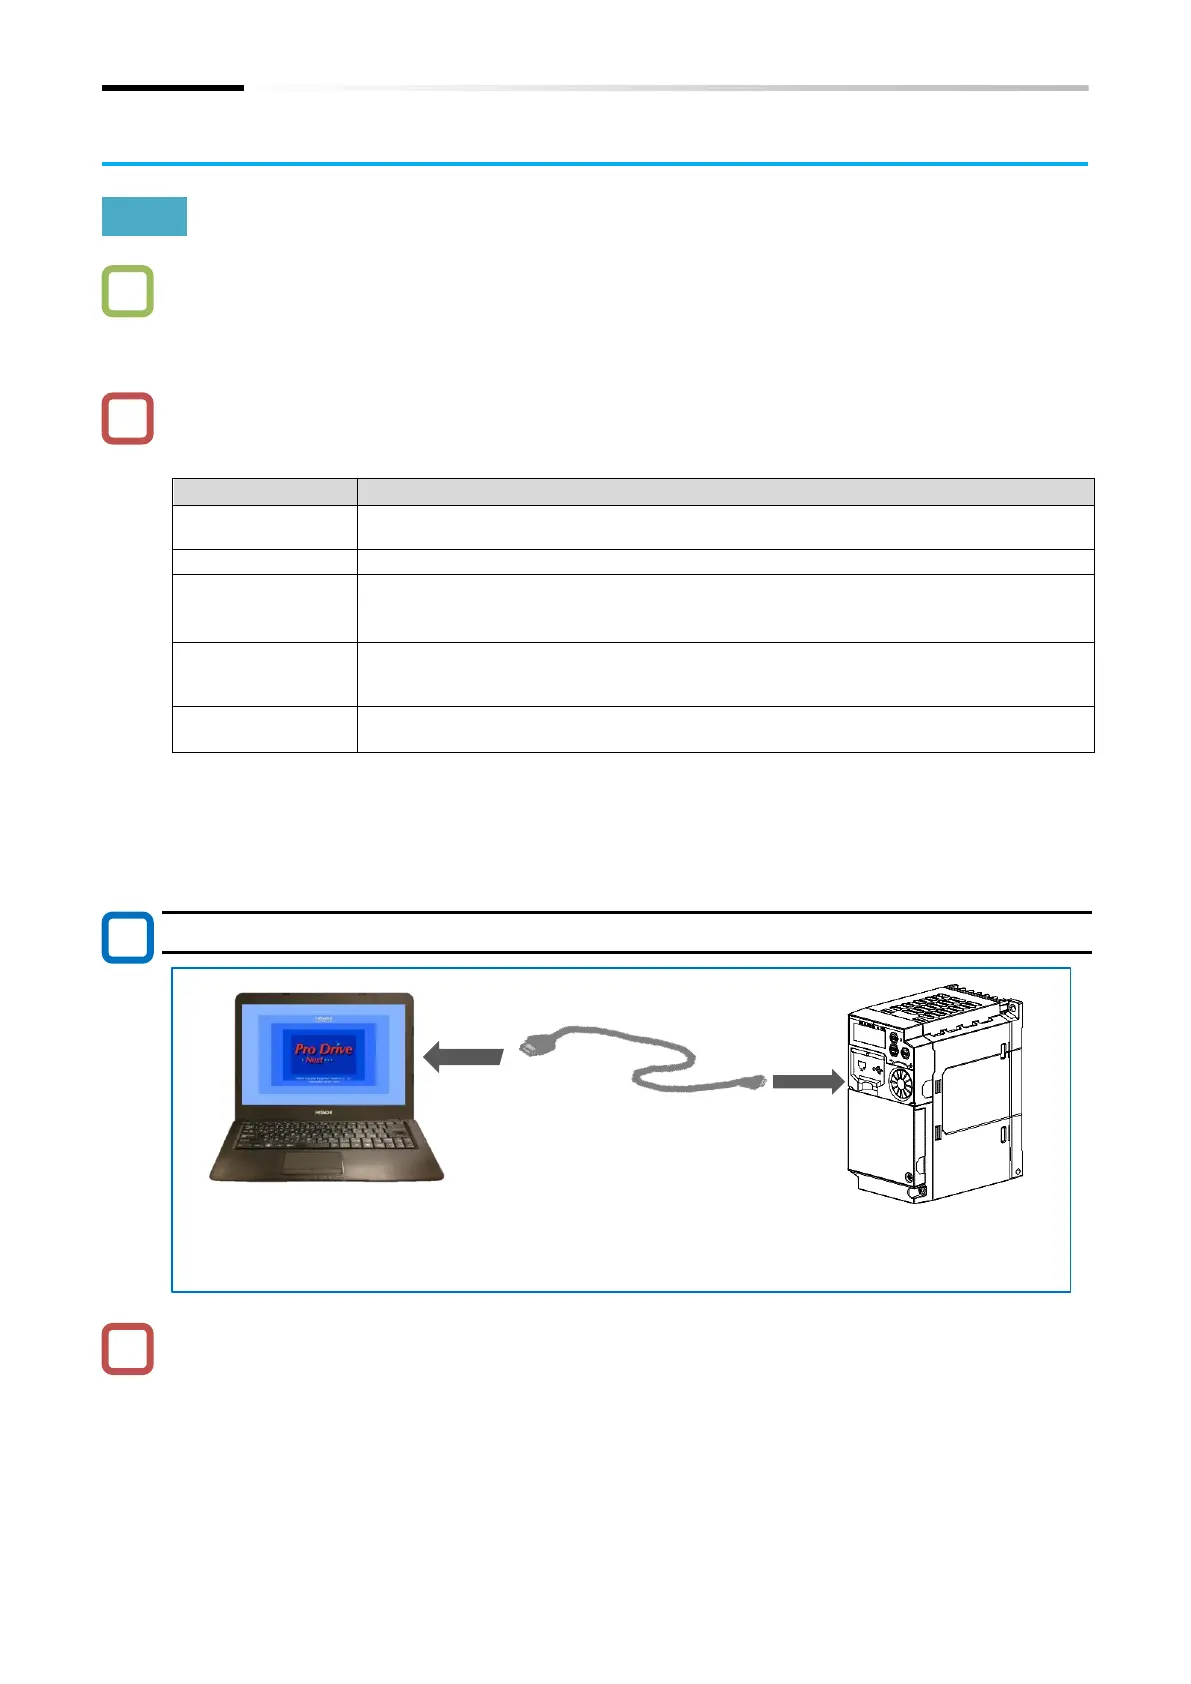
Connection between PC and inverter
When WJ-C1 is connected to ProDriveNext, it is recognized as "WJ200(Ver.3x.3xE)" on
ProDriveNext.
The USB connector of the previous model WJ200 series is a Mini-B connector. When using both
series for replacement, etc., prepare the USB Micro-B cable for WJ-C1 or conversion connector
separately.
(NOTE) USB terminal of WJ200 series is "Mini-B" connector.
Be careful when using both series.

 Loading...