Chapter 2 Outline of This User's Guide/Procedure for Operation
2-2-3
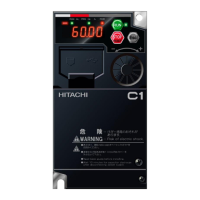
2.2.2 When Replacing WJ200 (Old Model) with WJ-C1
Even when replacing WJ200 (old model) with a WJ-C1, the basic steps up to operation are the
same as when installing a new one.
The following is an overview of the procedures for replacing the inverter, assuming that the
input/output signals of the control circuit terminals and other functions are the same as before.
(As there are some differences in functions and control characteristics, be sure to check the
differences and check the operation by test run by referring to "Appendix A.1 Replacement from
WJ200".)
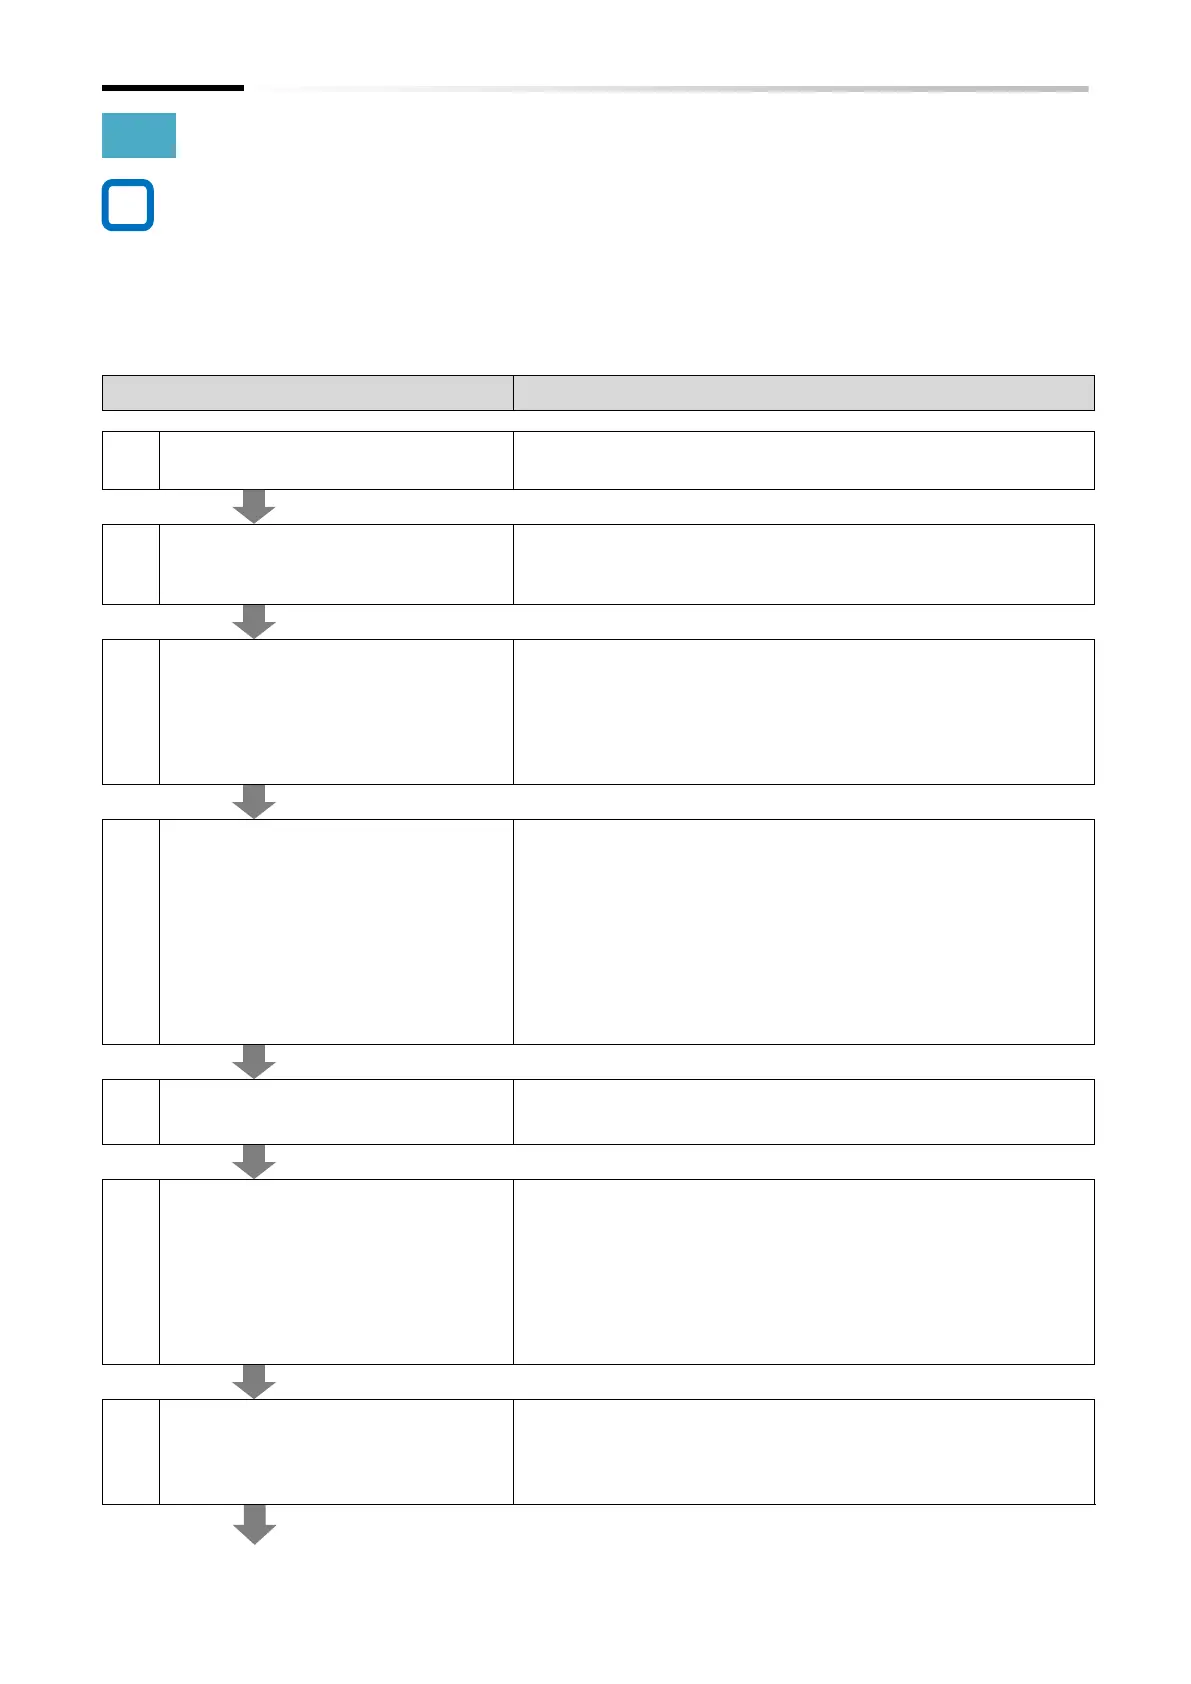
Replacing WJ200 with WJ-C1
Overview of the checks and main reference sections
Check the precautions necessary for handling the inverter.
"Chapter 1 Safety Instructions/Risks"
Check that there are no problems with the model, enclosed
items, appearance, etc. of the inverter you purchased.
"3.1 Confirmation at the Time of Purchase"
Checking the installation
environment, external
dimensions and installing the
inverter
Check the user's guide, instruction manual, etc. of each
device to be replaced, and confirm the differences in
installation dimensions, external dimensions, installation
environment, etc., and install the product correctly.
"Chapter 4 Installation"
"Appendix A.1.1 Comparison of External Dimensions and
Mounting Dimensions"
Checking and replacing main
circuit wiring
Checking and replacing
control circuit wiring
Wire the main circuit terminal block wirings and control
terminal wirings removed from WJ200 (old model) to the
main circuit terminal block and control terminal on WJ-C1.
At this time, be careful not to mistake the connection place.
Since wiring positions will change, check the contents of
the following sections thoroughly before wiring.
"Chapter 5 Wire Connection"
"Appendix A.1.2 Comparison of Main Circuit Terminal
Block"
"Appendix A.1.3 Comparison of Control Circuit Terminal
Block"
Checking how to use keypad
Check how to use keypad of WJ-C1, and then change the
parameter settings or monitor in the following steps.
"7.1 How to Use Keypad"
Checking the setting
parameters from WJ200 to
WJ-C1 and copying the data
WJ-C1 is designed to be upwardly compatible with WJ200
Ver. 3.2. To copy parameters, the remote operator WOP or
the setup software "ProDriveNext" can be used. See the
following section for more information.
"Appendix A.1.4 Data Copy from WJ200 to WJ-C1"
Some behaviors are different between WJ200 and WJ-C1.
See the following section for more information.
"Appendix A.1.5 Comparison of Functions of WJ200 and
WJ-C1"
Performing test run, various
adjustments, parameter
settings for functions to be
used, etc.
Follow the procedure from step No. 7 in "2.2.1 When
Installing a New Inverter" to make basic settings for the
motor, test run with no load, test run with actual load, and
set various parameters.
To No. 7 in "2.2.1 When Installing a New Inverter

 Loading...