179
Please note:
If the signal strength at the place of installation is below 4, we advise to use a wireless
repeater, since it is normal that the signal strength may fluctuate for 2-3 points, thus,
a signal loss is possible.
Installation:
Use the provided screws to drill through the markings of the sensor (7) and the
magnet (11).
Alternatively, you can also use the supplied adhesive tape. However, due to the
nature of glue, it is possible that the adhesive tapes need to be replaced after
several months/ years (depending on humidity, temperature changed, etc.). We
offer additional adhesive pads on our homepage http://www.lupus-electronics.de.
o Make sure to clean all surfaces with degreaser before using the adhesive
tape.
o First, remove the protection of the adhesive tape on one side and make
sure press it hard against the contact for one minute. Second, remove the
other protection and press the contact hard for one minute to its place of
installation.
Top and bottom of the sensor are clipped together. To open the sensor, push a
small screw-driver into the notch (8) and remove the top of the sensor.
To close the sensor again, connect the top to the mounting hook (6) of the bottom
and shut the sensor. Make sure that both parts are tightly interlocked.
Please note that the tampering contact (4) needs to produce through the opening
for the tampering contact (9). Thus, the tampering contact is pressed against the
wall (or surface on which the door contact is installed). If the door contact is opened
or raptured from the wall, the tampering contact is triggered a signal is send to the
alarm panel.
Similar to the sensor, the magnet can be removed from its mount. Use a small
screw-driver at the notch on the side of the magnet to separate the magnet from
the mount.
Clip the magnet back on to its mount after you have screws the mount to your
window or door.
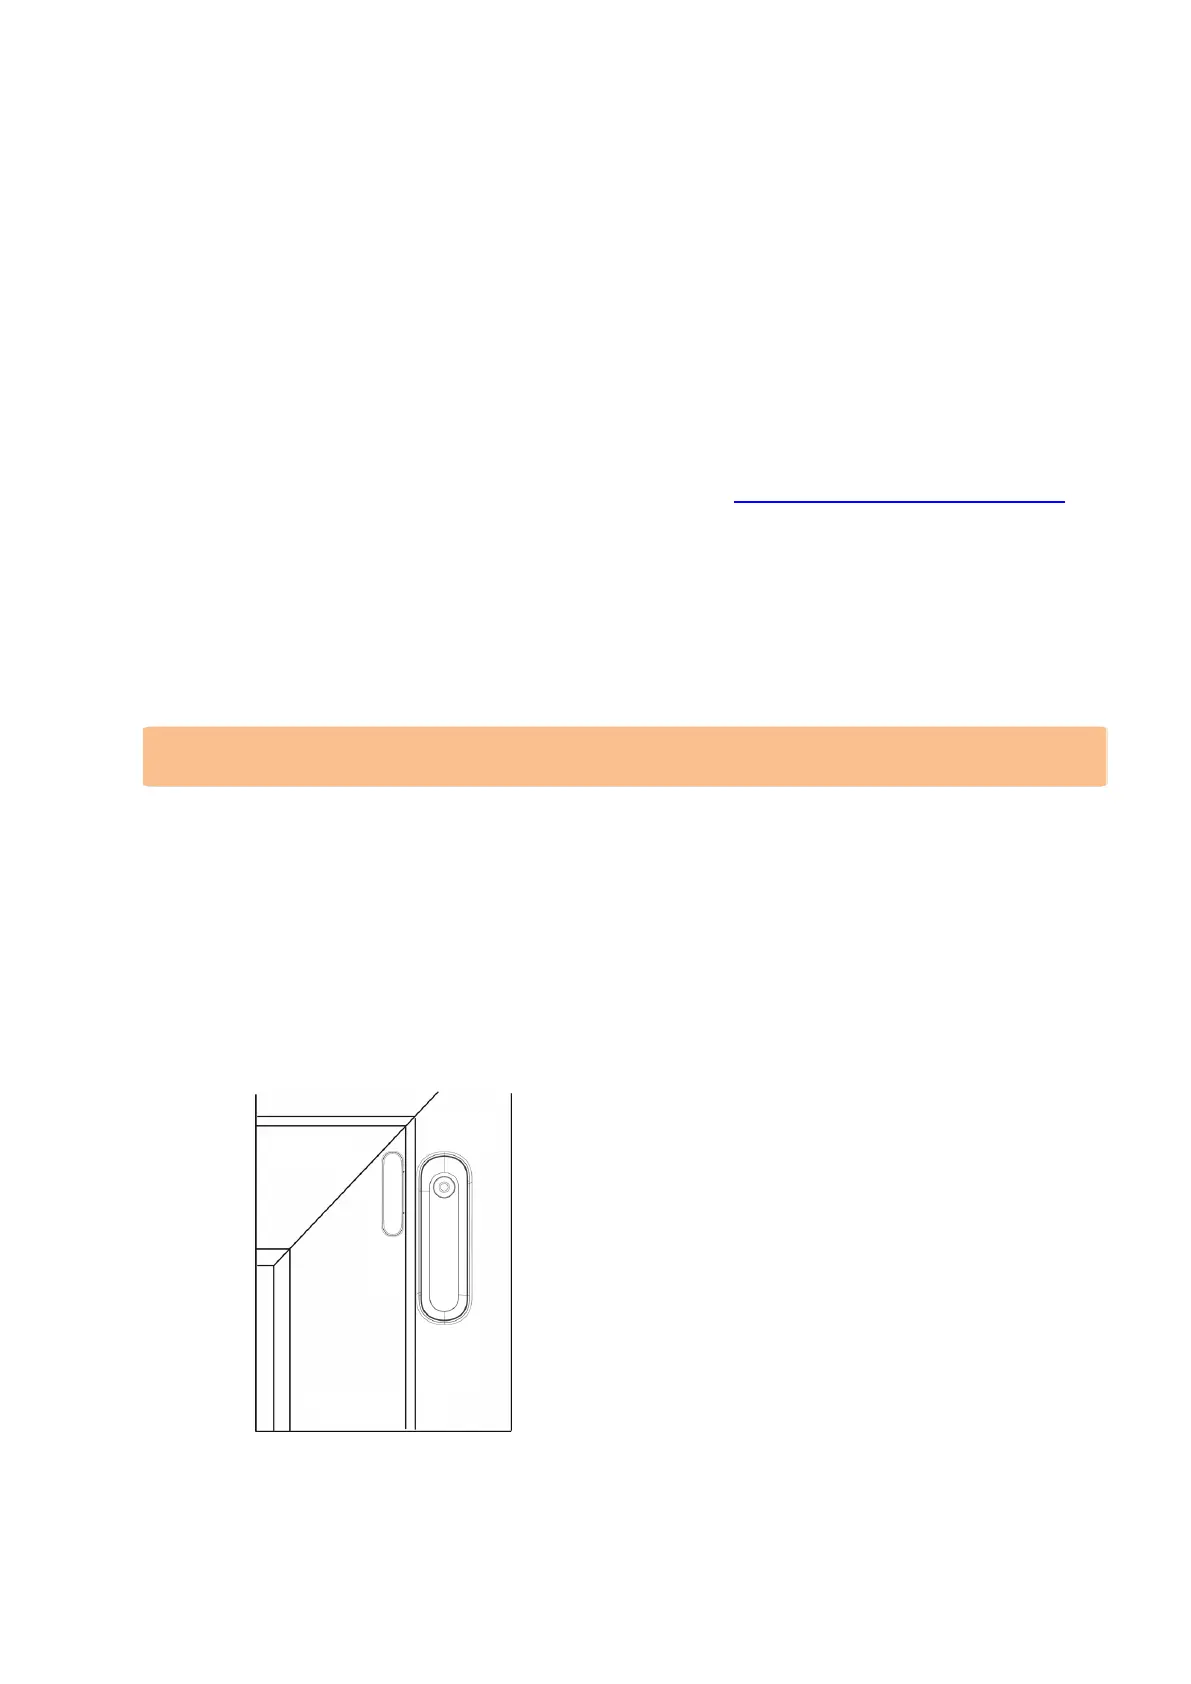
The sketch above shows the how the sensor and the magnet can be placed. Other
installation positions are possible.
Install the magnet at the door leaf or window casement and attach the door contact
to the frame. Observe the markings (2) to position the magnet exactly.