28
Please Note:
To gain access to the alarm panel, it must be within the same logical
network (e.g. 192.168.100.X) as the accessing device (PC/notebook).
If this is not the case, please check your network connection. More
information can be found in the chapter “Settings” “Network”.
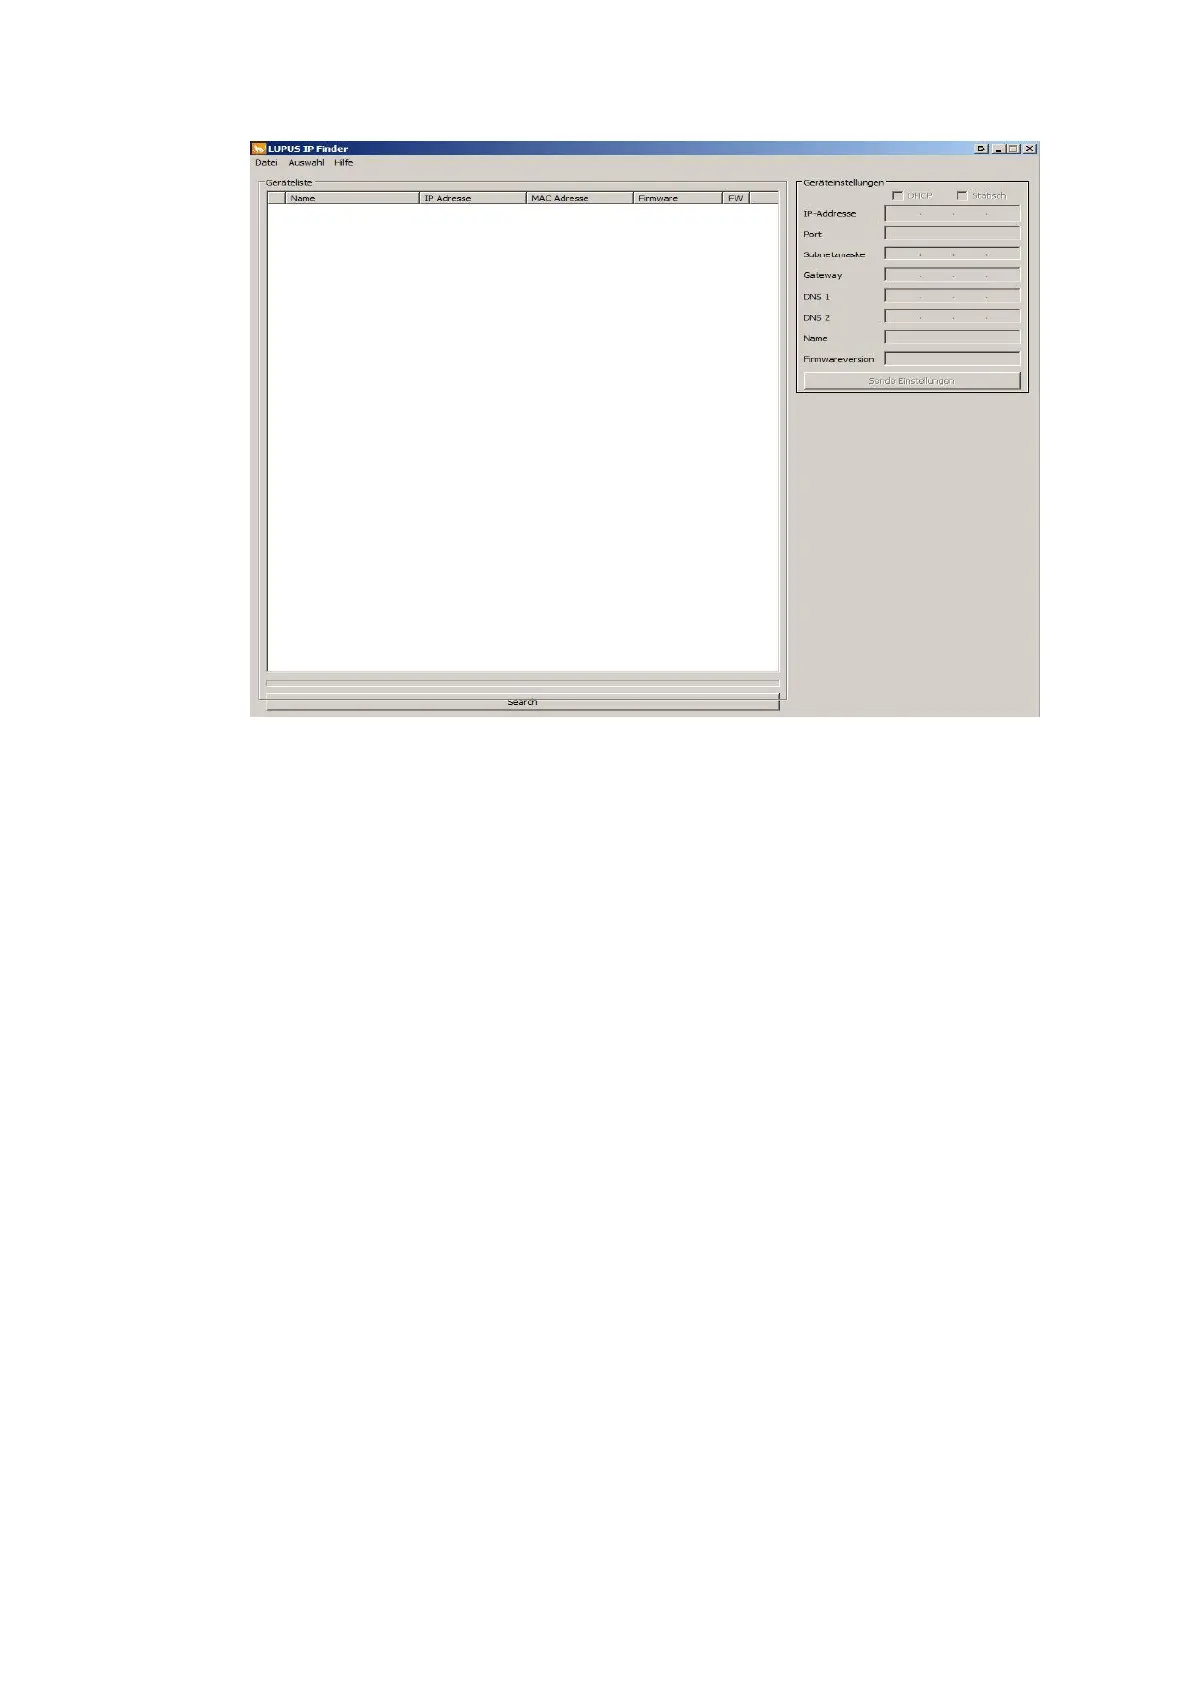
If you do not (want to) use a DHCP server, you can also set a static IP
address for the alarm panel via the IP Finder. If you define a static IP
address, all settings are important and need to be correct to guarantee
that the alarm panel works correctly. In most cases, you can use the IP
address of your router as gateway, DNS 1, and DNS 2. More information
can be found in the chapter “Settings” “Network”.
In case you want to connect the alarm panel directly with your computer,
you need to use an Ethernet crossover cable.
3. Double-click on the alarm panel or, alternatively, click with the right mouse
button on “Open” to establish a connection to the alarm panel via your standard
browser. A login window opens.
All communication with the alarm panel is encrypted via SSL/TLS 1.2 SHA-
256bit RSA.
The waring “This connection is untrusted” does not mean that your
communication with the page in question was compromised. It simply means
that, if you continue, you will communicate with a page of which the identity
could not be confirmed. The reason therefore is that every alarm panel is
installed in a local area network and signs its certificate itself.
This warning will look differently depending on the browser you use. Please
allow the connection when this warning appears.