215575 253 Revision B
Figure 5.75: Auger Finger Guide
5. Remove two screws (A) from finger guide (B), and remove
the finger guide through the access hole.
Figure 5.76: Auger Finger Guide
6. Reach inside the auger and install new finger guide (A)
using existing screws (B) and tee nuts (C) as shown. Torque
the screws to 9 Nm (80 lbf∙in).
7. Reinstall the auger finger. For instructions, refer to 5.6.1
Replacing Auger Fingers, page 251.
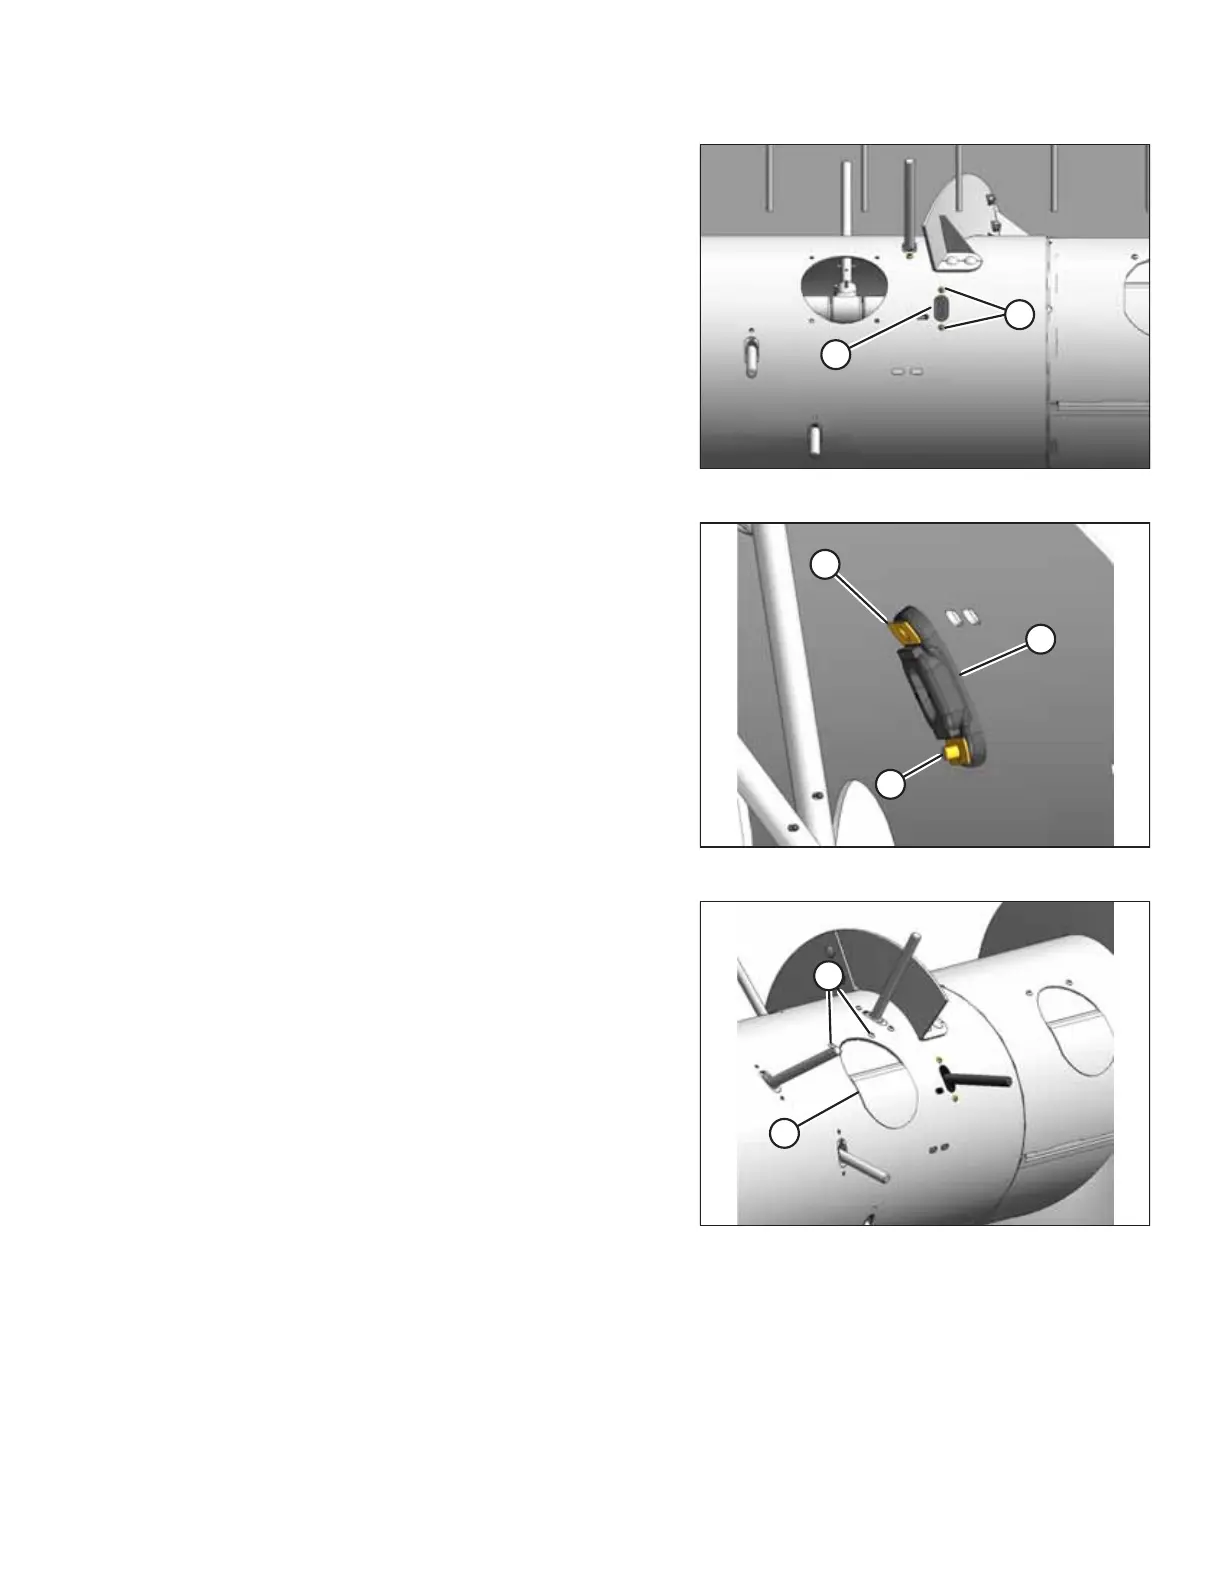
Figure 5.77: Access Cover
8. Install access cover (B) using two screws (A) coated with
medium-strength threadlocker (Loctite
®
243 or equivalent).
Torque the screws to 9 Nm (80 lbf∙in).
NOTE:
If reusing any hardware, apply medium-strength
threadlocker (Loctite
®
243 or equivalent) to the threads of
the bolts or screws.
MAINTENANCE AND SERVICING