215575 267 Revision B
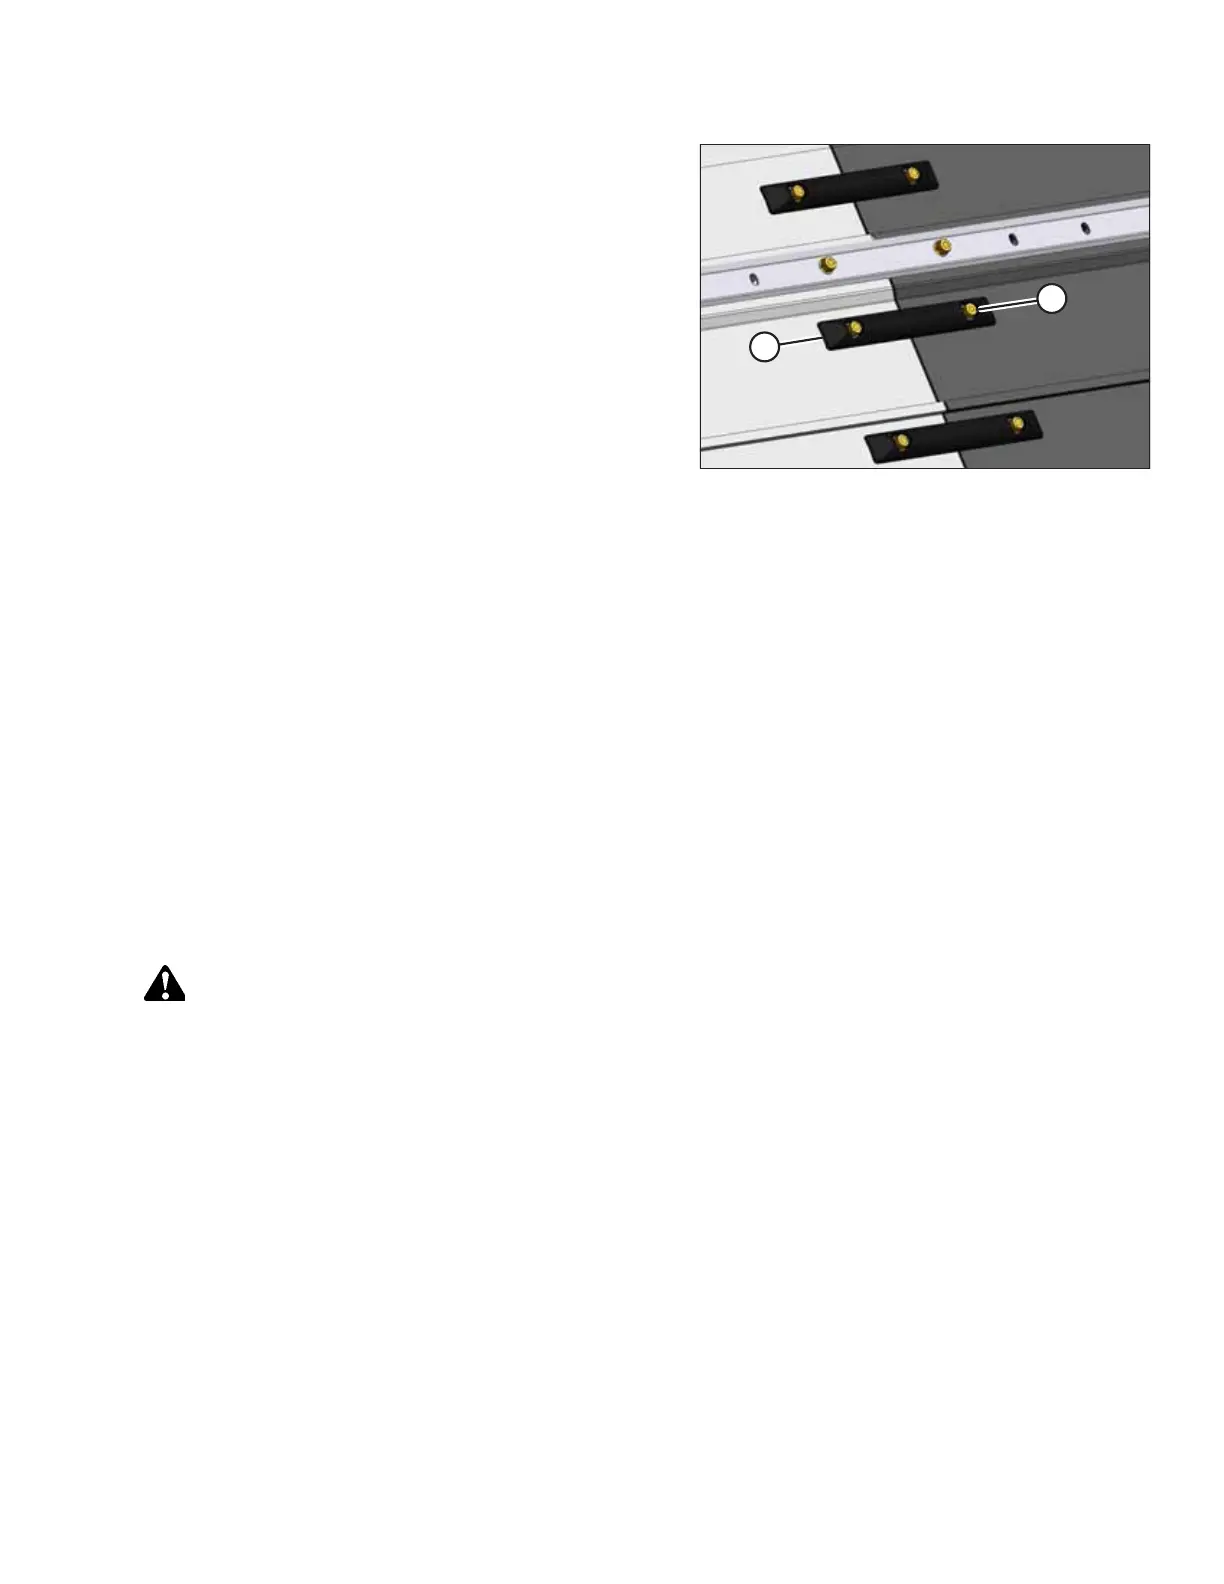
Figure 5.107: Draper Belt Straps
7. Install straps (B) onto the bolts, and secure them with M6
flange nuts (A).
8. Torque M6 flange nuts (A) to 4–5.6 Nm (37–50 lbf∙in).
5.7.2 Draper Fingers and Guides
Replace any broken or worn fingers to maintain machine performance. Excessively worn fingers will reduce picking
efficiency, resulting in losses that far exceed the cost of new fingers.
The guides, which maintain draper tracking, are located along the outboard edge on the inside of the right draper belt on
both decks. If any guide is worn enough to cause large amounts of draper tracking/shifting, replace the guide. Check to
make sure that the guides are aligned so that they sit perpendicular to the direction of draper travel. Excessively worn or
misaligned guides can cause the drapers to shift and ride up on the frame, causing premature draper edge wear and draper
tearing.
NOTE:
It may be necessary to remove the draper belt when replacing the fingers/guides. For instructions, refer to Removing Front
Draper Belt, page 260 or Removing Rear Draper Belt, page 263.
Replacing Draper Fingers
Replacing draper fingers requires only a few steps. Be sure that the new finger is properly aligned with the existing fingers.
DANGER
To avoid bodily injury or death from unexpected start-up or fall of a raised machine, always stop engine and remove
key before leaving the operator’s seat, and always engage safety props before going under the machine for any reason.
1. Raise the hold-down fully, and engage the lift cylinder safety props.
2. Raise the header fully, and engage the combine lift cylinder safety props.
3. Stop the engine, and remove the key from the ignition.
MAINTENANCE AND SERVICING