215575 27 Revision B
Figure 3.6: Endshield Closed
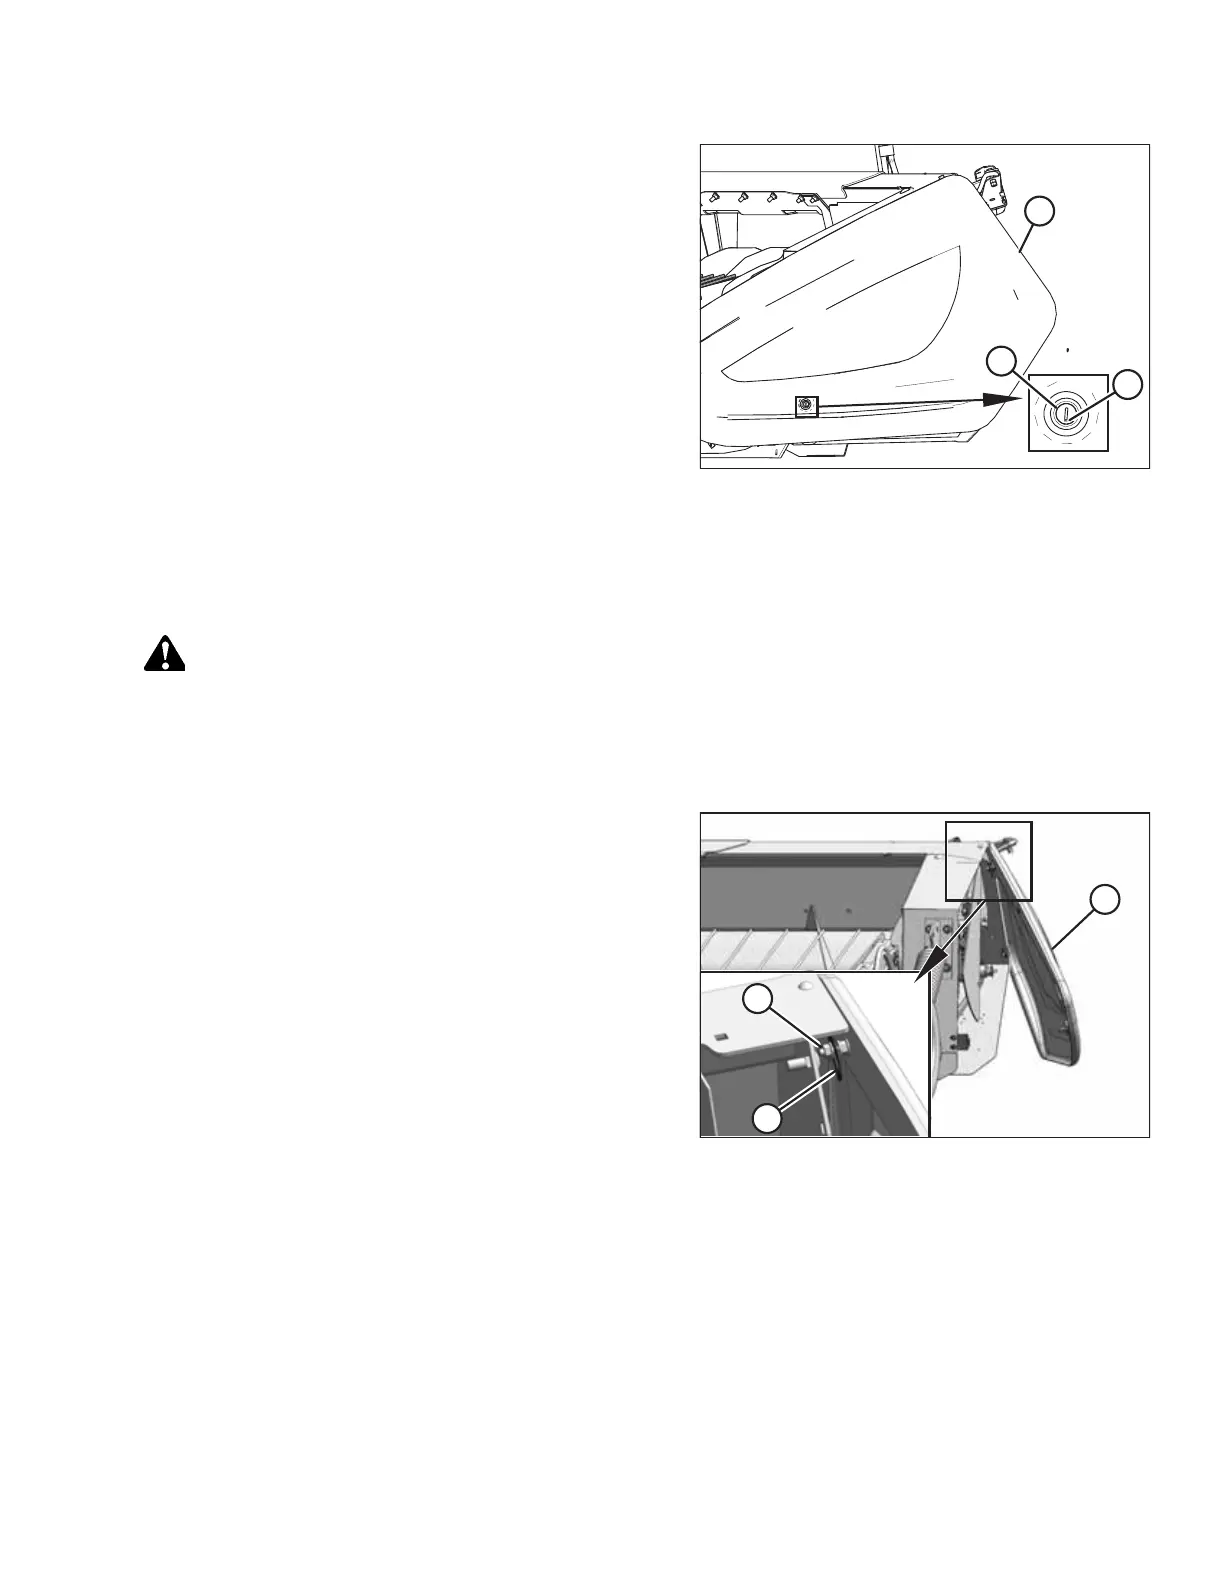
4. Close endshield (C) and use a slotted screwdriver to turn
latch (A) clockwise until it stops (slightly more than one
half turn).
NOTE:
When the latch is fully engaged, the slot will align with
notch (B), and the endshield will draw tightly against the
header.
5. Verify the following:
• The endshield is positioned against the header
endsheet.
• The endshield is aligned with the cutout in the frame.
• Latch (A) is engaged.
3.3.3 Removing Left Endshield
Remove the left endshield to gain better access to the left side of the pick-up header.
WARNING
To avoid bodily injury or death from unexpected startup of machine, always stop the engine and remove the key from
the ignition before leaving the operator’s seat for any reason.
1. Lower the header to the ground.
2. Shut down the engine and remove the key from the ignition.
Figure 3.7: Removing Support
3. Grasp the forward end of endshield (C) and pull it open
until support (B) engages and holds the endshield in an
open position.
4. Remove nut (A) securing support (B) to endshield (C) and
move support (B) off of the bolt.
OPERATION