7.17.6 Calibrate load cells
The menu is accessed via - [Weighing point] - [Weighing point A] - [Assign] .
Note:
The [Modify] menu item is only used for small changes (e.g., changing the dead load/
preload, changing the mV/V values for dead load/preload and/or Max, changing the
scale interval). Otherwise select the [New] menu item.
Example:
Maximum capacity of a load cell: E
max
= 50 t
Number of load cells: 4
Max: 200.000 t
Scale interval: 0.020 t
Dead load: Empty weight
Calibration weight: 11.000 t
Procedure:
[Local gravity]
Enter the local value of gravitational acceleration (in this example: Hamburg
9.81379 m/s
2
); see e.g.http://www.ptb.de/cartoweb3/SISproject.php.
[Number of platforms] (only for load cells PR 6221)
This parameter is shown only in the case of 8 load cells.
Enter the number of platforms.
8. Repeat these steps for load cells 2…4.
9. Press the [Accept] softkey.
10. Press the
softkey to exit the menu and save.
11. Press the [View] softkey.
The new assignment will be displayed.
12. Check the corner load (dead load); see Chapter
7.16.10.1.
13. Press the softkey to exit the menu and save.
1. Press the [Calib] softkey.
For Max, the sum of the load cell maximum capacities is pre-set.
4x 50 t = 200 t
A window opens.
2. Press the [New] softkey.
A prompt window opens.
The data is set to factory settings (default) first before calibration is started.
3. Press the [Yes] softkey to reset the corner correction and the calibration to continue.
The "Calibration window" opens.
4. Enter and verify parameters.
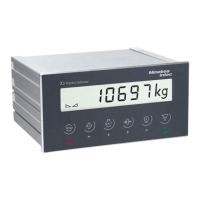
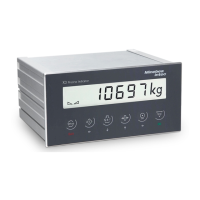
X3 Process Indicator PR 5410 7 Getting started
EN-218 Minebea Intec